Easy Yoga Breathing for Seniors
Each time I begin a new yoga for seniors class, I tell my students that the first thing we’re going to practice is breathing. Students usually laugh when I say this. After all, breathing is something all of us literally do in our sleep.
Why take a breathing lesson? However at the end of class, students usually come up and thank me for teaching them how to breathe better.
Breathing correctly enhances the ability to concentrate during the day. It also encourages the calm and relaxation necessary for deep sleep at night. Breathing properly during any kind of movement class, including yoga, increases the benefits of movement.
Unfortunately, most people don’t know how to breathe efficiently. As a result, they only use a fraction of their lungs, taking several short, rapid breaths per minute instead of just a few deep, full breaths. Improper breathing can cause chronic stress and prevent concentration. Improper breathing habits also tend to decrease flexibility and may make people more vulnerable to health issues such as panic attacks.
Since everyone’s body is different, please make sure to check with your doctor before trying any of the exercises in this article. Once you feel comfortable, try the following steps to improve your breathing.
Breathing and Posture
Breathing and good posture are deeply intertwined. Good breathing habits can help you learn good posture. However, many new yoga students begin class with poor posture which inhibits their ability to breathe correctly. Therefore, the best position to learn good breathing is reclining on your back.
The Best Position for Breathing
If you can comfortably get down on the floor, lie on your yoga mat with your face pointing toward the ceiling, arms extended slightly out from your body with palms upward, legs straight.
If getting down onto the floor is difficult, lie on top of your bed instead. Adjust this reclining position as necessary for your comfort. Some students use a folded or rolled up blanket behind the knees, supporting the lower back, and/or supporting the neck. The yoga name for this neutral position is Savasana.
Once you are comfortable in Savasana, close your eyes. At first, simply notice your breath without attempting to change it. Does the rhythm of your breath feel slow or fast? Are the inhalations and exhalations relatively the same length?
Belly Breathing
Place one hand lightly on your lower abdomen, between your navel and your groin. Without straining, see if you can breathe deeply enough that the hand on top of your belly slowly rises as you inhale, then gently sinks again as you exhale. Continue this belly breathing until it feels natural.
Using your Diaphragm
The next phase continues the belly breathing, but adds in an awareness of diaphragmatic breathing. To understand how to use your diaphragm, place one hand gently on either side of your rib cage. Inhale and permit your hands Your to move further apart. Then exhale, and let the hands gently glide closer together again. Do not press on the diaphragm with your hands, but permit the movement to occur naturally. Practice experiencing the movement of both the belly and the diaphragm for several breaths.
Top of the Lungs
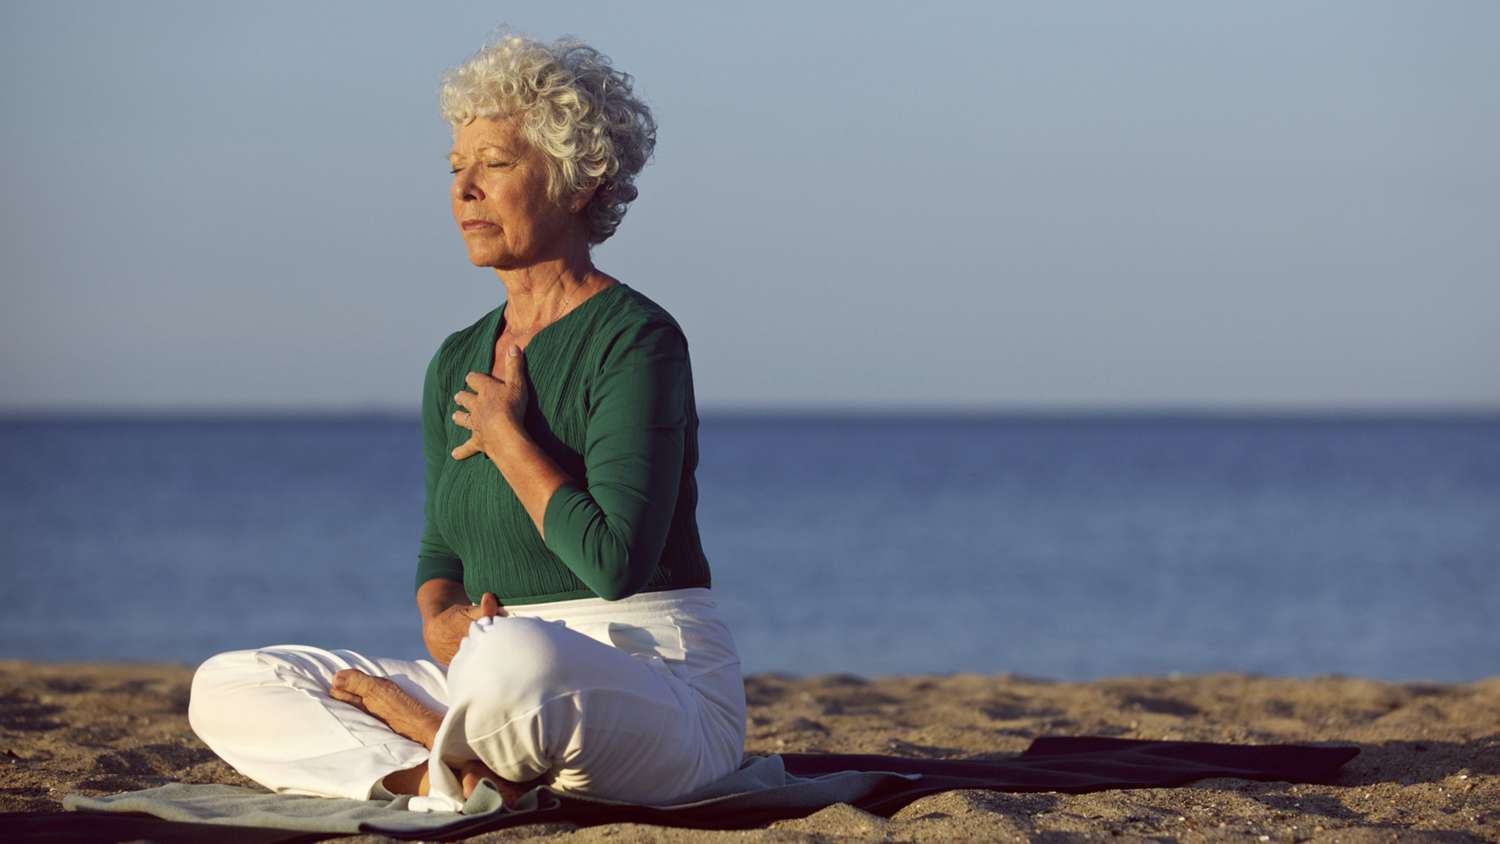
Finally, place one hand between your heart and your throat. This third phase of breathing helps increase awareness of the top of the lungs. Many people do not realize that the lungs extend slightly past the top of the rib cage. Still involving the belly and diaphragm in each breath, gently extend each inhalation-exhalation cycle long enough to feel the hand near your heart slowly rising and then gliding downwards again with each breath.
Breathing Practice
Take some time each day to practice three-part breathing. Think of filling your lungs the same way you would a glass of water, from the bottom to the top. Then empty from top to bottom.
After practicing this deeper breathing for several days, you will notice that this rhythm becomes natural to you. You will gradually experience more relaxation as your body develops the habit of taking fewer breaths per minute. Deep breathing functions almost as a sort of internal massage, gently easing tension away from the hips, lower back, and shoulders.
As this deeper, slower style of breathing starts to feel more natural to you, begin to practice it while sitting upright in a chair, and then while standing up. You will find that your sense of how to breathe correctly aids in developing better posture. Your body will naturally seek upright positions in which do not constrict the lungs or diaphragm.
This deeper, more relaxed style of breathing also becomes like a tool you carry with you wherever you go. Whenever you encounter a stressful situation, you can use your breathing to help minimize your tension.
Have you tried a yoga for seniors class? How was the experience for you? Please share your thoughts in the comments below.
Tags Yoga for Seniors


