


How to Start Candle Making: A Guide for Beginners
If you are anything like me, you are drawn to displays of scented candles… ahem… like a moth to a flame. Have you ever considered making your own candles? The process is calming and almost zen-like, with a kitchen filled with the warm fragrance of melting wax or soy, and the essential oils and botanicals involved.
Creating your own candles also makes you feel marvellously accomplished and self-sufficient. Follow my step-by-step guide and have a go!
What You Will Need to Start Candle making
Wax
Choose beeswax or soy as they are eco-friendly materials. Buy pellets for ease of melting. Paraffin wax is also available, but it is not eco-friendly (and the smell is less pleasing) as it is made from petroleum. Soy is a great choice for beginners because it’s easy to work with.
Wicks
Choose cotton or hemp wicks. If you are starting out with candle making, begin with wicks that are already incorporated into a sustainer (a small metal tab at one end) which makes it easier to place the wick into the container. Commercially available wicks like this come ready to use, coated in wax. You can also buy special tabs to attach your wicks easily to your heatproof candle containers.
The size of the wick you need depends on the size of the container (or mould) you are using to make your candle. Luckily, suppliers have calculators on their websites to help.
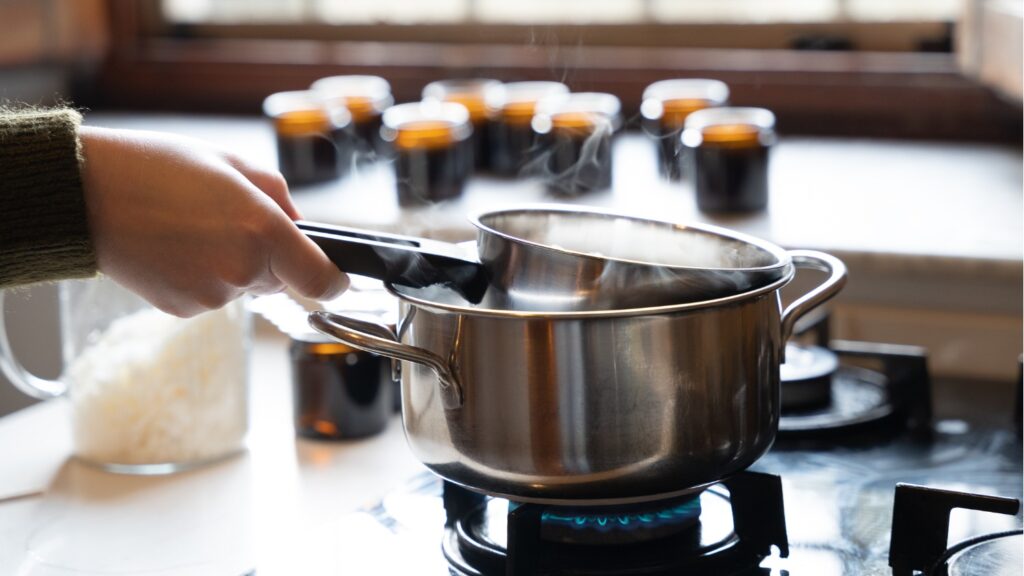
Double Boiler
A double boiler is like a curved pan within a slightly larger pan which has water added to gently melt materials. They are also used in cooking and chocolate making. You can use a smaller steel pan inside a larger pan, but a double boiler is safer.
Candle Moulds or Containers
You can make candles in moulds which are easy to use and come in a variety of shapes. I prefer to make my candles in heat proof containers or glass jars.
Fragrance Oils
These are optional but I always use them to add subtle and festive scent blends to my home.
Dye
I love adding a touch of colour to my candles. You can buy liquid or block dyes; whichever you choose is down to personal preference.
Thermometer
You will need a thermometer for measuring the wax’s temperature as you create your candles.
Scales
Scales come in handy for weighing ingredients.
Jug
To pour the melted wax into containers or moulds you will need a jug.
Wick Holders
This handy tool keeps your wicks in place when you are pouring wax.
Of course, if you prefer you can buy candle making kits from many suppliers that give you a handy pack of the things you need to get started.
Step-by-Step Candle Making Instructions
So, here’s how you actually create candles:
Step 1: Do Your Homework!
Before getting started, watch a variety of videos and have a look at some of the many books available from your local bookstore. The more you know before you get started, the fewer mistakes you will make. Doing your homework will help you to stay safe and make wise choices (and therefore save money) when you are buying supplies.
Step 2: Prepare Your Workspace
Choose a clear surface to work on. I work in my kitchen, and lay down baking paper from a roll to catch any drips. You are working with hot wax and a double boiler, so pets and children should be banished from the kitchen!
Gather all your tools and materials together and have everything within reach so that you are not searching for anything at the last moment and getting frustrated.
Step 3: Measure Your Wax
Candle making supplies are measured by weight; containers are sold by volume – basically, the amount of space you have to fill. Melted candle wax is 10% lighter than water. To calculate how much wax will fill a container, experiment.
Pour water into the container you want to use, up to the right level, leaving about quarter of an inch at the top of the container for the wick to stand proud of the wax. Pour the water into a measuring jug to see how much water filled the jar. If our example candle jar contained 10 fluid ounces of water, we need 10% less to fill it with melted wax & fragrance oil mixture – so, 9 fluid ounces of melted wax would fill it.
Check out this handy calculator to help you work out the amount of wax you need. I often accidentally melt too much wax but don’t get stressed about it; I pour any extras into a little takeout food box and use it with my next batch of candles.
Step 4: Melt the Wax
Put a few inches of water in the bottom pan of your double boiler. Place your wax in the top part and heat the water to a simmer. The wax will slowly melt. Test the melted wax with your thermometer. Different waxes have different melting points which you can check with your supplier, but generally aim for around 185°F (85°C).
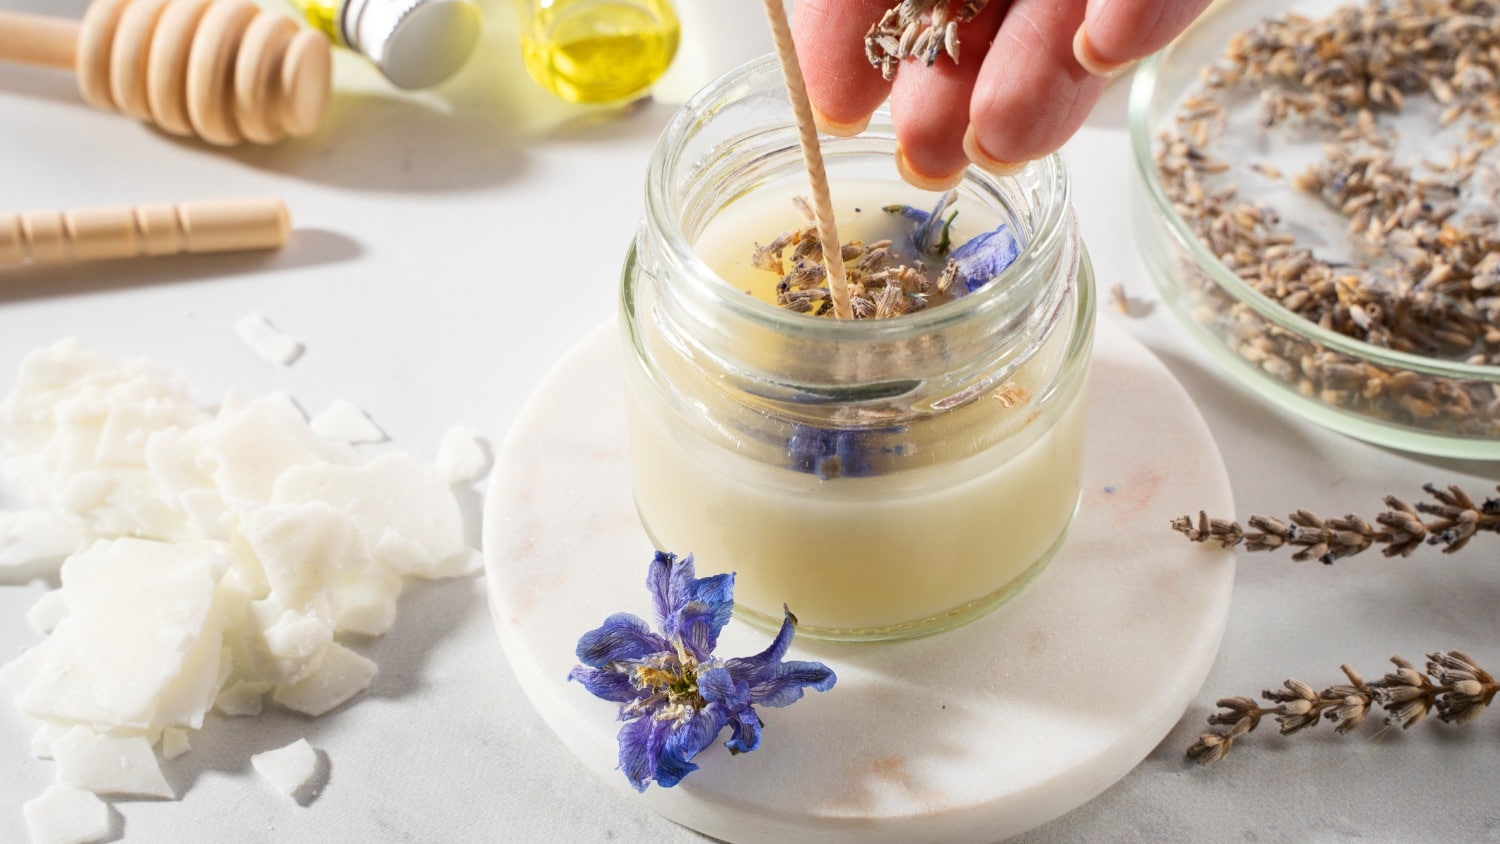
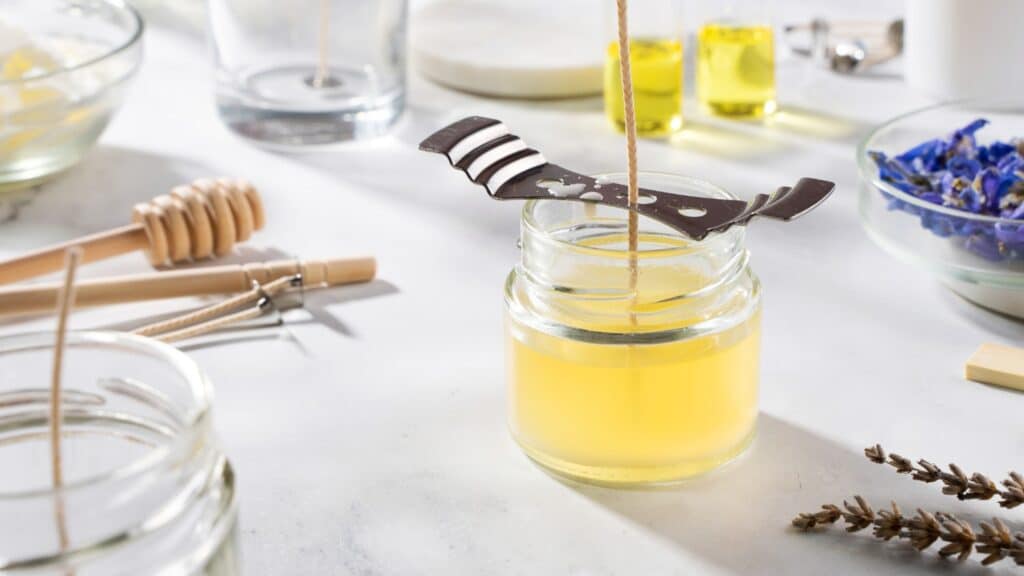
Step 5: Prepare the Wick
While the wax is melting, prepare your wick. You want it to be around two inches longer than the height of your container. Use a tab to attach the wick to the bottom of your container.
Step 6: Add Fragrance and Dye
Once your wax is melted, you can add fragrance and a few drops of dye if you wish. Do not add too much fragrance oil in your enthusiasm; too much oil can pool and smother the wick as the candle burns and can even be a fire hazard.
Luckily, calculators are available to help you. As a rule of thumb, use a 5-10% fragrance oil to wax ratio. So, if your candle pot contains 16 fluid ounces, use around 1 to 1 ½ fluid ounces of fragrance oil, making up the rest of the mixture with melted wax. Stir gently to ensure even distribution.
Step 7: Cool the Wax
Cool the melted wax to around 130-140°F (54-60°C). This is safer for you, but there’s also a reason in terms of candle making. Pouring at a lower temperature reduces the formation of bubbles and cracks in your candle.
Step 8: Pour the Wax
Position your wick holder across the top of your container and slot your wick into place. Slowly and carefully, pour the melted wax mixture into your container, leaving about half an inch at the top.
Step 9: Let It Set
Allow your candle to cool completely. It can take 24-48 hours for the candle to set completely. Especially with soy wax, leave the candle to cure for a week or two and it will give off more fragrance as it burns.
Step 10: Trim the Wick
Once the candle is set, trim the wick to about ¼ – ½ an inch.
Making candles is such a satisfying craft – and it’s a great way to make unique holiday gifts. If you make candles, we’d love to hear about your experiences and see your photos, so please share them here in the comments and on our Facebook page.
Let’s Have a Conversation:
Have you tried making candles? Did you use beeswax or soy – and what made you choose your wax? What’s the best thing about making your own candles?
Tags Arts and Crafts

The step-by-step guide simplifies the process, from selecting the right wax and wicks to adding essential oils for customized scents. It’s a great introduction for anyone looking to create handmade candles for relaxation or as thoughtful gifts.
I absolutely loved your guide on candle making for beginners. As someone who’s been contemplating taking up a crafty activity, this came at the perfect time.
I’ve got a burning question (pun intended haha) What’s your favorite type of candle to make, and do you have any pro tips for adding unique scents or colors? I’m eager to add a personal touch to my creations!
Thanks, looking forward to your response!
This article serves as an excellent guide for beginners interested in candle making! The step-by-step guidance offered here is remarkably precise and beneficial, ensuring that anyone can embark on this delightful craft with ease.
So glad you enjoyed it :)
Thank u for once another lady who believes n pits a quality product out there. I’ve done a lot of trial n error and it is fullfillment making these things. Thank u for putting it out there I knew I was on the correct path with this n it came natural. Thank u there so many videos out there who has been putting wrong how to videos on u tube and they r teaching people wrong. But hey more money for us women who r doing things right. God bless and thank u for sharing .
Thank you so much :)
This sounds like way too much work for me. I guess it would be worth it if you are making a bunch of candles as gifts. I only buy soy candles with lead free wicks and essential oils as scent. They are more expensive but better. Some well known expensive candle brands use paraffin because it is cheaper.
These would be great to make as a batch for presents – great idea :)