


What Is Decoupage: A Beginner’s Guide
Decoupage is a wonderful way to create unique pieces for your home that perfectly match your décor – and as an art form it’s easy to master. It’s inexpensive, using a few simple and readily available materials and techniques. Interestingly, decoupage has a long history but offers limitless opportunities for modern applications.
What Is Decoupage?
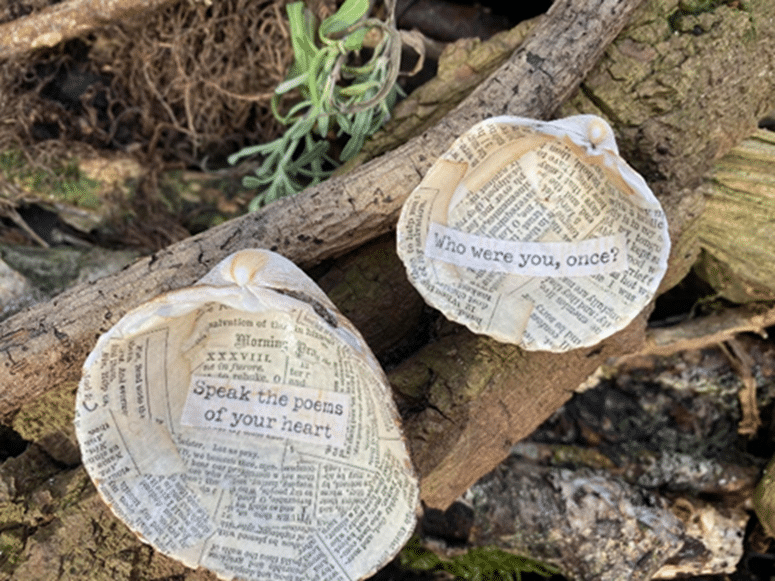
Decoupage comes from the French verb découper, which means ‘to cut out’. The basic premise of this craft technique is cutting out pictures and applying them to an object before sealing it with varnish. I have used it for everything from decorative jars and bowls to large scale furniture.
Your imagination is your only limit with this wonderful craft!
It’s a great way to upcycle everything from a thrifted glass dish to a tired and battered cupboard. Decoupage has the wonderful decorative quality of a carefully painted piece, but no painting skills are involved – it’s like magic!
It’s also incredibly flexible style-wise. I have created bright character pieces for children’s bedrooms, bookshelves covered in primitive Halloween images and a cupboard painted with chalk paint and covered with drifts of delicate ferns and dried flowers.
The History of Decoupage
The origin of decoupage can be traced back to East Asia. It was a very popular way of decorating items in China, where cut-out paper was used to decorate glossy lacquered boxes, lanterns, furniture and more. The technique travelled to Europe along trade routes in the 17th century and became popular in France and Italy, with aristocrats favouring intricately decorated ornate furniture.
Getting Started with Decoupage
The great thing about decoupage is that it requires minimal materials and equipment – and you’ll already have most of it around the house.
You Need:
- The item you want to decoupage. To get started, try something like an old tray or a wooden box.
- Pictures cut from anything you choose, from magazines, wrapping paper, paper napkins or printed out on your computer.
- Decoupage glue. I use mod podge in a variety of types from matte to crackled. This is a special kind of glue that also works to seal your work and is readily available.
- Paintbrushes in varying sizes according to your picture sizes and what you are covering in decoupage.
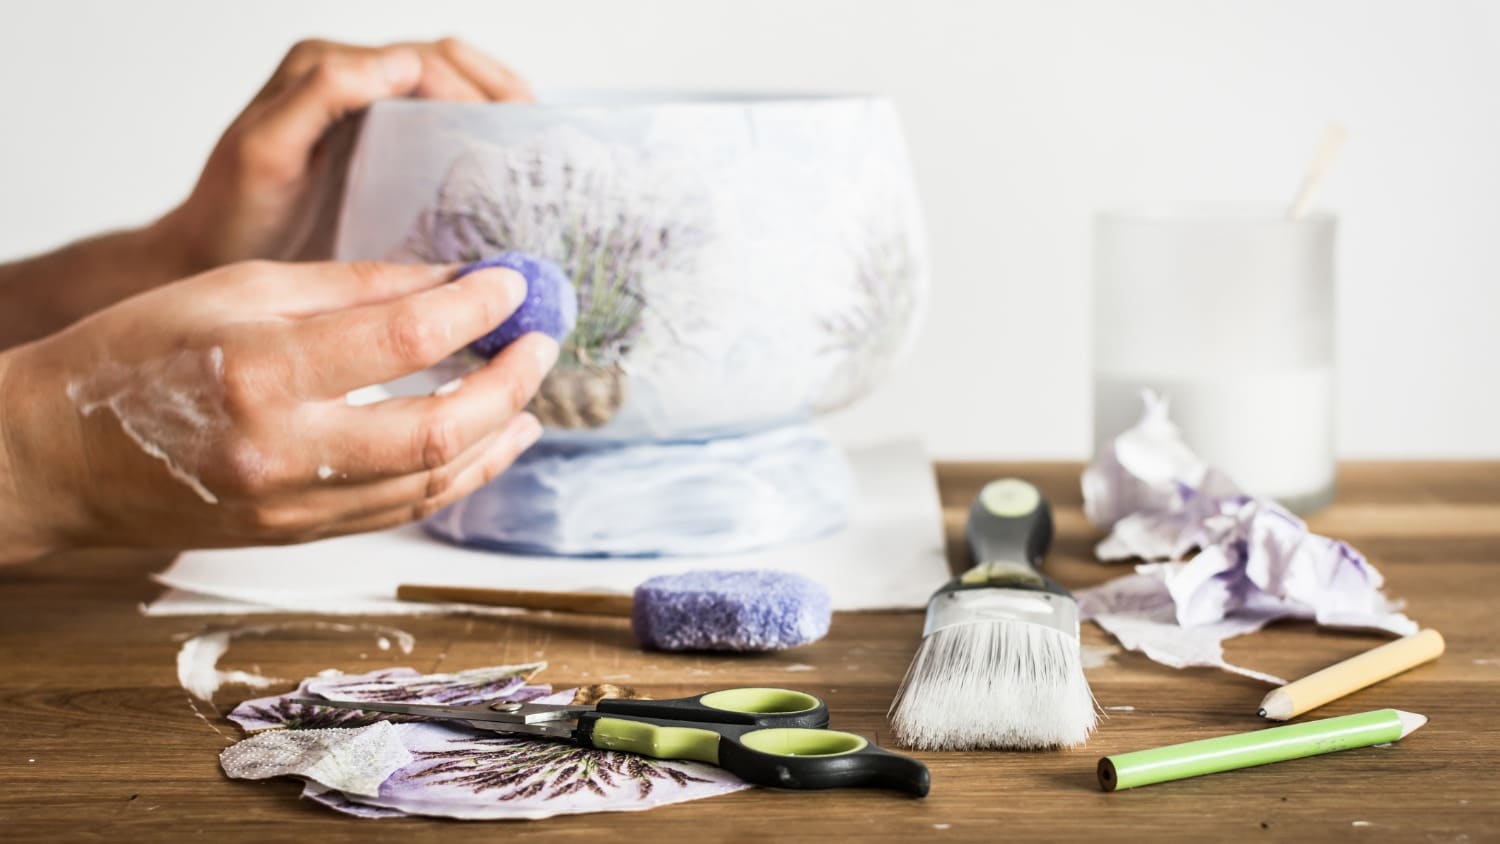
- Scissors or a craft knife to cut out your pictures.
What to Do
1. Prepare the surface of your item by cleaning it thoroughly. Make sure it is dry. This will help the glue to adhere.
- Cut out the images you want to use. Be careful and take your time; you need the edges to be as neat as possible. I like to do this in front of a film or listening to a podcast. It can take some time!
- Before you start gluing, decide roughly where you want your images to be on the object you are decoupaging. Play around with them until you’re happy with the design.
- Once you are happy with your layout, apply decoupage glue to the back of each image using an appropriate paintbrush. When you stick it onto the object you are decorating, smooth it out from the centre, pushing gently towards the edge to remove any air bubbles or wrinkles.
- Once all your images are glued down, wait for the glue to dry. Then apply a thin layer of decoupage glue over the top to seal the images.
- Once the glue has dried, apply a thin layer of mod podge (or varnish if you prefer). A couple of thin coats with drying between each coat is better than one thick coat for a smooth finish.
Taking Decoupage Further
I like to use mulberry paper and dried plant materials to decoupage thrifted glassware or inexpensive glass bowls and dishes. Mulberry paper is made from inner bark fibres from the mulberry tree. It comes in a huge variety of colours.
For decoupage, use sheer mulberry tissue – it’s fine and translucent. Tear small pieces of the tissue for decoupage. You’ll see fine fibres at the edges – these mat together as you place them on your plate or bowl, so the item looks as though it has been covered in a single layer.
I press and dry leaves, ferns and flowers to create the most delicate decoupage bowls. You can buy these ready pressed if you prefer. Sometimes I cut shapes from leaves when I collect them and they are still pliable, and then press them. These are perfect for decoupage. This bowl is made using peach mulberry tissue and heart shapes cut from autumn leaves.
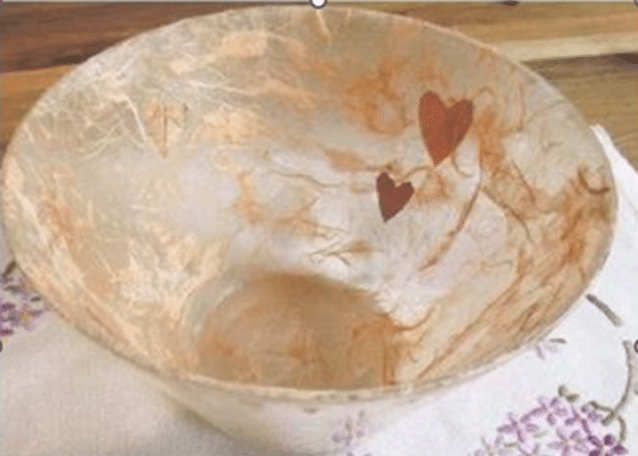
To achieve the same effect, cover sections of the outside of your bowl or dish with mod podge. You paste the outside because then you can still place food items such as candies or cookies inside. Once dry, you will be able to wipe the bowl with a damp cloth. Then apply mulberry tissue pieces, overlapping them slightly. As you go, paste mod podge over the mulberry tissue.
Choose a place to put your dried plant material or leaf cuts and paste them on the glass bowl or dish, and then paste mulberry tissue on top. When the mod podge dries you will be able to see the plant material through the glass bowl. When your item is covered, add a coat of mod podge to seal it. It will look messy and white until it is fully dry, when it will be transformed.
If you have a go at decoupage, we’d love to hear about your experiences and see your photos, so please share them here in the comments.
Let’s Have a Conversation:
Have you tried decoupage? Have you experimented with different types of images, or dried plant materials? Have you upcycled any furniture items in this way?
Tags Arts and Crafts


I am 67 and retired.
I started decoupage in 4H as a kid 55+ yrs ago. My 1st projects won me a trip to the State Fair!! I actually still have one of the projects!! It is really fun and I’m hoping to get into again more that I am retired!