


7 Easy Crochet Patterns for Beginners
Crochet is a fun, relaxing way to make beautiful projects. And while transforming a single strand of yarn into beautiful garments and accessories using just a hook may seem a bit like magic, it’s easier than you think. There are lots of easy patterns that even beginners can handle, so let’s get started!
Here are our top 7 easy crochet patterns for beginners:
- Crochet Dishcloth
- Granny Square
- Cozy Crochet Infinity Scarf
- Easy Crochet Bracelet
- Simple Crochet Shawl
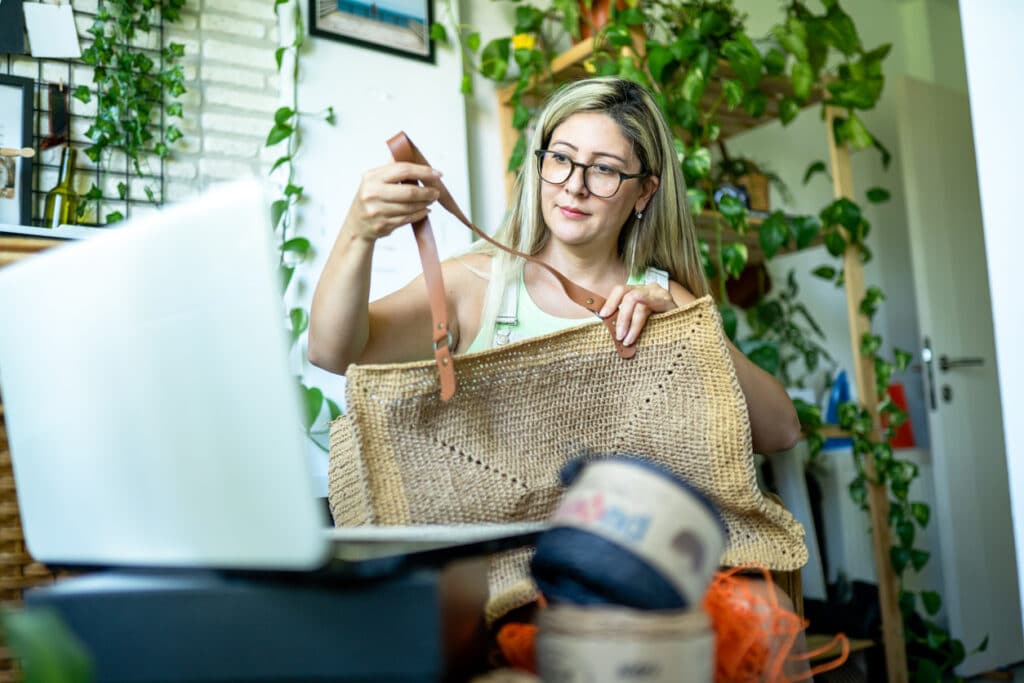
- Basic Market Bag
- Crochet Baby Blanket
Methodology for Selecting Easy Crochet Patterns
There are several factors to consider when it comes to easy crochet patterns for beginners. Let’s take a look.
- Skill Level: Naturally, the best patterns for beginners are those labeled “easy” or “beginner.”
- Materials: Patterns requiring basic yarn and supplies available at any craft store are great for beginners. There’s no sense in potentially wasting expensive hand-made yarn while you’re still learning the craft.
- Required Stitches: Some stitches are much more complex than others. These projects all feature basic stitches every beginner needs to learn.
- Project Type: Small projects, like dishcloths and bracelets, are best for beginners as they teach basic crochet skills. More advanced beginners may enjoy larger projects, like shawls and baby blankets.
#1. Crochet Dishcloth
Crochet dishcloths are perfect for practicing your crochet skills. They’re small and quick but will still teach you important techniques. Here’s how to make your first crochet dishcloth:
Materials:
- Worsted weight cotton yarn
- Crochet hook (size G/4.5 mm)
- Yarn needle
- Scissors
Instructions:
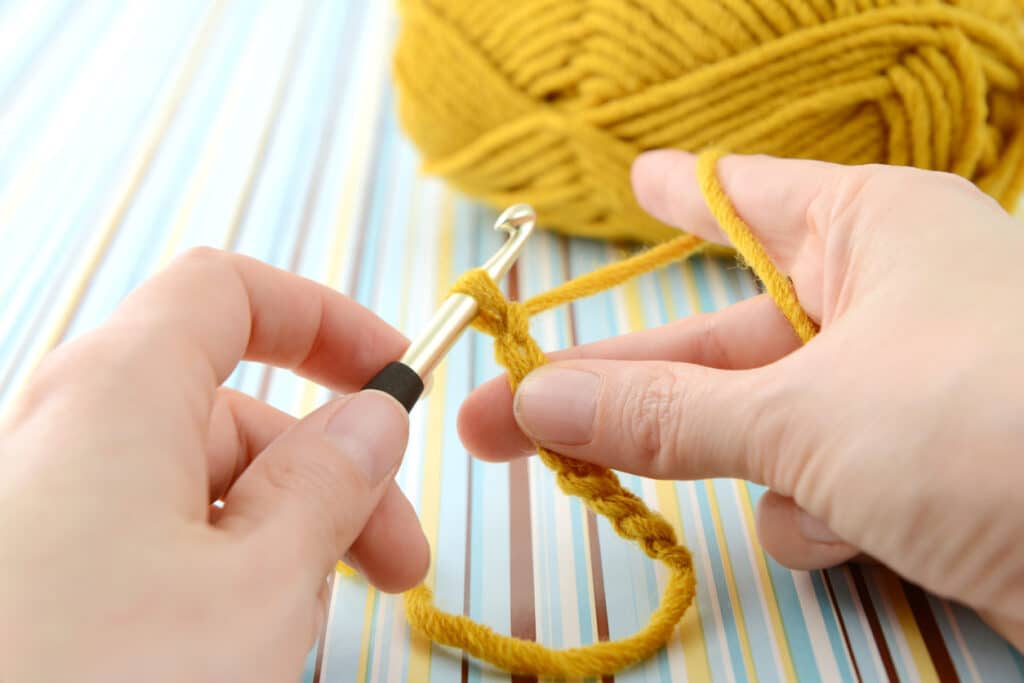
- Make a slip knot on your hook, then chain 24 stitches.
- Make a single crochet in the second chain from the hook. Then, make one single crochet in each chain stitch across the row. Chain 1 and turn.
- For row 2 and subsequent rows, make a single crochet in each stitch across the entire row. Chain 1 and turn.
- Continue working this way until the dishcloth is square or until it reaches your desired size. The dishcloth should be approximately 8-10 inches square.
- When you reach your desired size, fasten off the yarn and weave in the tail.
- Add a border to the dishcloth if you like. One simple border is to make one round of single crochet stitches around the edge of the dishcloth. To do this, make one single crochet in each stitch around the edge of the dishcloth, making two single crochets in each corner stitch.
- Fasten off the yarn and weave in any loose ends.
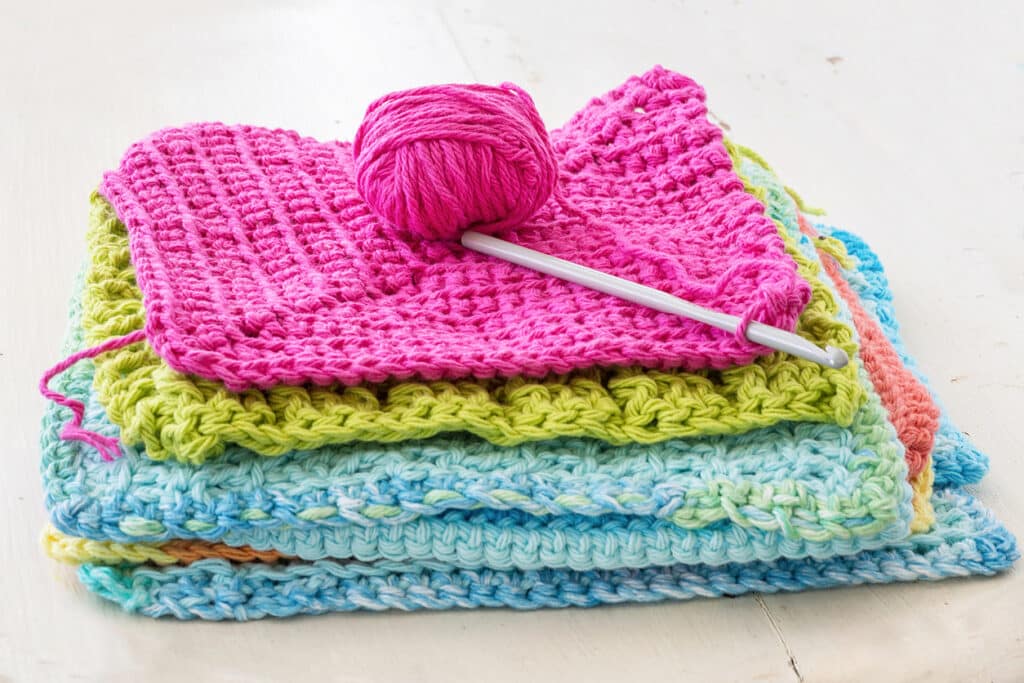
Your crocheted dishcloth is now complete! You can use it in the kitchen for cleaning dishes or wiping up spills, or give it as a handmade gift to a friend or family member.
#2. Granny Square
Granny squares are easy to make and can be joined together to create blankets, scarves and more. They’re also a great way to learn how to crochet because they teach you the basics of working in the round and creating an even, symmetrical shape.
Materials:
- Worsted weight yarn in three different colors (color A for the center, color B for the first round, and color C for the second round)
- Crochet hook (size H/5 mm)
- Yarn needle
- Scissors
Instructions:
- Make a slip knot on your hook, then chain 4 stitches. Join the chain to form a ring.
- Chain 3 stitches, then make 2 double crochet stitches into the center of the ring. Chain 2 stitches. Then, make 3 more double crochet stitches into the center of the ring. This completes the first cluster.
- Make 2 more clusters into the center of the ring, each separated by a chain-2 space. To make a cluster, crochet 3 double crochets into the center of the ring, chain 2, then crochet 3 more double crochets into the center of the ring.
- Join color B by making a slip knot on your hook and inserting it into any chain-2 space. Chain 3 stitches, then make 2 double crochet stitches into the same chain-2 space. Chain 2 stitches, then make 3 more double crochet stitches into the same chain-2 space. This completes the first cluster of the second round.
- Make 1 cluster into the next chain-2 space, then make 2 clusters into each of the remaining chain-2 spaces around the square, with a chain-2 space between each cluster.
- To complete the second round, join color C by creating a slip knot on your hook and inserting it into any chain-2 space. Chain 3 stitches. Then make 2 double crochet stitches into the same chain-2 space. Chain 2 stitches, then make 3 more double crochet stitches into the same chain-2 space. This completes the first cluster of the third round.
- Make 1 cluster into the next two chain-2 spaces. Then make 2 clusters into the next chain-2 space. Repeat this pattern (1 cluster into each of the next two chain-2 spaces, then 2 clusters into the next chain-2 space) all the way around the square.
- To finish, slip stitch into the top of the chain-3 stitch of the first cluster of the third round. Fasten off the yarn and weave in any loose ends.
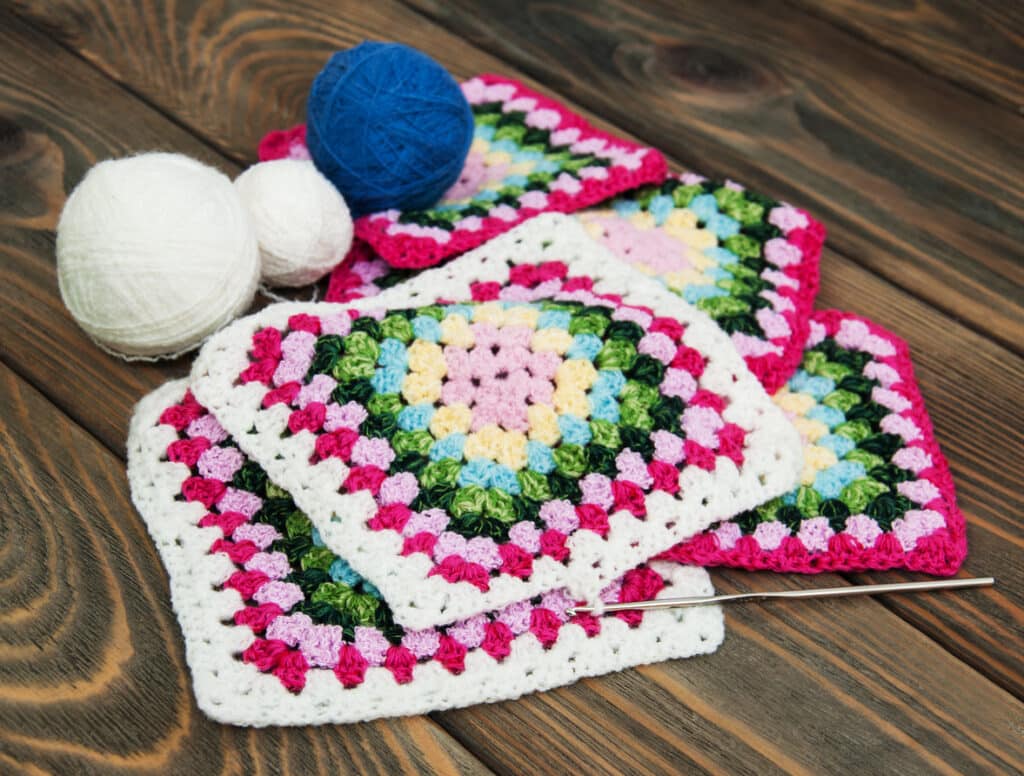
Congratulations, you’ve made a granny square! Repeat these steps to create additional squares and join them to make a larger project, such as a blanket or throw.
#3. Cozy Crochet Infinity Scarf
This is a great pattern for beginners who are ready to move on to larger projects.
Materials:
- Worsted weight yarn (about 300-400 yards)
- Crochet hook (size I/5.5 mm)
- Yarn needle
- Scissors
Instructions:
- Make a slip knot on your hook, then chain 200 stitches.
- Join the last chain stitch to the first chain stitch with a slip stitch, being careful not to twist the chain. This creates a large loop.
- Chain 3 (counts as first double crochet). Make 1 double crochet in every stitch around the loop. Use a slip stitch to connect to the top of the beginning chain 3.
- Repeat until the scarf is the desired width. A typical width for an infinity scarf is about 8-10 inches.
- When the scarf is the desired width, fasten off the yarn, leaving a long tail. Use the tail to sew the two ends of the scarf together to form a loop. Weave in any remaining ends.
Your basic infinity scarf is now complete. You can wear it as a cozy and stylish accessory or give it as a handmade gift to a friend or family member. Experiment with different yarn colors, weights and textures to create a unique infinity scarf.
#4. Easy Crochet Bracelet
A simple bracelet is a great project for beginners because it’s quick and easy to make. You can make it with any type of yarn, but I recommend using cotton as it’s soft and comfortable on the skin.
Materials:
- Crochet thread or embroidery floss
- Crochet hook (size C/2.75 mm or size recommended for your thread/floss)
- Jewelry clasp or button
- Yarn needle for weaving in ends
- Scissors
Instructions:
- Make a slip knot on your crochet hook and chain the desired length for your bracelet. A good starting point is about 25-30 chains.
- Single crochet in each chain stitch across the row.
- Chain 1 and turn, then single crochet in each stitch across the row.
- Continue working in this manner, single crocheting in each stitch across the row and chaining 1 at the end of each row, until your bracelet is the desired width.
- Fasten off your thread/floss, leaving a long tail for weaving in the ends.
- Using your yarn needle, weave in the ends of your bracelet.
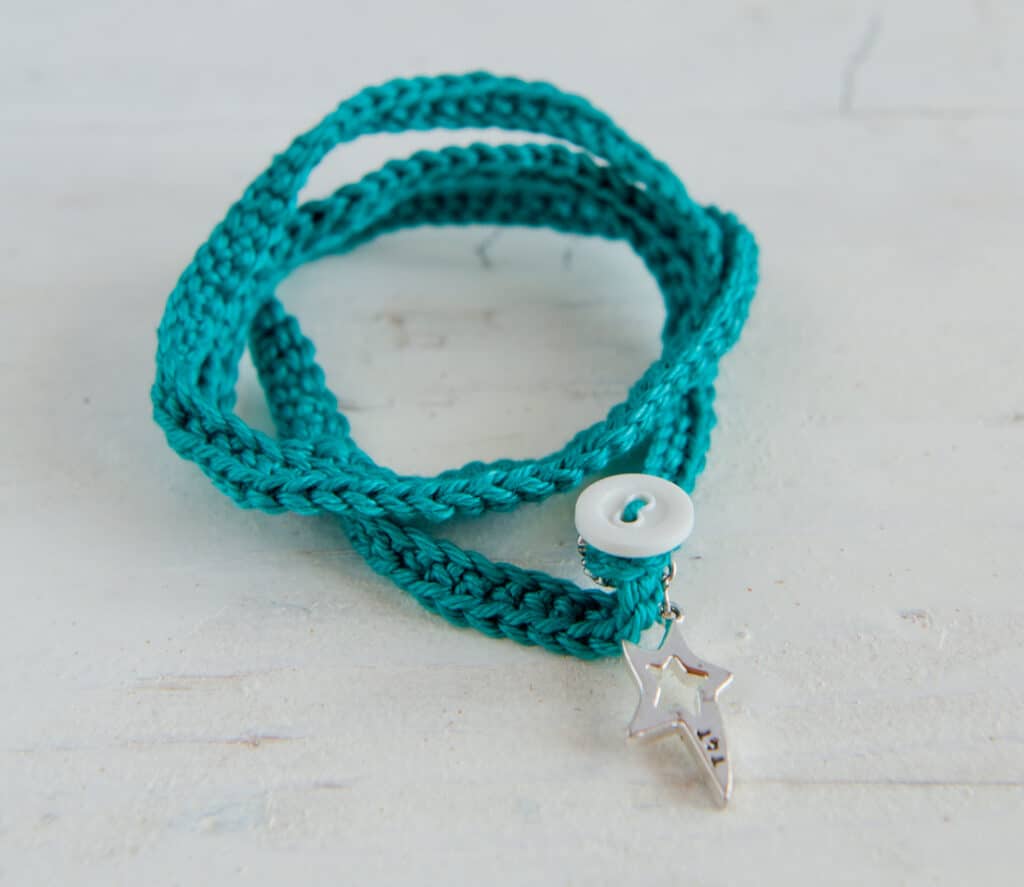
Attach a jewelry clasp or button to the ends of your bracelet, using your yarn needle and thread/floss. If you’re using a button, sew it onto one end of the bracelet, then create a loop on the other end for the button to fasten onto. If you’re using a clasp, sew one end of the clasp onto one end of the bracelet, then attach the other end of the clasp to the other end of the bracelet.
#5. Simple Crochet Shawl
A crochet shawl is a great beginner project, and the simple design of this one makes it perfect for learning how to make increases in crochet.
Materials:
- Yarn of your choice (The thicker the yarn you use, the larger the shawl will be.)
- Crochet hook appropriate for the yarn weight
- Yarn needle
- Scissors
Instructions:
- Begin by making a slip knot and putting it on your crochet hook.
- Chain 4 stitches and slip stitch into the first chain to form a circle.
- Chain 3 stitches (counts as first double crochet stitch), then double crochet 2 stitches into the center of the circle.
- Chain 2 stitches, then double crochet 3 stitches into the center of the circle.
- Continue in this pattern, chaining 2 stitches between groups of 3 double crochet stitches, until the shawl is the desired width. The number of stitches will increase with each row.
- When the shawl has reached the desired width, begin working the sides of the shawl. To do this, chain 3 stitches and turn your work.
- Double crochet into the chain-2 space from the previous row, then chain 2 stitches.
- Double crochet into the next chain-2 space, then chain 2 stitches. Repeat this pattern across the row.
- Continue in this pattern, chaining 2 stitches between double crochet stitches, until the shawl is the desired length.
- To finish, cut the yarn leaving a long tail and pull it through the final loop on your hook to secure it. Weave in any loose ends.
Congratulations, you have now crocheted a shawl! Remember, you can experiment with different yarns, stitches, and patterns to create a shawl that’s uniquely your own.
#6. Basic Market Bag
Materials:
- Yarn of your choice
- Crochet hook appropriate for the yarn weight
- Yarn needle
- Scissors
Instructions:
- Make a slip knot and put it on your crochet hook.
- Chain 26 stitches.
- Double crochet into the 4th chain from your hook.
- Double crochet into every chain across the row.
- Chain 2 stitches and turn your work.
- Double crochet into every stitch across the row.
- Repeat step 6 until the bag reaches the desired height. Make your market bag deep enough, so you can carry a lot of groceries.
- Once you have reached the desired height, create the bag’s handles. To do this, chain 4 stitches and skip the next 4 stitches. Double crochet into the next stitch. Repeat this pattern across the row.
- Chain 2 stitches and turn your work.
- Double crochet into each stitch across the row, including the chain stitches from the previous row.
- Repeat steps 8-10 on the other side of the bag to create the second handle.
- To finish, cut the yarn leaving a long tail and pull it through the final loop on your hook to secure it. Weave in any loose ends.
#7. Crochet Baby Blanket
Baby blankets are great for beginners ready to try a larger project. You can whip this one up in an afternoon, and it would make a lovely gift.
Materials:
- Baby weight yarn
- Crochet hook appropriate for the yarn weight
- Yarn needle
- Scissors
Instructions:
- Begin this project by making a slip knot and placing it on your crochet hook.
- Chain 100 stitches (or desired width of the blanket).
- Double crochet into the 4th chain from your hook.
- Double crochet into every chain across the row.
- Chain 2 stitches and turn your work.
- Double crochet into every stitch across the row.
- Repeat step 6 until the blanket is the desired length. Aim for around 36-40 inches (90-100 cm) for a baby blanket.
- To finish, cut the yarn leaving a long tail and pull it through the final loop on your hook to secure it. Weave in any loose ends.
Remember, you can experiment with different yarns, stitches and patterns to create a blanket that’s uniquely your own. You can also add personal touches like edging or appliques to make the blanket special. Be sure to use baby-safe materials and avoid any potential choking hazards.
Let’s Have a Conversation:
Are you seeking to learn to crochet? Have you tried crocheting previously? What patterns have you tried? If this is not a new hobby, how long have you been crocheting? Have you tried any of these patterns? How did they turn out? We encourage you to share your thoughts below!
Tags Arts and Crafts
I haven’t done this for years, going to take it up again now!
Hi, i can’t imagine how Simple Crochet Shawl look like. There no picture show the finish shawl. 🤔 can you show to me?
Love to crochet!