


Is Needle Felting on Your Hobbies Bucket List? Let’s Get Started!
Needle felting (also called ‘dry felting’) is a fun way to create creatures, people, pictures – and even jewellery – from wool fibre, using a special needle. It’s an inexpensive craft that makes little mess and can be done ‘on the go’. I’ve been known to needle felt on long train journeys, on camping holidays and even at the beach!
The kit you need takes up very little space, so it’s even great as a portable craft for a weekend trip in the RV. It’s also a great way to work out all of your frustrations, with all that ‘stabbing’…
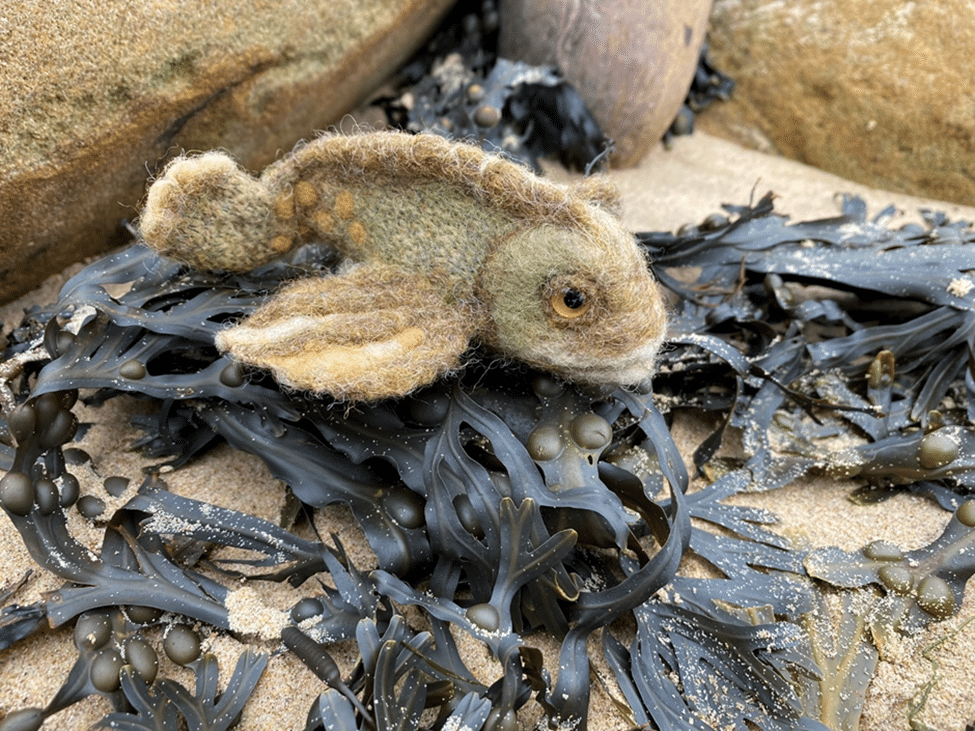
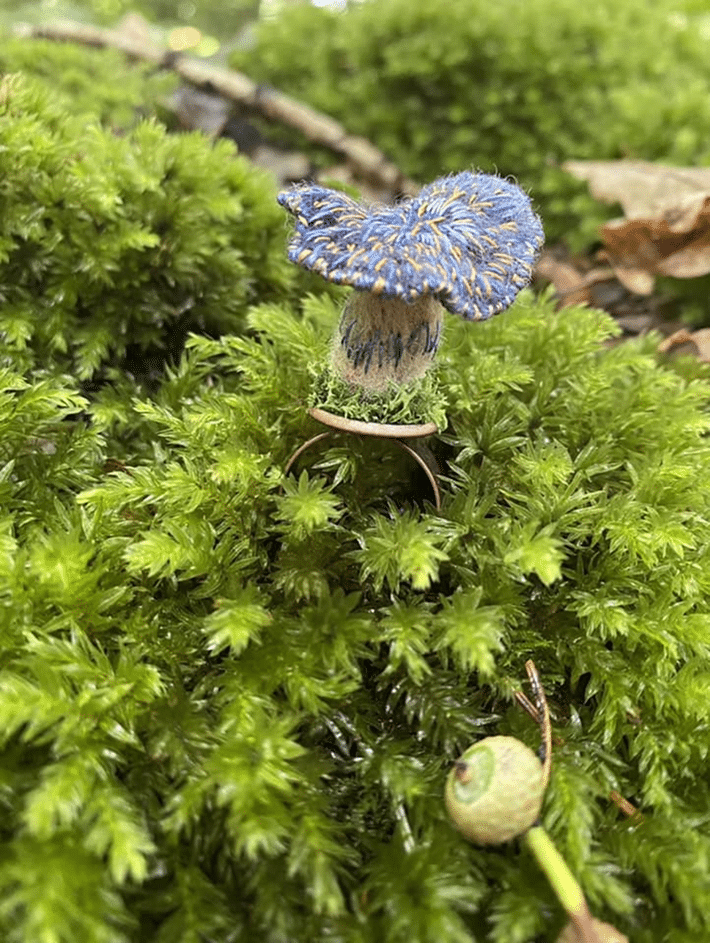
Needle felted blenny, Enter the Wildwoods
How Does Needle Felting Work?
Woollen fibres – and many other animal fibres used by needle felters – have scales on them, just like those found on human hair. When you needle felt, it’s a little like back-combing hair. Needle felting needles have tiny notches or barbs cut into them. The barbs catch the fibres and tangle them together to create solid 2D and 3D artwork.
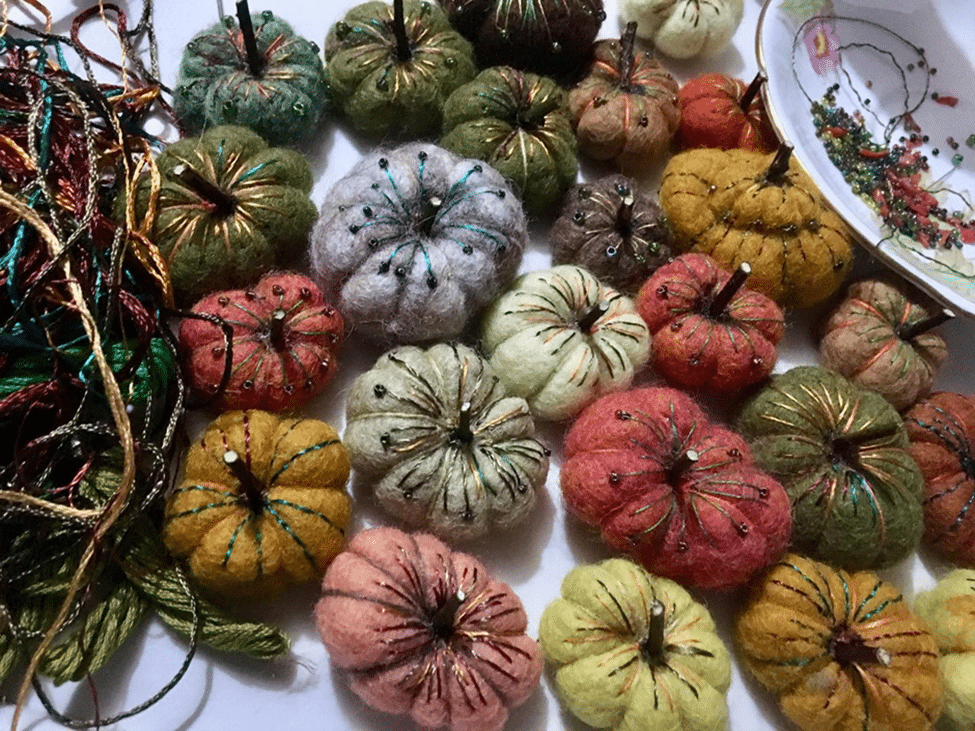
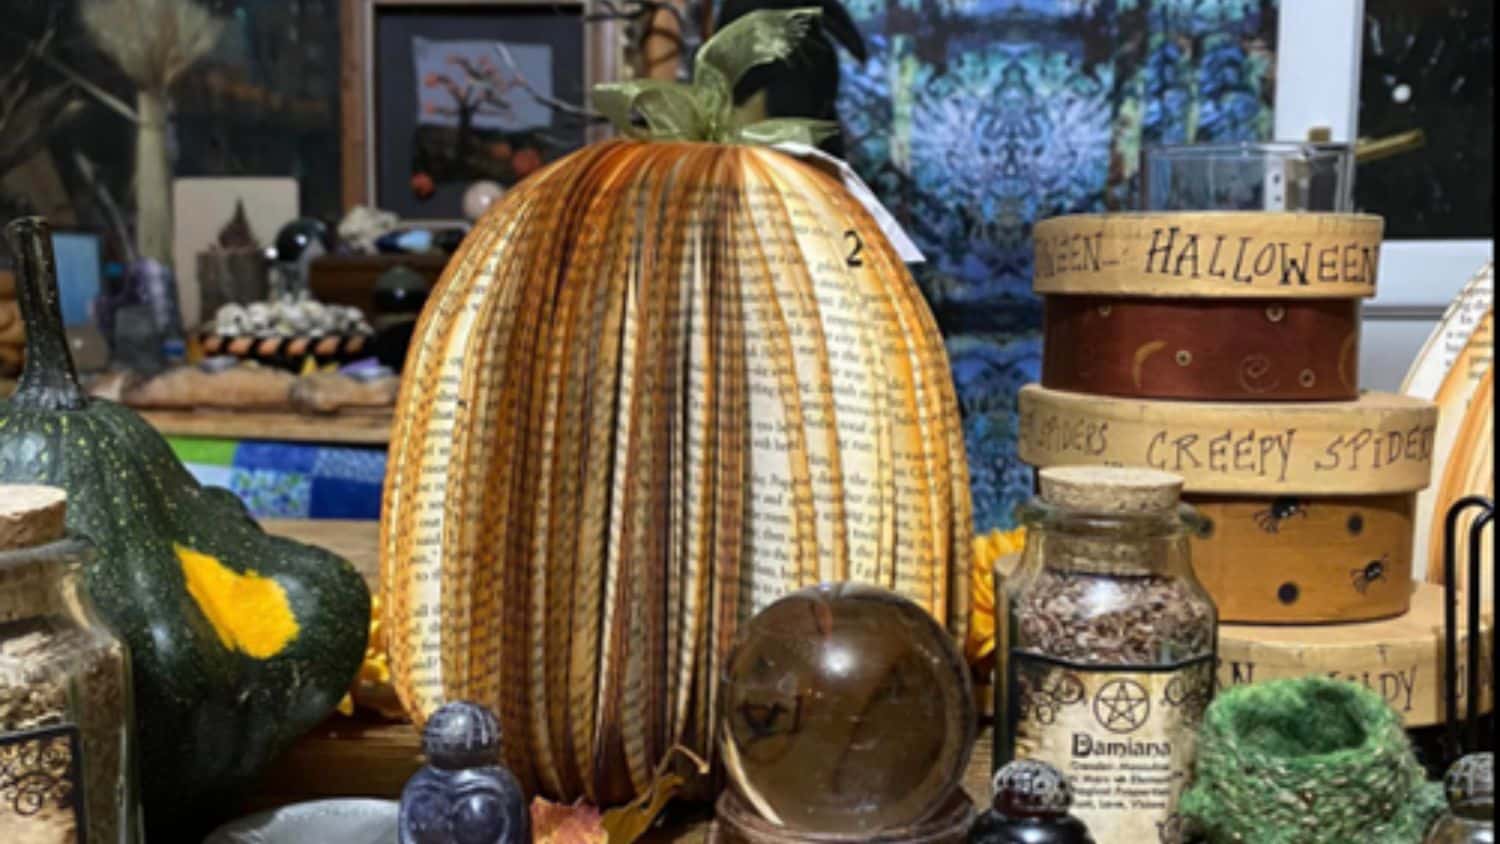
Needle felted pumpkins Enter the Wildwoods
The Birth of Needle Felting
Wet felting is an ancient craft; needle felting is a recent and wonderful development which began in factories in the Victorian era, but only entered the crafting sphere in the 1980s. The needles used for needle felting weren’t developed for needle felting originally. They were created for the huge needle punching machinery used to create non-woven fabric – felt – in factories in the 1800s.
Great mills produced felt used for insulation, carpeting and in more recent times, similar technology is additionally used in the auto industry. In the 1980s, Eleanor and David Stanwood were working with some of the last traditional felt makers in Belgium, trying to develop light batting for quilts. Eleanor brought back some of the needles and began to experiment with them, making felt by hand.
Californian textile artist Ayla Tapai experimented with individual felting needles, and Birgitte Krag Hansent, a sculptural wet felter based in Denmark, saw what she was doing and became interested in needle felting. The process spread across Scandinavia, the UK and Japan – and now we find ourselves in the happy position of needle felters stabbing away happily across the globe.
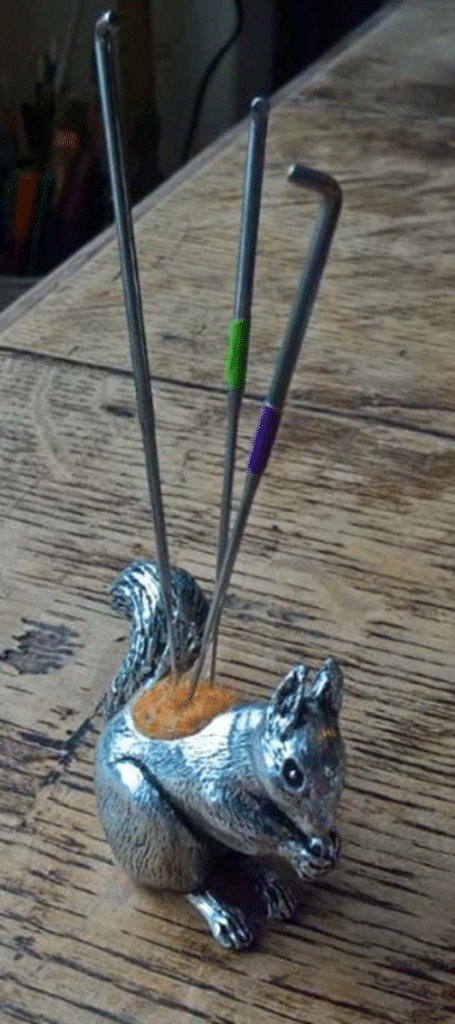
Felting needles Enter the Wildwoods
What Do I Need to Get Started with Needle Felting?
Needle felting is an inexpensive craft, where you do not need to spend very much at all to get started. That means you can dip your toe in the delightfully fluffy waters and see if you like needle felting before you make any real investment.
You need:
- Felting needles, various sizes
- A felting mat or sponge
- A small quantity of fibre
Let’s take a look at what’s available. Knowing what to buy and where it can be purchased means you can jump right in, because I’ve already done the legwork for you!
All About Needles
Felting needles are not all created equal; there are different qualities and a variety of thicknesses or gauges, and notch shapes. Unsurprisingly, it’s a case of you get what you pay for, and if you buy a bundle of cheap needles from a non-specialist website, they are likely to be of inferior quality. It’s worth buying decent needles to get a good quality finish, and to learn about which needles suit you best.
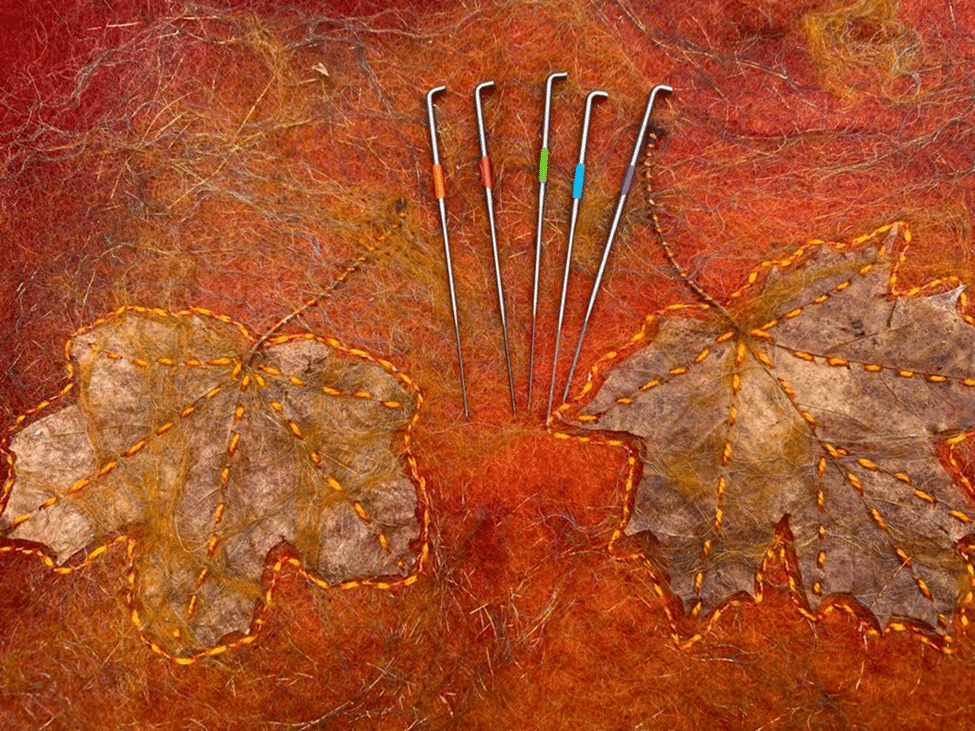
Felting needles Enter the Wildwoods
The different gauges of needles have different functions. The larger the number, somewhat confusingly, the finer the needle – so a 42-gauge is finer than a 36-gauge. I tend to start any work with a larger gauge needle such as a 38 as it felts more quickly, firming loose fibres into the required shape, and then move onto finer needle such as a 42 for finishing, fine detail and smoothing my piece.
These finer needles allow delicate details to be added and enable you to tuck in any remaining ‘fluffy’ fibres. You can even buy reverse needles which are used to pull tufts of wool out of a sculpture rather than poking it in, which is useful for some animal sculptures and for blending colours and creating a gradient of shades.
You can buy triangle and star shaped needles, and which shape of notch you choose is really just a case of personal preference. I find they work equally well.
You can also buy a variety of wooden and plastic handled tools that can make felting more comfortable and quicker. This is important if your hands are prone to aching.
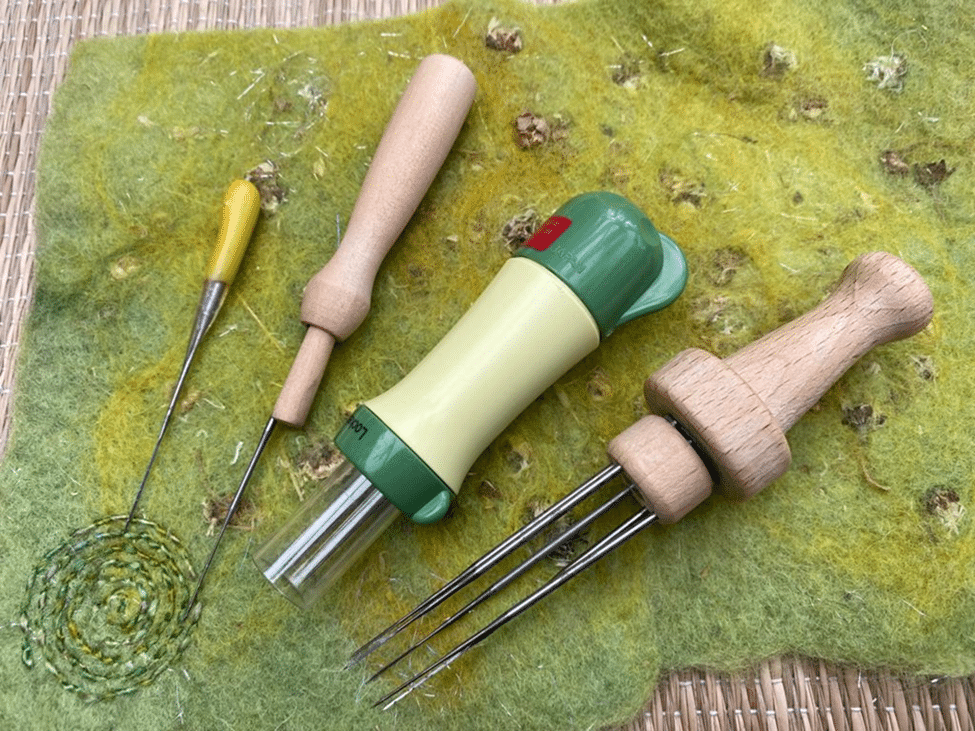
Needle felting tools Enter the Wildwoods
Whichever needles you choose, always remember that felting needles are ridiculously sharp, can be dangerous and can cause nasty puncture wounds. Always make sure you keep your ‘non-stabbing’ hand well out of the way. Trust me – I know from experience.
Fibre for Needle Felting
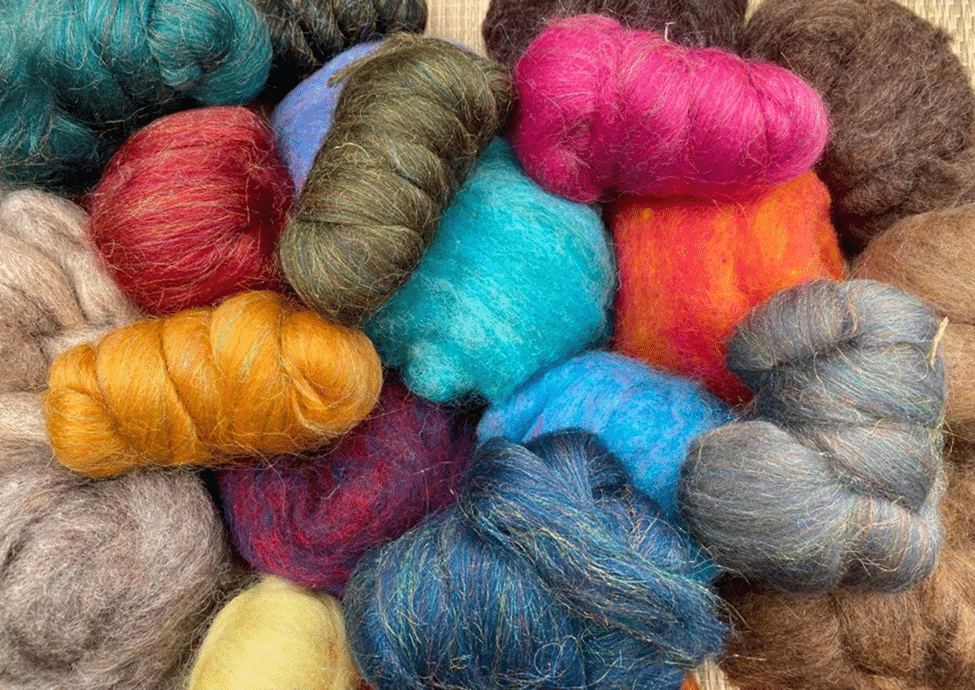
A variety of carded wool and roving for needle felting Enter the Wildwoods
Here’s where the fun starts! You know that saying that buying art supplies and using them are two different hobbies? It definitely applies to buying fibre for needle felting! There are so many delicious colours and textures, it’s hard to know when to stop.
Whether you are needle felting 2D pictures, or sculpting 3D people and animals, you need carded batts. These slivers of wool have been blended on carding machines to create everything from naturally coloured wool for making creatures, to glorious sparkling silky batts for creating effects.
You may also want to buy some merino tops, for adding fine detail and top coats. This silky wool is often used in wet felting, but it has its uses in needle felting too. Some of these tops have added sparkle or specialty fibres, such as Tencel or silk.
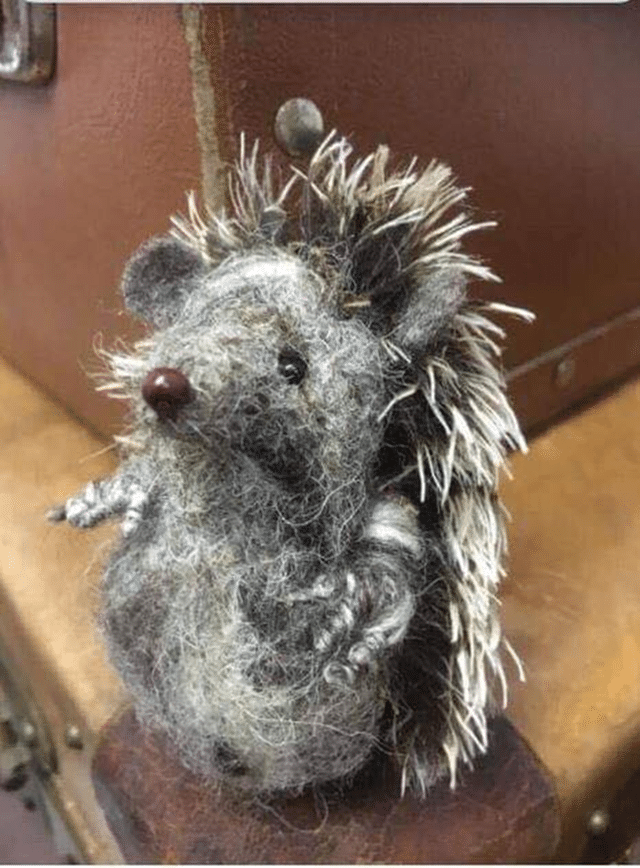
Needle felted hedgehog Enter the Wildwoods
If you are making 3D sculptures, you will need some core wool. Core wool is quite fluffy wool that has not usually been carded, and all the fibres go in different directions. This makes it easy and quick to felt into firm shapes.
As the name suggests, these shapes are the ‘core’ of your sculpture. Core wool is inexpensive and saves you from using up all of your gorgeous fancy wools making the inside of your model. Once you have the shape you want, you add colours and effects.

Core wool for the basic shapes for 3D needle felted sculptures Enter the Wildwoods
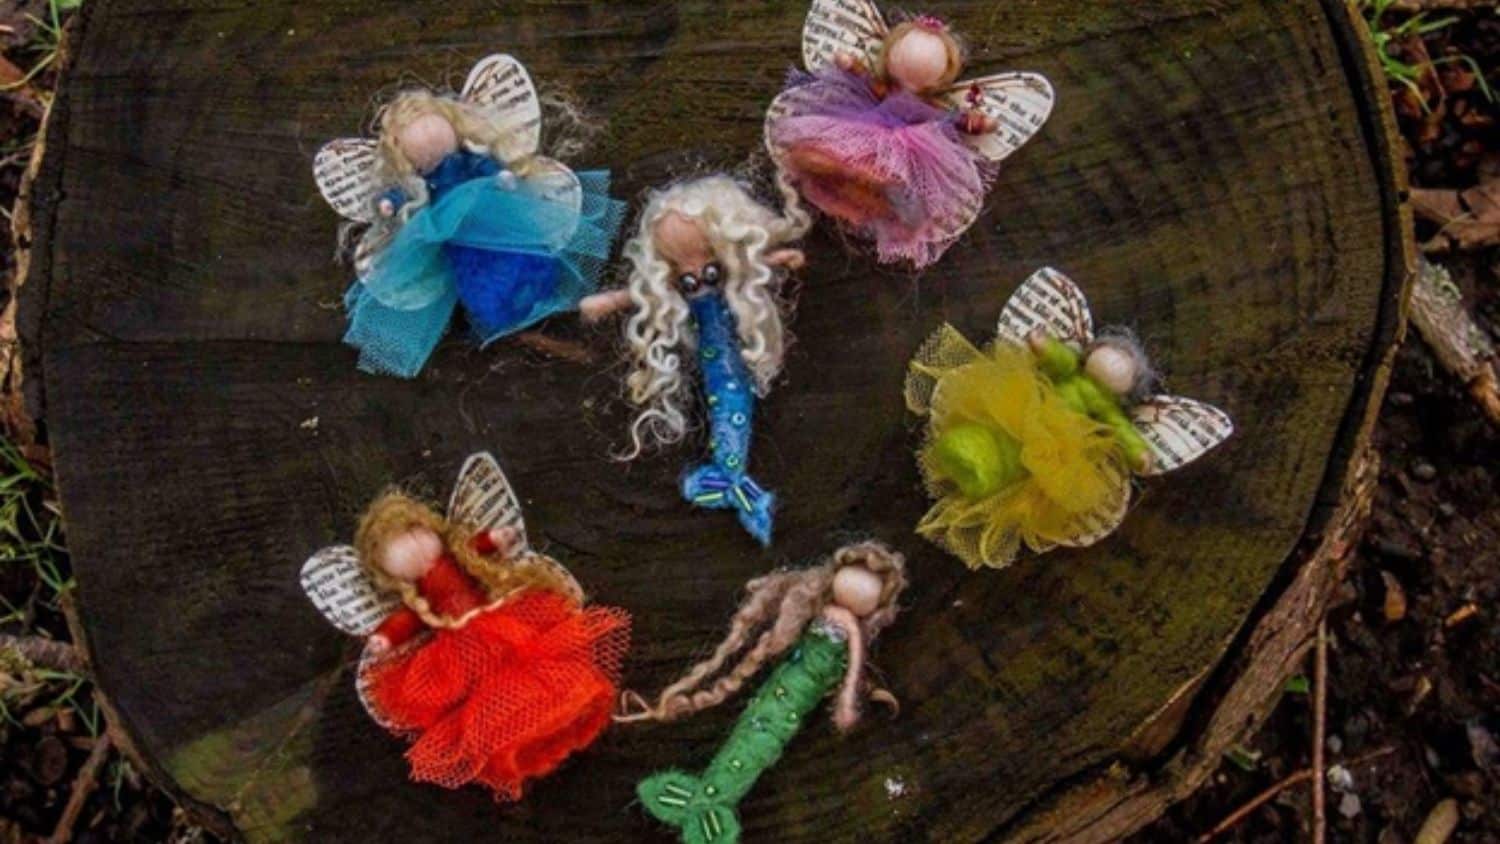
If you want to make fairies or people, you may want to buy some locks. These are curly lengths of wool from sheep with curly fleeces, such as Wensleydales. They are dyed a variety of gorgeous colours and make wonderful hair.
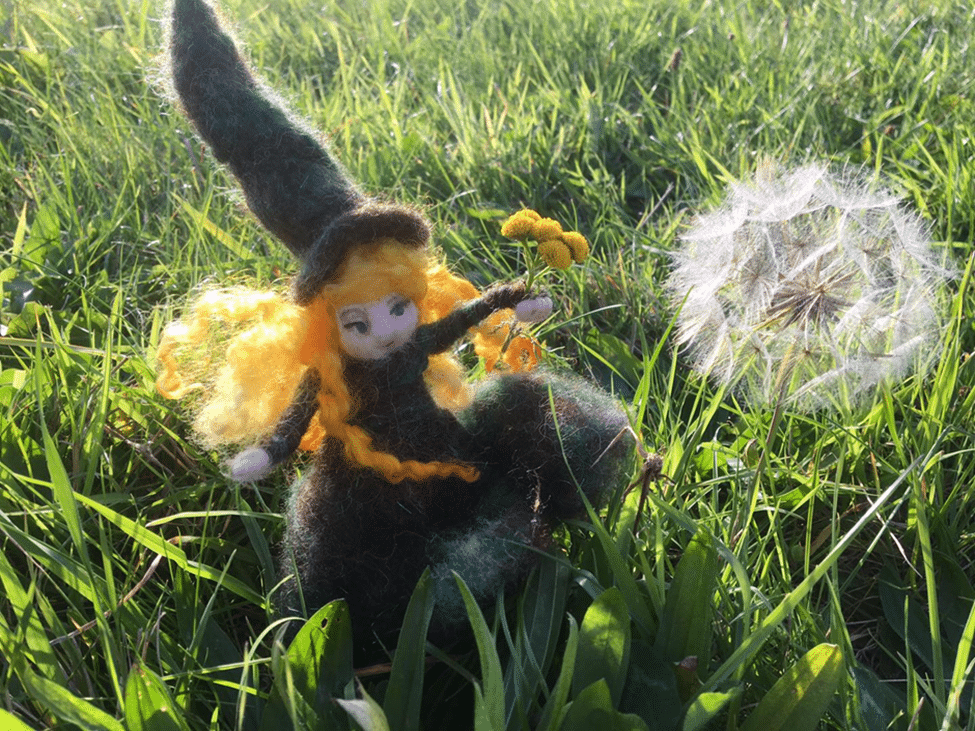
Cute witch for Halloween with locks for hair Enter the Wildwoods
Felting Mats
To start stabbing, you need a surface to stab into. The cheapest and easiest to obtain is a foam pad, which is ideal for beginners and to get you started. They are inexpensive, and there’s a huge variety to experiment with so you can work out which suits you best.
I use different felting pads for different work. I sometimes use thick upholstery foam because it has a good solid weight to it and even if you stab hard, it gives good support. You can use the thick expanded foam sheets that often comes in packaging – and it’s a great way to reuse and recycle!
You can also buy felting brushes, which are large, soft square brushes that sit on your table to felt into. My favourite surface to felt on these days is a wool pad that has been wet felted firmly. You can also buy comfortable to use wool cushions.
For felting animals, or anything I want to felt hard, I sometimes use a simple linen bag that I have stitched and filled with rice. You can also buy ready made burlap bags like this to fill at home.
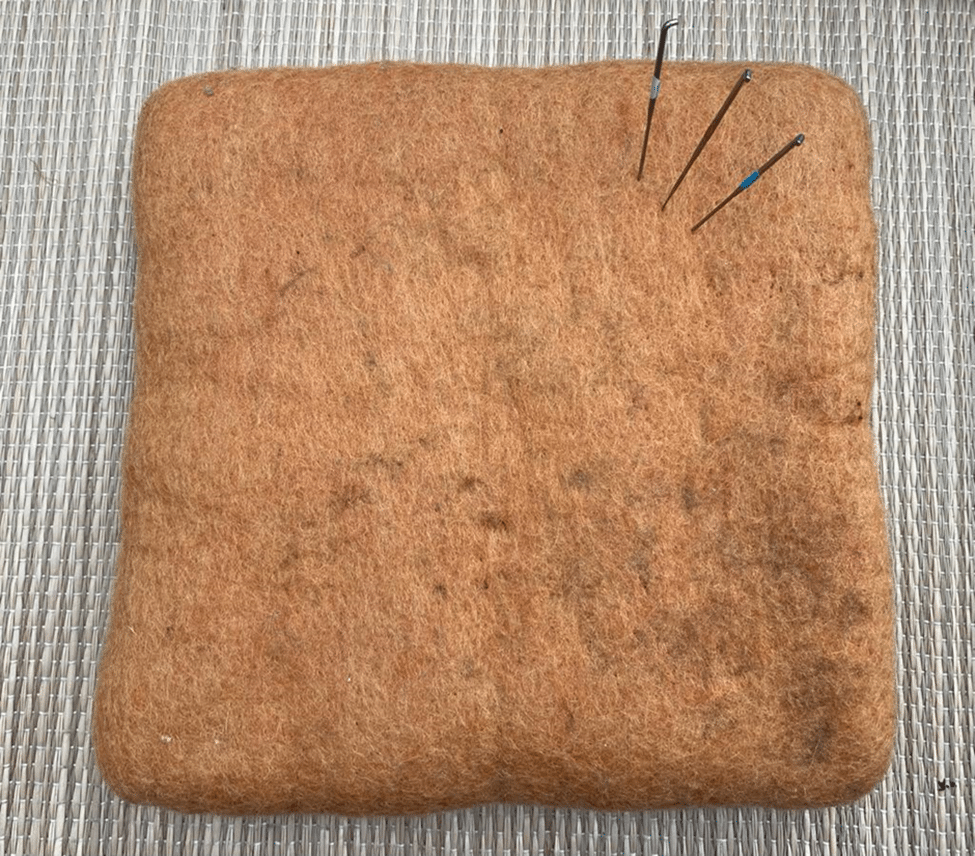
Wool pad for needle felting Enter the Wildwoods
Needle Felting Sundries to Explore
If you find that needle felting becomes a hobby, there are lots of things to explore that make needle felting even more fun. You don’t need any of them when you start out, but they are great fun to play with…
If you really get into needle felting, you may want to invest in some carders or mini-carders so you can blend your own fibre mixes. These look a little like dog brushes, and for small quantities of wool these can be used successfully.
If you get hooked on needle felting, specially designed tools for needle felters such as Sarafina Fiber Arts’s ZulliTool and DigitWidget will help you to make shapes consistently well. Her website is a mine of information and wonderful supplies; I have spent many happy hours (and plenty of money!) there, gathering ‘needful things’.
As you become more experienced with needle felting, you can add armatures – supportive ‘skeletons’ made of wire or pipe cleaners – to your models. This is useful if you want to be able to pose figures, too. The wire or pipe cleaners are wrapped in wool as the model is made.
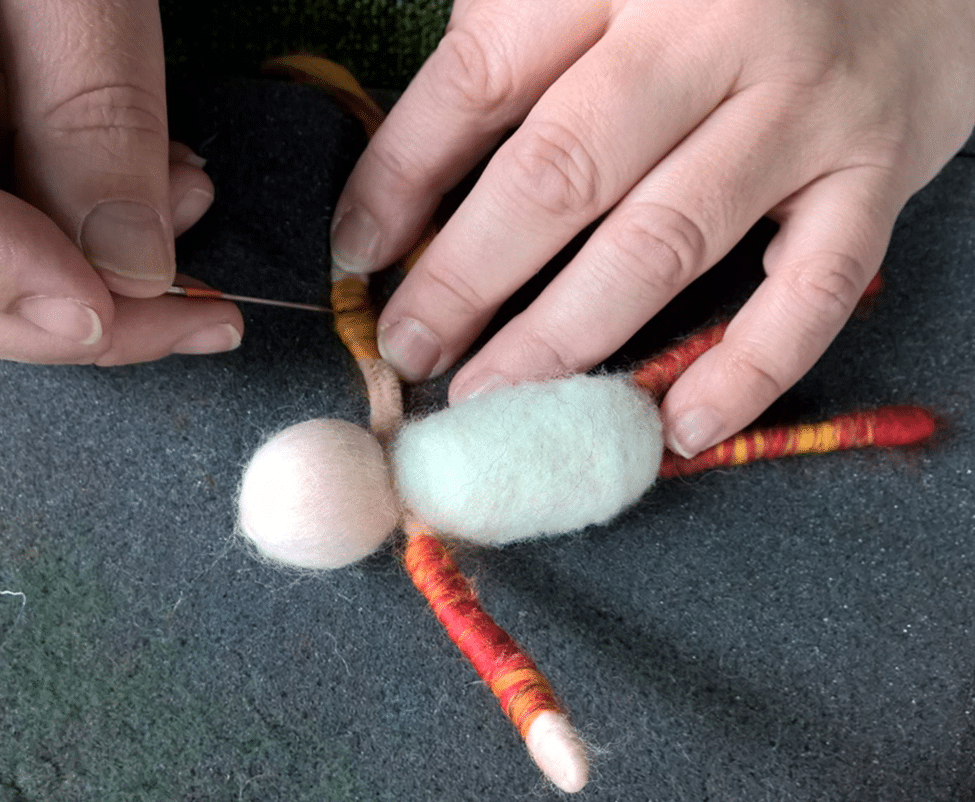
Adding a pipe cleaner armature to a poseable fairy Enter the Wildwoods
Angelina film is a fantastic material to use if you want to make cute fairies, dragons or other fantastical creatures. The shimmering sheets can be heated to make gorgeous and whimsical wings.
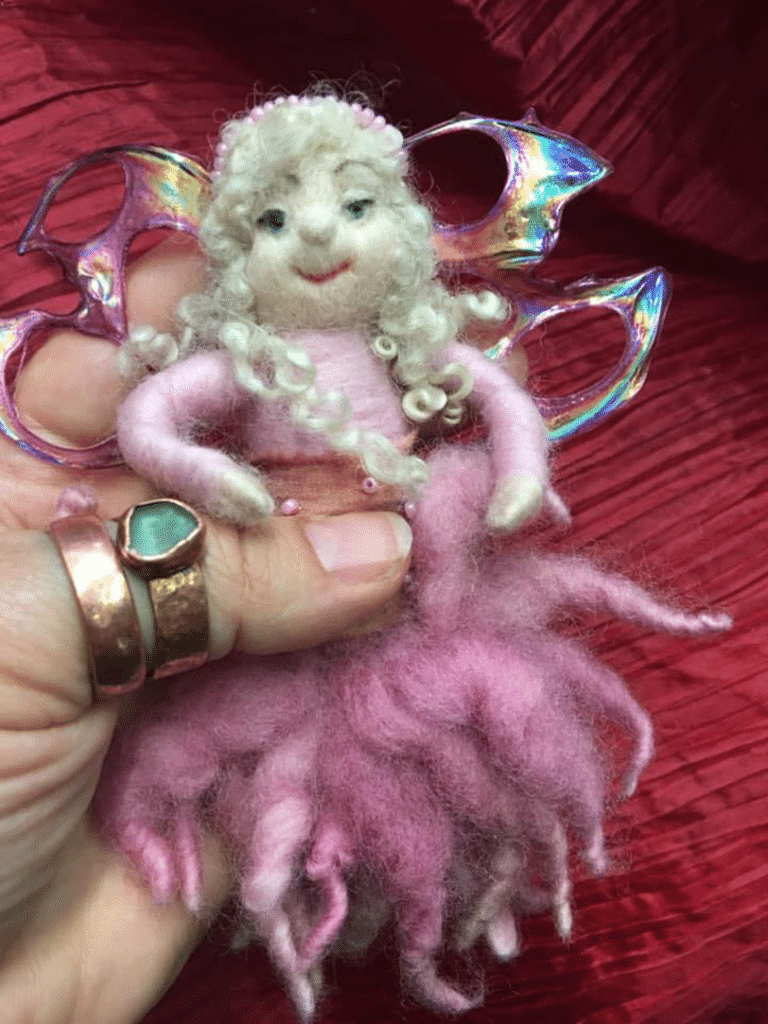
Needle felted fairy with Angelina film wings Enter the Wildwoods
Once you start to explore the wonderful world of needle felting, you will also find uses for things in your crafting stash. Embroidery silks, beads, buttons, bows – they all come in handy to create those final touches that make your work unique.
Needle Felting Project for Beginners
Now it’s your turn! To needle felt a small fantasy mushroom you need:
- felting mat
- felting needle
- wool fibre in your chosen colours (such as red for the cap and white for the stalk)
Tiny needle felted mushroom Enter the Wildwoods
What to do:
1. Take a walnut sized chunk of red wool and roll it between your flat hands to make a kind of clump and to start the felting process.
2. Lay the clump on the felting mat. Hold the felting needle between your thumb and middle finger and rest your index finger on the bent top. Hold the needle upright and be careful to hold your second hand in a safe place while you are felting, securing the mat, but out of the way of the felting needle.
3. Gently start to stab the wool clump. It will flatten to make the mushroom top. Use your needle to stab and shape the disc. You will soon feel the clump of wool starting to compress down and compact. Turn the clump of wool over from time to time to stop it sticking to your mat. Set your disc to one side.
4. Now take a white clump of wool. Shape it into a thick roll with your fingers. This will create the stalk of your mushroom. Gently start to stab the wool roll, turning it every few stabs so that it does not go flat, but creates a column shape. You will notice that the more you felt, the firmer the column becomes. This is because you are tangling and compacting the wool fibre. If the column is too skinny, just wrap a little more wool round it and carry on stabbing.
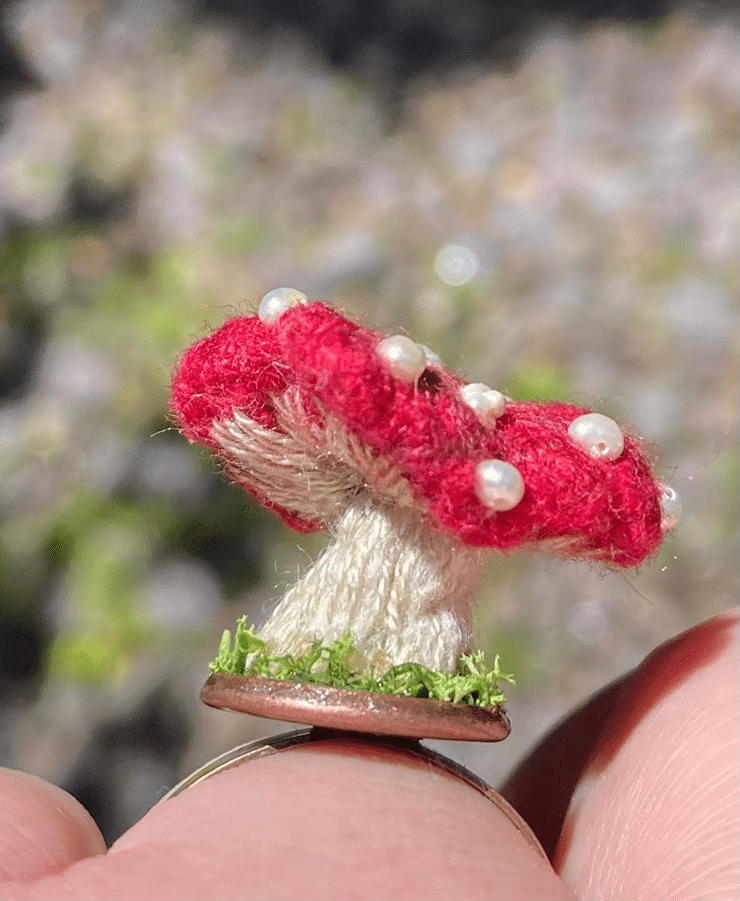
5. To join the two parts, place the cap on the top of the stalk and stab through the cap into the stem. If you stab from the stem into the cap, the white will show through the red. Keep stabbing until the cap is secure. With tiny mushrooms, like for my mushroom rings where they need to be securely joined, I use a couple of stitches to hold the two pieces together firmly as I am embellishing them with embroidery.
6. You can mount your mushroom with glue onto a piece of wood or stone or have it growing from a teacup or bottle. Have fun!
Needle felted mushroom ring Enter the Wildwoods
Needle felting is such a versatile craft – if you can imagine it, you can make it! If you decide to experiment with needle (dry) felting, we’d love to see your work – so please share your photos and ideas here in the comments.
Top image: Needle felted fairies and mermaids Enter the Wildwoods
Let’s Have a Conversation:
Have you tried needle felting yet? How did it go? What did you make? Did you make a mushroom? What else would you like to make, and would you like to see a step by step ‘how to’ article to help you?
Tags Arts and Crafts
Please make a list of supplies for beginners. Felting is simply awesome.
Love the mushrooms