


6 Easy Summer Crafts for Adults
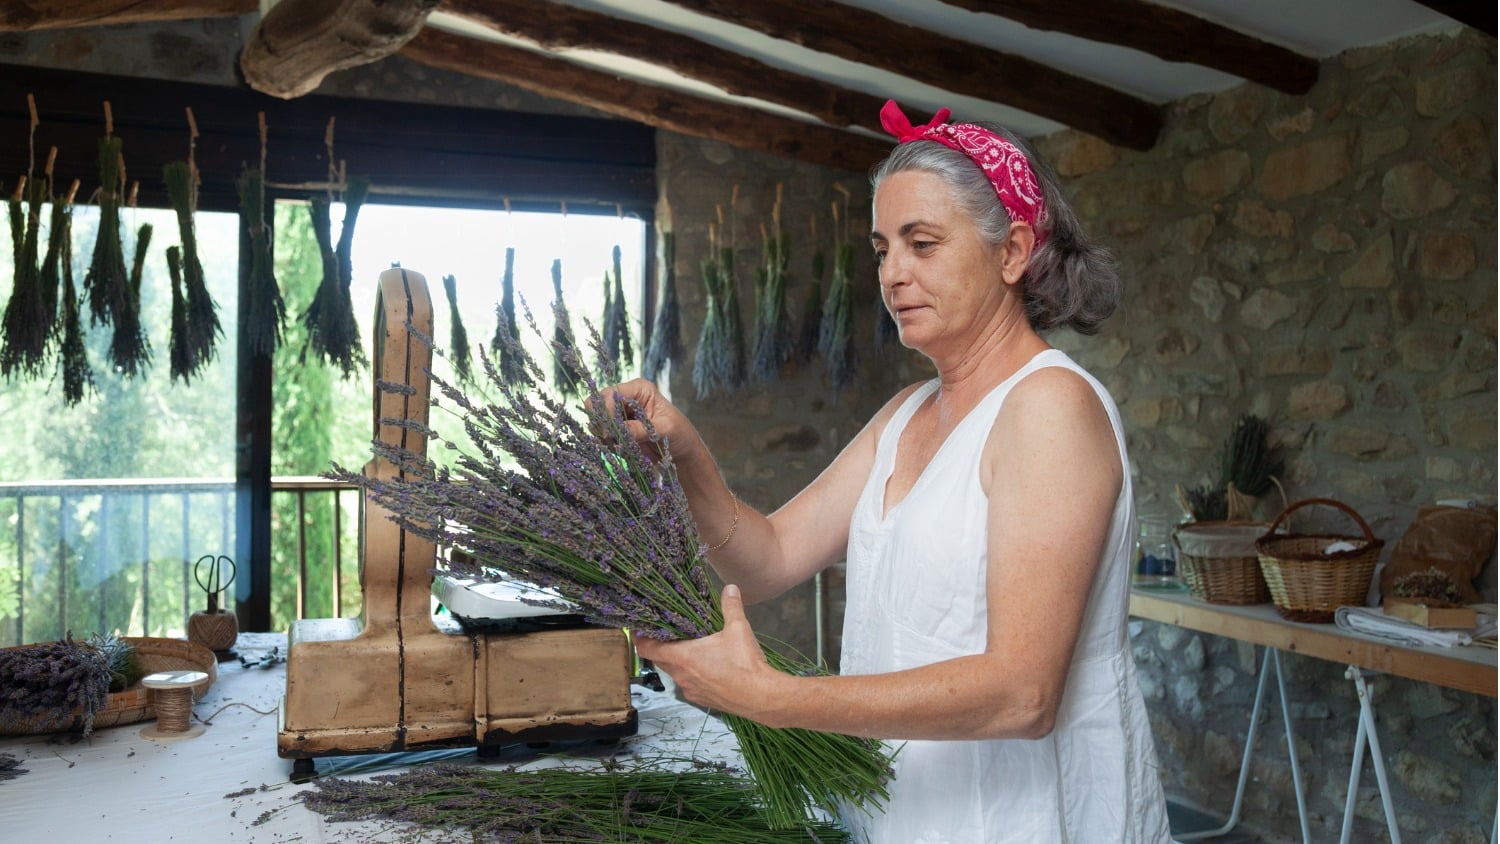
As summer blooms into sun-soaked afternoons and long, balmy evenings, it brings with it the desire to be creative – especially alfresco! I like to create at my little bistro table under the roses in my garden, with a long cold drink by my side.
Crafting with the grandchildren in the summer break is fun – but being creative isn’t just for kids. Relaxing in the garden, listening to the birds singing and enjoying the dappled light whilst crafting is about as good as life gets, and is a wonderful way to enhance your wellbeing. Here are five lovely summer crafts to spark your creativity and brighten your day.
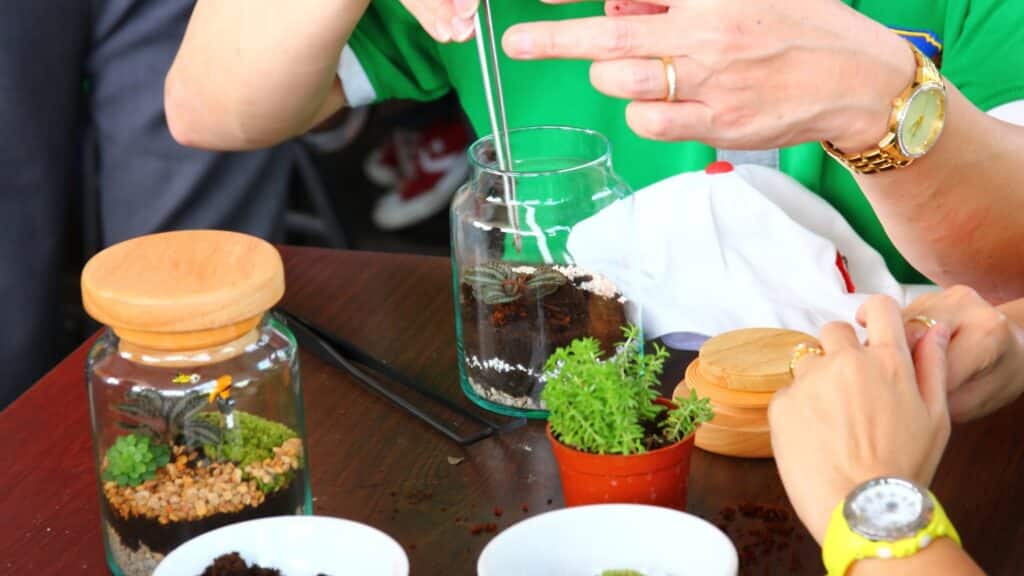
1. DIY Terrarium
Have you ever coveted one of those ferny-moss terrarium gardens in a glass case? It’s incredibly easy to make your own self-regulating little biosphere-in-a-bottle! These little indoor gardens are a perfect way to bring a bit of the outdoors inside.
You need a clear glass container such as a large mason jar, or any other decorative glass container you might choose – it’s a great way to upcycle. Use small pebbles or sea glass from your holidays for drainage, potting mix, and some miniature plants. A little activated charcoal will keep the terrarium ‘sweet’ and stop bacteria from growing.
Add an inch or so of pebbles to the bottom for drainage, then add a sprinkling of charcoal and a layer of compost deep enough for plant roots. Choose slow-growing small plants for your terrarium from your local indoor plant nursery or an online supplier.
Plants such as an Air Plant (Tillandsia stricta), Meadow Spikemoss (Selaginella apoda), Sweet Woodruff (Galium odoratum) or Hen and Chicks (Echeverias) are a good choice. You can choose plants that prefer a dry environment, such as succulents, for an open terrarium and plants that prefer a moist and humid environment for a closed system with a lid.
Put the biggest plant in first using a mini succulent-type trowel or a small, long handled spoon. Use a stick to firm the soil around the roots. Don’t add too many plants and do not place them up against the glass. Spray the terrarium to water it.
Add stones and moss to finish and keep your terrarium out of direct sunlight but in a place where there is plenty of natural light. Spray the terrarium every couple of weeks. If there is too much condensation and fogging you can leave the lid off to dry it out a little – you want to be able to see those plants!
2. Pressed Flower Art
Summer’s blowsy flowers can be used to create pressed flower art. You can use a flower press or tissue inside a heavy book to press them for a few weeks – or you can dry them in a microwave.
Place flowers, petals and leaves on paper towels and lay another piece on top. Put a microwavable plate or dish on top and microwave for 30 seconds. Check and repeat if necessary, making sure the flowers do not stick to the kitchen roll and keeping a close eye on the drying – you want dry flowers rather than burned ones! You can also buy a special microfleur microwave flower press if you really enjoy drying plant materials this way.
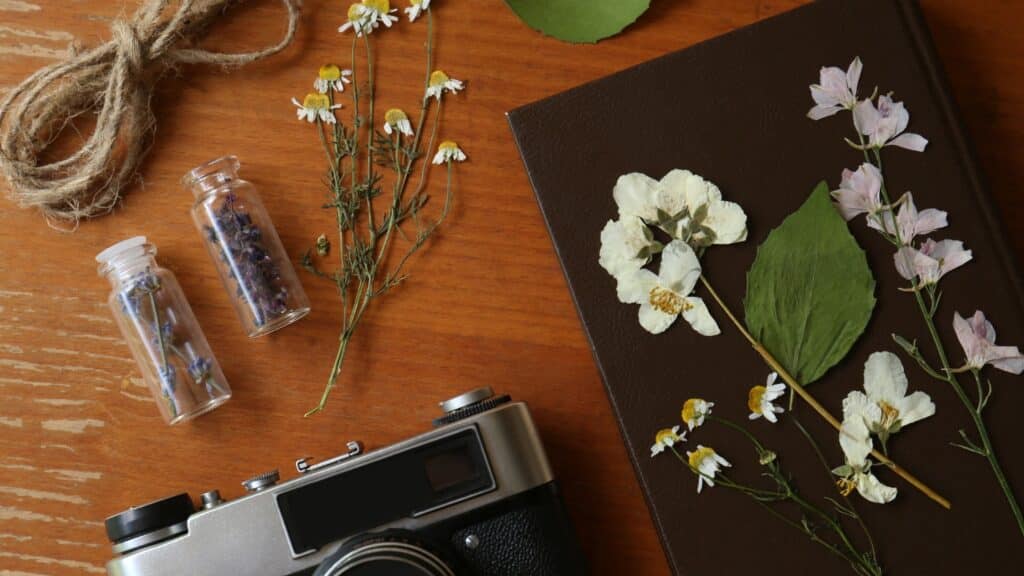
You can use them for many things – for decoupage, to create bookmarks – just arrange them on card stock and laminate them. You can also create gorgeous fairy wings for grandchildren with clear contact paper and pressed flowers.
To create fairy wings, you need:
- Clear contact paper
- Dried flowers
- Scissors
- A cloth
- Elastic
- A smoothed stick
- Glue gun
What to do:
1. Fold a piece of contact paper in half and draw a single wing shape on the paper starting at the fold – you will cut this out so that when you open the paper there will be two identical wings joined by the fold.
2. Open the wings and lay them plastic side down on the table. Use blue tac to secure them to stop the plastic from curling.
3. Peel off the paper backing and place your dried flowers as required.
4. Cut a second piece of contact paper large enough to cover the wings. Peel the edge of the paper off and attach the edge, sticky side down, on the edge of the flower covered wing shape.
5. Slowly and carefully peel the paper off the contact paper, pressing it gently onto the wing shape as you go.
6. Discard the paper and use a cloth to smooth the two pieces of tacky back together.
7. Lift the wings and cut round the first shape so they match.
8. Cut a piece of elastic long enough to form arm loops for the child wearing the wings – the size depends on the size of the child!
9. Tie the elastic round your smoothed stick. This will form the support for the wings and lay against the child’s back, so make sure it is smooth and has rounded ends – use sandpaper if necessary.
10. Glue the stick down the fold of the wings using the glue gun.
3. Painted Rocks
Painted rocks can add colour to your garden or serve as cute paperweights. They can also be left as gifts in your neighbourhood!

Clean and dry your rocks before painting them with acrylic paints. Acrylic dries water resistant, but you can also add a layer of varnish to outdoor rocks if you wish. You can make them into ladybugs, bees, landscape scenes or animals – or paint lovely mandalas with dotting tools. There are many lovely pattern books available if you want to explore this type of art further.
4. Seashell Wind Chime
If you’ve collected seashells on your holidays or during days at the beach, you don’t have to leave them in a bowl – you can turn them into a lovely wind chime to hang in the garden or on the porch.
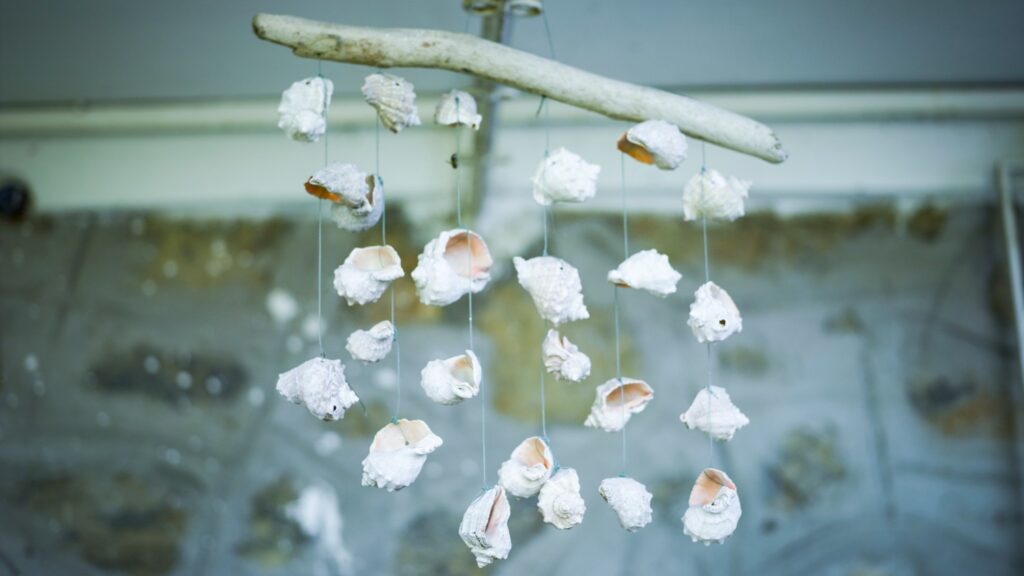
Drill small holes in the seashells with a small manual drill – or use shells and small stones collected because they have holes in! Thread them onto thick rustic string and tie each piece to a piece of driftwood. Attach two small screw-in metal eyes to the top of the driftwood and join them with a piece of string. If you have trouble screwing them in (you shouldn’t; driftwood is usually fairly soft) carefully use an awl to start off the holes.
Cut a piece of string and fold it in half, tying a loop in the middle for hanging the wind chime. The length of the string needed depends on the piece of driftwood you choose, so measure it out once you have attached the eyes. Tie the loose ends to the eyes on the top of the driftwood and add a tiny dot of superglue to ensure the knots do not undo. Trim as necessary.
Hang it outside and enjoy the gentle music it makes in the summer breezes!
5. Decorated Flip Flops
Upgrade a pair of cheap plain flip flops into stylish summer footwear with colourful fabric scraps and beads. These are such fun; you can make them to match all of your favourite summer outfits!
Cut the fabric you choose into strips about half an inch wide. Summery cotton prints work really well. You can also upcycle, using old T shirts or old summer dresses. Cover the rubbery part of the flip flop that goes between your toes and across the top of your feet with a thin coat of glue such as PVA or Shoe Goo. Then wrap the strips of fabric around the flip flop straps.
Trim or add extra strips as necessary. Finish off by stitching the end of the strip to the wrapped strap. If you don’t like sewing, use a spot of superglue. Then decorate with beads – broken junk jewellery is a great source.
You can either stitch or glue these on according to your tastes. Just ensure that none of the beads are in a position where they can rub your toes or foot and make you uncomfortable. This is a fantastic and inexpensive way to add a pop of colour to your summer wardrobe.
6. Summer Tote Bag
Do you like floral printed bags? Here’s a great way to use the colours of the summer garden and channel any frustrations in a beautifully therapeutic way!
You need:
- A blank cotton tote
- A piece of sheet plastic (cut from a bag is fine) large enough to cover one side of the tote
- A piece of card the size of the tote to slide inside
- A hammer
- Brightly coloured flowers and leaves from the garden
What to do:
1. Collect flowers and leaves.
2. Slide the card inside the tote bag and lay it flat on a hard surface that you can hammer – this can be done on a workbench or on a hard flat surface in the garden.
3. Lay the leaves and flowers on the tote bag.
4. Cover the tote with a layer of clear plastic.
5. Use the hammer to carefully flatten the flowers and leaves – the impact will transfer the dye to the cotton so you get floral prints.
6. Remove the plastic and peel off the botanicals.
7. Turn the bag over the other way and repeat to print the second side.
So, summer is the perfect time to let your creativity shine. These simple crafts are fun, but they also add a personal touch of summer magic and creativity to your life. Have fun!
If you try these summer crafts, we’d love to hear about your experiences and see your photos, so please share them here in the comments.
Let’s Have a Conversation:
What is your favourite summer craft? Do you make anything with your holiday beach finds? Have you ever customised accessories such as hats and flip flops?
Tags Arts and Crafts

I love the ideas. Some of the ideas brought back lovely memories of younger days. I’ll try a few with the grands.
I’d love to try the summer tote bag!
In the past, I’ve recycled jeans into purses, complete with hand embroidery. Used driftwood for various crafts. Painted rocks to leave for others to find – and even taught rock painting in group settings at the mental health clinic where I work.
When my kids were infants, I created play blocks from wood pieces left from a construction project and used small dried gourds to make them rattles. Recycled jewelry box finds from the thrift store into doll furniture and old wooden game boards into personalized, hand-painted chess/checker boards. Decorated small paper mache box tops with bits of costume jewelry and buttons for little catch-alls. My sister-in-law still has hers after 20+ years!
Hand made Christmas presents for a few years. I’d budget for one store bought gift each year and then make everything else. We were very poor during that time and my creativity allowed me to lessen the feeling of being poor to such an extent that my kids tell me that they didn’t realize we were poor until middle school.