


How to Create Ribbon Wreaths
Have you ever seen those gorgeous ribbon wreaths that pop up in elegant department stores for the holidays? Beautiful though they are, they are often expensive – and might not be exactly the colour or style to match your décor.
The good news is, they are simple and inexpensive to make – and fun! You can indulge your creativity and tailor them to match any season, party, or décor style. I have some I keep up all year round. Follow this easy step-by-step guide to create your own ribbon wreath – or make them as gifts.
You Need
- A wire coat hanger or garden wire – thick and fine
- Wire cutters and pliers in case you need them for forming your wreath from wire
- Assorted ribbons (different colours, widths, and textures to create an appealing visual effect)
- Scissors
- Decorative embellishments
- Hot glue gun
What to Do
Step 1: Select Your Ribbon
This is the fun part! Your choice of ribbon defines the overall look of your wreath. Sometimes I choose ribbons of different thicknesses or materials to add texture to the wreath – ribbons with sparkle, cotton and hemp ribbon, mesh ribbon – whatever takes your fancy.
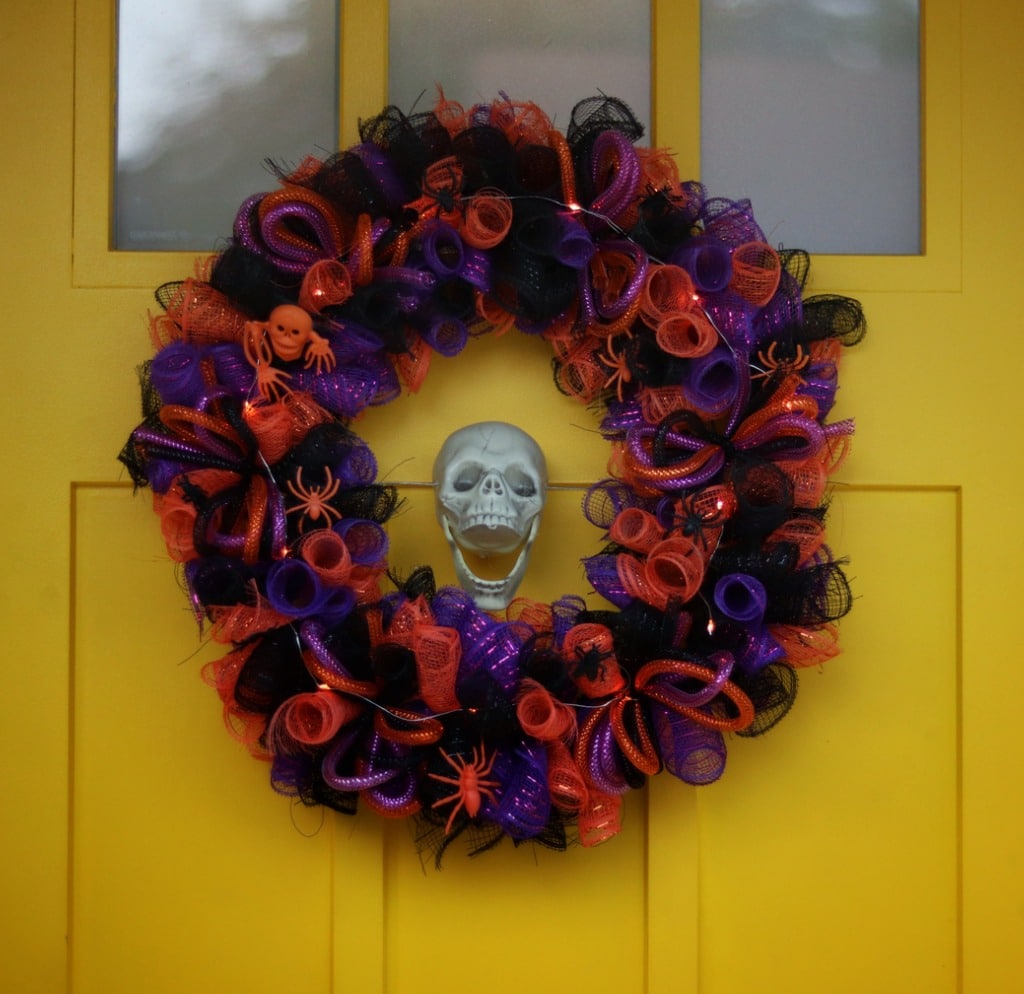
I choose a colour scheme – traditional red and green or silver and blue for Christmas, orange, green and black for Halloween, pastels for a baby shower, rainbow glories for Pride – quite literally, whatever works for you is a great choice. Have fun looking for seasonal printed ribbons too – you probably have some in your stash already!
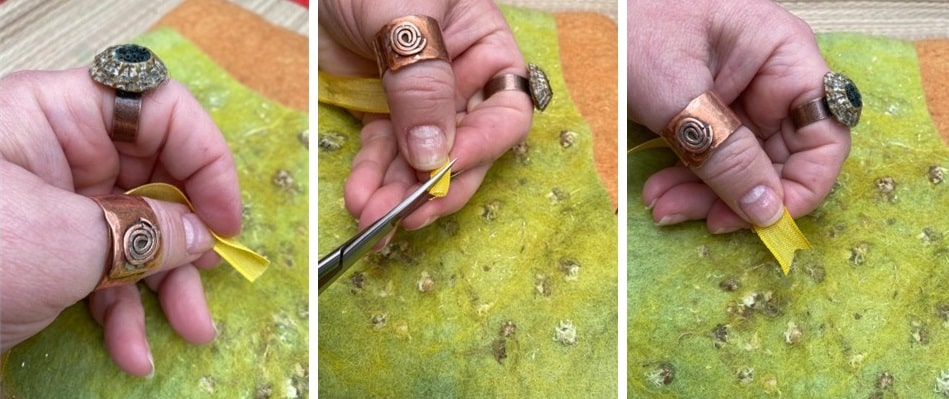
Step 2: Prepare Your Ribbon Strips
Cut your ribbon into strips. The length will depend on the size of your wreath, but around 5-7 inches is a good starting point. You want each strip to be long enough to tie around the wire. Don’t worry about making each piece exactly the same length – a little variation adds to the wreath’s charm.
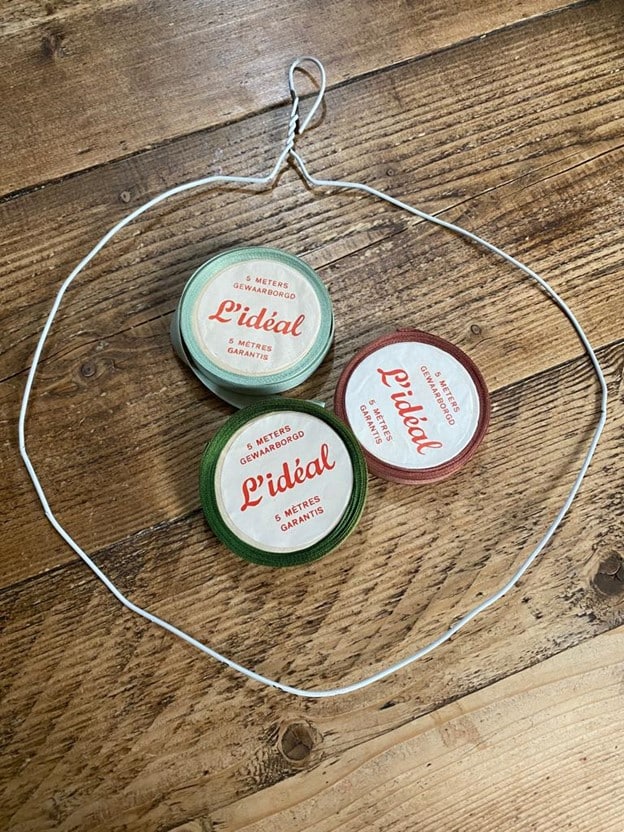
Step 3: Prepare Your Wire Base
If you are using a wire coat hanger, gently open the triangular part of the hanger, bending it into a circle. It doesn’t have to be perfect; the ribbon ties will hide a multitude of sins, and the ring can be adjusted if necessary once you have finished tying your ribbons. The hook at the top of the hanger can be bent gently into a loop for hanging the wreath. This can be decorated with ribbon wrapped around it or can be disguised by gluing a decoration to it.
If you are using garden wire, cut a piece of thick wire to your required length with wire cutters (experiment with different sizes before you cut) and secure it into a loop with the finer floral wire by wrapping the ends of the thick wire to hold it in a loop.
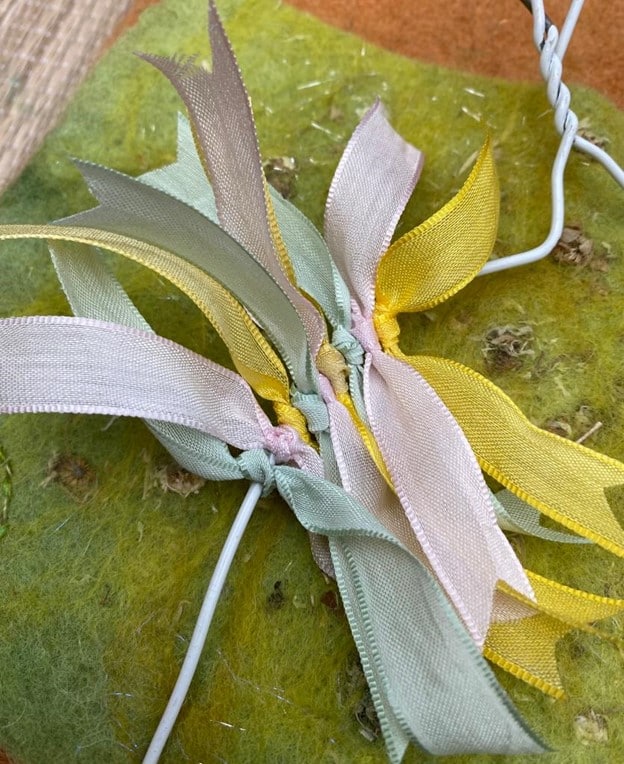
Step 4: Tie Your Ribbon Pieces to the Wire
Take a piece of ribbon and loop it round the wire; tie a simple knot to secure it. Repeat until the loop of wire is full of ribbons. Squash the ribbon knots together tightly to ensure the wire is covered.
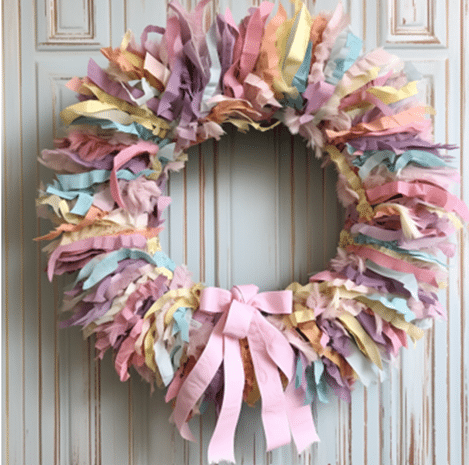
Here, I am creating a wreath to hang in our apple tree as a summery picnic decoration, using lovely vintage ribbons in pastel colours that I purchased at an estate sale along with a collection of other gorgeous haberdashery materials. The ribbon is petal-soft and that open weave will let sunshine filter through beautifully.
Step 5: Embellish
If you would like to, you can embellish your wreath with glass baubles, tiny toys (perfect for a child’s room), silk flowers or seasonal decorations. I sometimes use a glue gun to attach them, or I dangle a decoration such as a bauble, a bat for Halloween or a snowman for Christmas from a fine ribbon tied to the top of the wreath so it hangs down in the middle of the hoop.
You can make these wreaths with strips of coloured netting (tutu net or tulle), strips of coloured felt, strips of fabric cut from upcycled clothes – any type of material. Experiment and have fun!
If you make a ribbon wreath, we’d love to hear about your experiences and see your photos, so please share them here in the comments and on our Facebook page.
Let’s Have a Conversation:
Have you tried making a ribbon wreath? Have you experimented with different types of fabric? Have you made any seasonal wreaths in this way?
Tags Arts and Crafts


Love it! (found your article as a link from my own post of Aug.9). I´ve been doing doorwreaths for years but NEVER came up with ribbons, Beautiful pictures, hands-on-tips, and no need to go shopping. Thank you so much, I find your article truly enriching.
Very cute — Thanks for the easy instructions!
Brilliant! I’m so glad they were easy to follow :)