


How to Embroider for Beginners: A Comprehensive Guide
Embroidery is an ancient decorative craft that has seen a resurgence in recent years due to its simplicity, affordability, and the mindfulness that quietly stitching provides. Embroidery can be used to personalize clothing, stitch home decor, and to create family heirlooms and unique pieces of art. Your embroidery can even incorporate materials such as pearls, beads, sequins, shells and more!
This guide is designed to help you to grasp the basics of embroidery whether you decide to use patterns or focus on freehand embroidery, where you create your own designs, which allows a high degree of personal artistic expression. Whether you want to embroider abstract patterns, design delicate florals or stitch sassy slogans, this is for you!
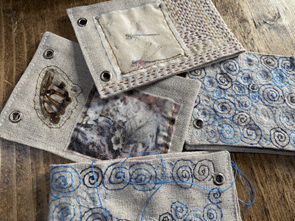
Embroidery thread, Enter the Wildwoods
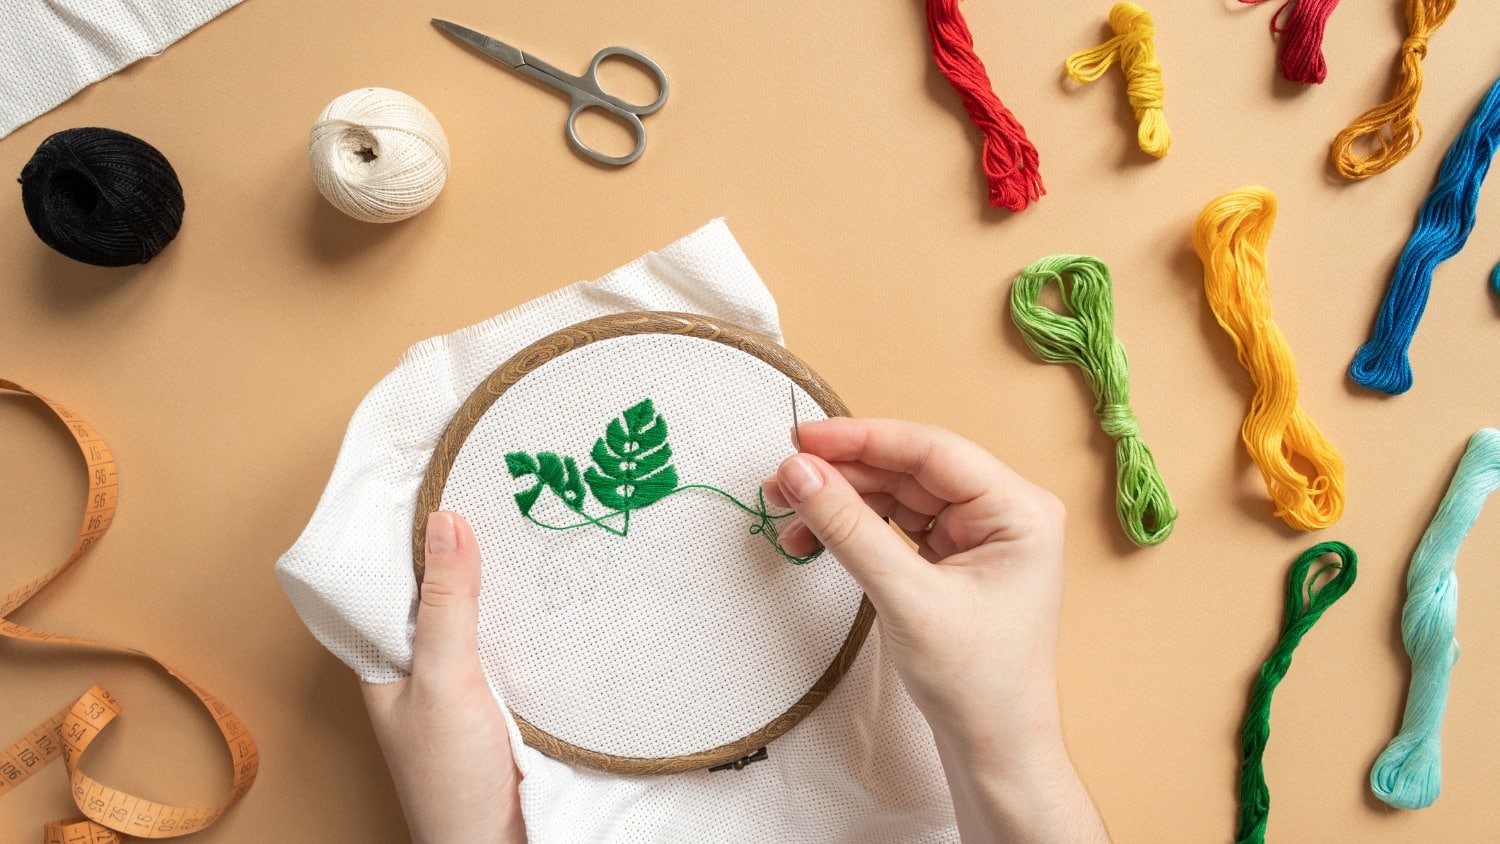
Embroidery Supplies
Before you start, you’ll need to gather some essential supplies.
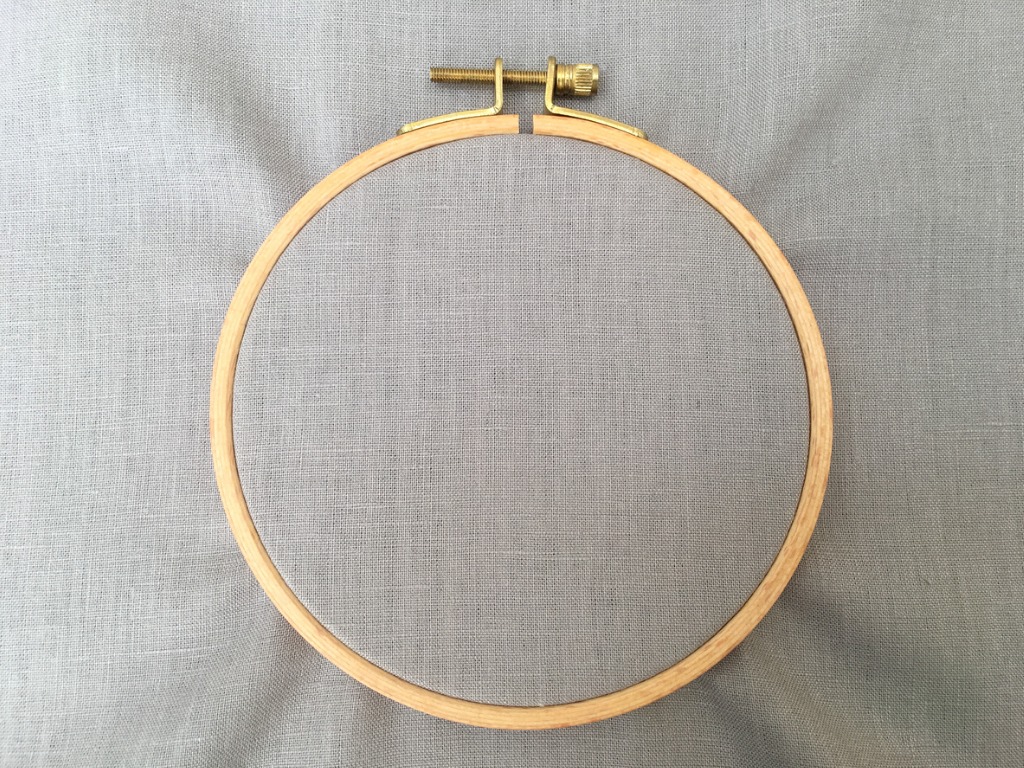
Embroidery Hoop
Hoops keep your fabric taut while you work, making it easier to stitch evenly. You can embroider without a hoop of course, but it are useful for making sure that your work does not pucker or gather as you stitch. Hoops come in a variety of sizes and materials, but to get started, a small or medium-sized wooden hoop is the easiest to handle and feels comfortable in your hands.
You can also buy hoops in a squared or oval shape if you prefer – again, see what works best for you. You can also buy more expensive hoops or frames attached to stands or with clamps to attach them to a table.
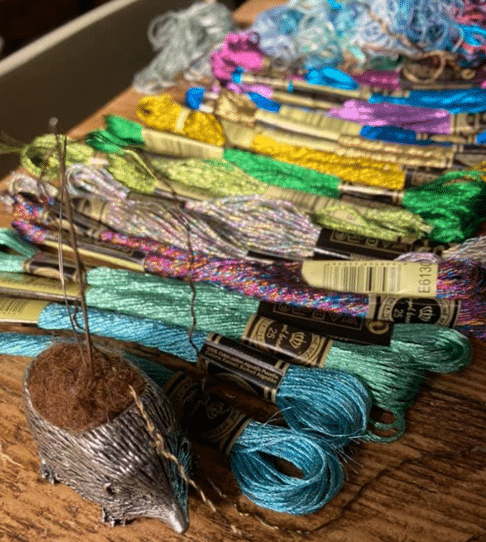
Embroidery Thread/Floss
Mercerised Cotton Floss
This is a specially produced smooth thread with a lovely sheen that is available in every colour or shade you can imagine. It comes in hanks, and each thread can be divided into strands (there are 6 in each thread) according to how heavy you want threads to be for each part of your project.
These threads can be bought in any retail store where craft or haberdashery supplies are sold – look for DMC, Anchor, or other good quality brands. You don’t want to find that you are working hard and your floss splits, tangles or does not have a good sheen.
If you decide that you like embroidery, there are many wonderful art threads such as hand dyed and silk thread – and I find the only problem is stopping buying… in fact, buying those supplies is a hobby in itself…
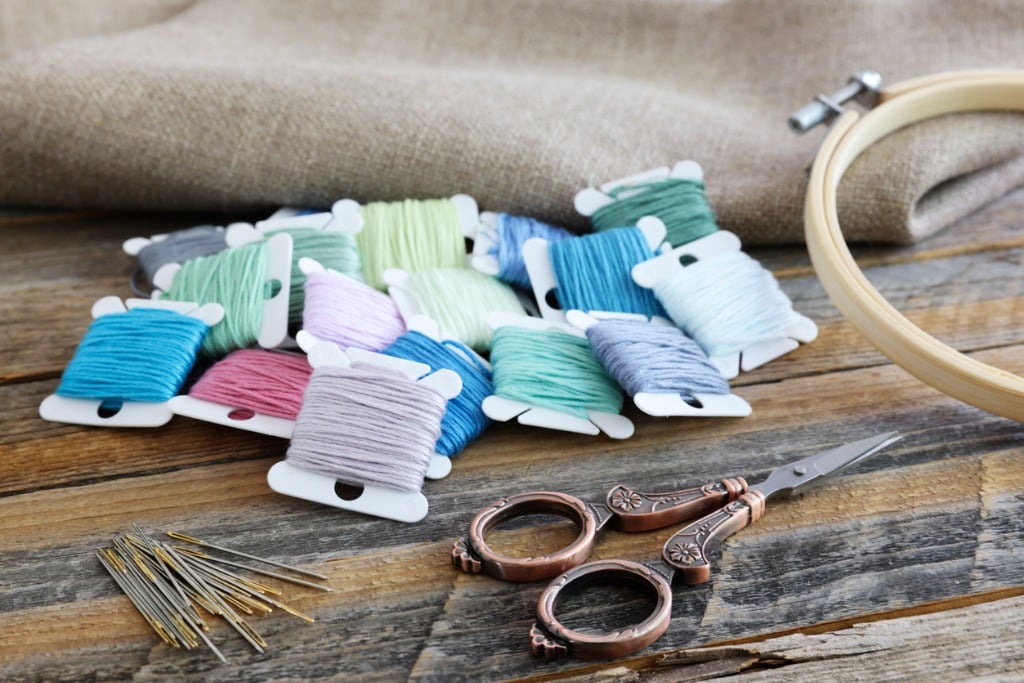
Pearl/Perle Cotton Thread
This isthe type of embroidery thread that usually comes in balls. Perle thread has a gorgeous, glowing sheen to it. It is a two-ply twisted thread and unlike the mercerised cotton floss, this cannot be split into threads.
This type of thread is supplied in sizes from 3 to 16. The smaller the number, the heavier the thread. I tend to sew with finer weights to allow for detailed work but see what works for you – maybe start with an 8.
Embroidery Needles
Embroidery needles have a longer eye than standard sewing needles, making them easier to thread, and a shaft that is a little thinner than the eye. If you look closely, you’ll see that the eye on an embroidery needle tends to bulge a little in appearance.
Embroidery needles have sharp tips. They come in a variety of sizes. Watch out – the higher the number, the finer the needle. Embroidery needles tend to come in sizes 1-12. I tend to like to work with a size 10 as I do fine work, but, again, experiment and see what is best for you. A 7 or 9 is a good size to begin with.
It’s good to have a variety of sizes so you can vary the needles according to the needs of your thread and the effects you are trying to achieve, so assorted packs are a good choice. Buy as good quality as you can – cheaper needles, I find, tend to travel less smoothly through fabric which can lead to snags and knots.
It may also be useful to buy a needle threader to save you time and frustration.
Fabric
I embroider all sorts of different fabrics including items of clothing such as denim. The key is to choose a woven fabric that’s not stretchy. I prefer cotton, linen, and muslin. Experiment and see what works for you. You can always buy bags of sample sized fabric or offcuts to practice.
Scissors
A small, sharp pair of scissors will make it easier to cut your floss cleanly. Keep a special pair just for snipping threads.
Transfer Tools
If you’re using a pattern, you need a way to mark it onto your fabric, such as a water-soluble pen. You can also buy iron-on transfers and transfer paper – again, experiment and see what works for you.
Books (Optional)
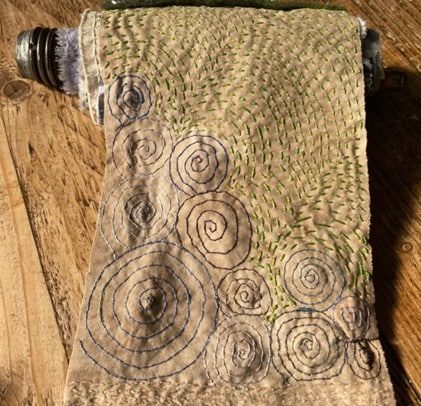
Freehand embroidery; Enter the Wildwoods
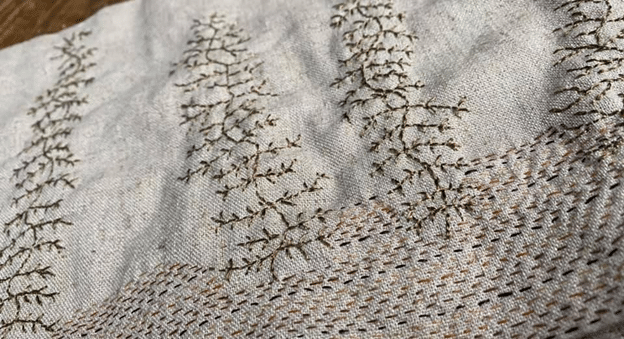
Basic Embroidery Stitches
You might like to explore my other article on embroidery stitches for beginners but here are three basic stitches to get you started:
1. Running Stitch
Running stitch is simple but versatile. It can be used to outline designs and even create text. It’s made up of small, evenly spaced stitches that create a line of dashes.
Start the stitch by bringing your needle up from the back of the fabric and then push it back down through the fabric to make a stitch. Repeat this process, leaving equal spaces between each stitch. Varying the length of the stitch, and the spaces between them can change the look completely.
2. Back Stitch
Back stitch is another simple stitch, but you can achieve a lot with it! It can be used to create smooth, continuous lines – so it’s often used for outlining designs, creating shapes and text.
To use back stitch, begin by sewing one running stitch. Next, come up from the back of your fabric a space ahead of the stitch, as though you are creating a gap. Then push the needle down into the end of the previous stitch. Repeat to create a continuous line with no spaces.
Back stitch embroidery; Enter the Wildwoods
3. Split Stitch
Split stitch is made by splitting the thread of a completed stitch with the next stitch. It’s good for outlines and can also be used to fill in bigger designs. To start, make a small straight stitch. Then, bring your needle up again through the centre of that stitch, splitting the thread. Repeat the process to create a line with a kind of rippled, braided texture.
Getting Started with Embroidery
Transfer Your Pattern
If you’re using a pattern, use your chosen transfer method to mark the pattern onto your fabric. This might be an iron-on transfer pen, or perhaps tracing the design onto your fabric using a lightbox.
First, make sure the pattern you are using is the right size and will fit inside your embroidery hoop. If you are sketching out a pattern with a soluble pen, you can do that before you begin to sew, to create a satisfying composition.
Alternatively, you can improvise as you go, and experiment without patterns or marking the fabric. I tend to do this when I am stitching vines and stems, or spirals – abstract things or repeated swirling patterns. It’s fun – so have a go!
Prepare the Embroidery Hoop
Loosen the screw and separate the two rings of your embroidery hoop. Place the fabric over the smaller ring and keep it flat if you can. Then press the larger ring down over the top of the smaller hoop and fabric, capturing the fabric in between the two hoops. Tighten the screw again, pulling the edges of the fabric gently as you go to make it taut and ready to sew.
Thread Your Needle
Cut a length of embroidery floss (about 18 inches is a good length to start with) and separate the strands if needed. Thread it through the eye of the needle, then tie a knot at the other end. Some people do not like to see embroidery started this way, but for beginners in particular this is a secure way to get started.
Start Stitching
As you stitch, make sure you pull the floss all the way through the fabric with each stitch. This will make it less likely that you will be left with messy loops or tangles. Be careful that you do not gather or pucker the fabric by pulling the thread too tight. You will be able to see if this happens. As you gain experience you will develop an intuition of how to keep the tension of the stitches equal.
Finishing Off
To end your thread without making a knot, make sure your needle is on the ‘wrong’ side of your fabric. Run your needle back through the last few stitches, going alternately under and over each stitch. Clip the end of your thread.
Remember, as a beginner, you are bound to make mistakes – we all do, and we learn from our mistakes (if only life were as simple as embroidery…). Practice makes perfect. Start with simple patterns and stitches, and gradually work your way up to more complex designs as your confidence grows.
Embroidery is a journey, not a destination. There’s no need to rush; take your time and mindfully enjoy the process. You’ll discover what you like to do, and which materials and tools resonate with your needs. Embroidery is like slowly painting with thread and is a joyful and contemplative way to explore your creativity and develop your own embroidery aesthetic. Have fun – happy embroidering!
Simple stitches; Enter the Wildwoods
If you have a go at embroidery for the first time, we’d love to hear about your experiences and projects.
Let’s Have a Conversation:
Did you do any embroidery at school – and if so, did it put you off? Do you like to embroider, or are you a novice? What would you like to embroider – clothes, home decor, or maybe a picture to frame?
Tags Arts and Crafts

I love to embroider and I make special gifts for people such as kitchen towels for a new house or pillow cases made from soft cotton and embroidered with something meaningful. No one around me save one enjoys needlecraft. I hate to see it going the way of cursive writing! I’m so glad you posted this – maybe it will spark something in someone!
I embroidered and did other crafts growing up. Now,at 62, I’m looking to return to some of those fun crafts like embroidery. At night in front of the TV it will be fun to do something with my hands rather than eating snacks….haha.
I plan to take up knitting again as I know 2 people who are expecting babies in the autumn. I am getting increasingly bored of watching TV in the evenings and there doesn’t seem to be many English language films at the cinema just now (I live in Switzerland and we get a lot of European films subtitled in German).
Guten Tag Linda!!