


10 Embroidery Stitches for Beginners
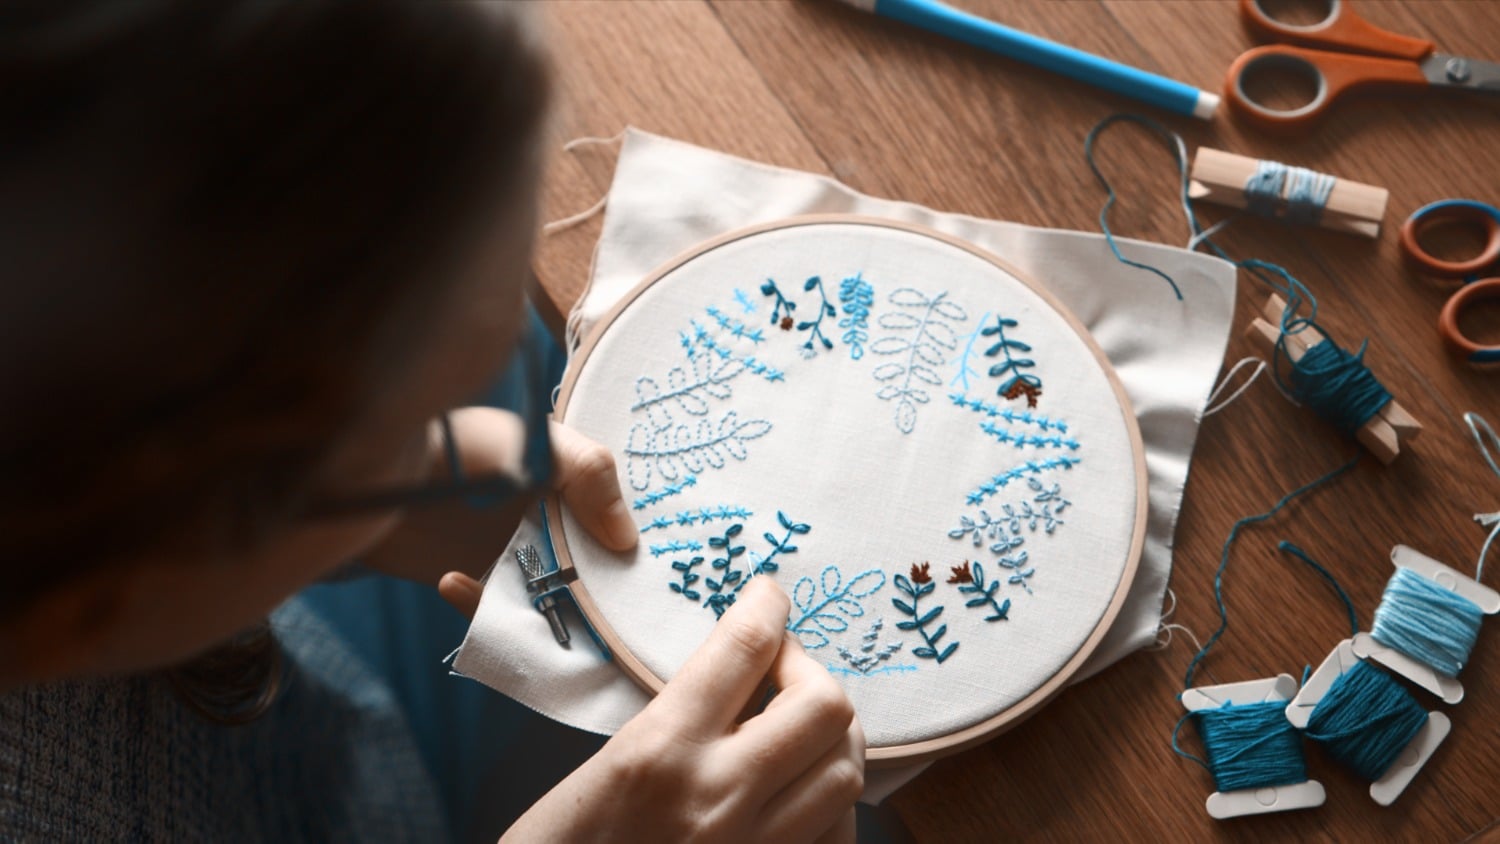
Embroidery is a timeless craft, deeply rooted in history. Women have always used embroidery to tell their stories, and to show their love as well as exploring their artistry. When we hand embroider, we join our sisters in a thread that spins back through the ages; sitting by the fire, sipping a warm drink as our needles fly through fabric and we paint pictures with silken thread.
Mastering this craft begins with learning simple stitches, the building blocks of all embroidery designs. Here are 10 basic stitches, suitable for beginners, that will help you to embroider up a storm!
1. Running Stitch
The running stitch is perhaps the simplest of embroidery stitches and that makes it a great place for beginners to start. It’s also very versatile and can be used to form simple patterns. It can also be used to create text and outline designs. It’s made up of small, evenly spaced stitches that create a line of dashes.
Start the stitch by bringing your needle up from the back of the fabric and then push it back down through the fabric to make a stitch. Repeat this process, leaving equal spaces between each stitch. Varying the length of the stitches and the spaces between them can change the look completely.
2. Back Stitch
The back stitch is another simple stitch, but again, it’s versatile and can be used for many different applications. It can be used to create smooth, continuous lines – so it’s often used for outlining designs and creating text. Unlike the running stitch, there are no gaps between the stitches in a back-stitch line.
To use back stitch, begin by sewing one running stitch. Next, come up from the back of your fabric a space ahead of the stitch, as though you are creating a gap. Then push the needle down into the end of the previous stitch. Repeat to create a continuous line with no spaces.
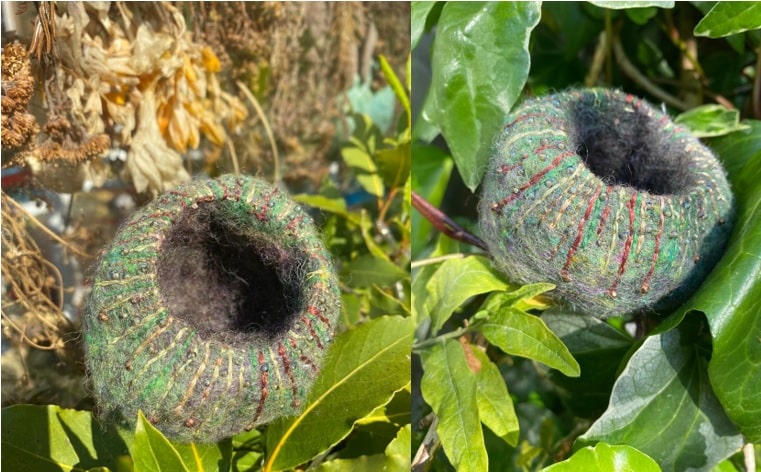
3D felted pods embellished with back stitch; Enter the Wildwoods
3. Split Stitch
The split stitch is made by splitting the thread of a completed stitch with the next stitch. This creates a sort of textured line. Like back stitch, it’s good for outlines and can also be used to fill in bigger designs. To start, make a small straight stitch. Then, bring your needle up again through the centre of that stitch, splitting the thread. Repeat the process to create a line with a kind of rippled, braided texture.
4. Stem Stitch
As the name might suggest, stem stitch is often used to create stems in floral designs. It’s good for embroidering both curved and straight lines. To do stem stitch, make a small running stitch, then bring your needle back up just beside the end of the last stitch, but not through the same hole. Make another stitch and repeat. The stitched line will have a slight twist to it, and that makes it wonderful for embroidering elegantly curving stems and vines.
5. Satin Stitch
Satin stitch is a beautiful yet simple stitch which is used to fill in areas of your design with solid colour. Satin stitch is a series of parallel straight stitches made side by side, used to cover an area in your embroidery, like ‘colouring in’ with a needle and thread. It’s often used for petals, leaves, or any area that requires a smooth-as-satin finish.
To fill an outline or shape with satin stitch, start by making a few parallel guide stitches into your shape to ensure the stitches stay parallel and do not drift to one side. Make a long straight stitch by bringing your needle up through from the back of your fabric on one side of your shape, and pushing the needle down again to make a long smooth stitch. Keep repeating these long straight stitches side by side until you have filled the chosen area.
6. French Knot
The French knot is used to create small round dot shaped stitches on the fabric. The stitch is ideal for making eyes, flowers, or adding a bobbled, knotted texture to a design. French knots are simple to make and add interest to your embroidery.
Bring your needle up through to the front of your fabric, then with the hand that is not holding the needle, grasp the thread a couple of inches from the end. Place your needle in front of the thread. Wrap the thread around your needle one or two times. Wrapping once gives a smaller French knot than wrapping twice.
Keeping the thread taut, push the needle partially but not fully back down close to the spot where you came up – not in the same hole or you may lose the knot completely. Give the length of floss you are holding in your non-needle hand a little pull downwards so the coil tightens and slides down the needle. With the coil of thread now held against the fabric, push the needle the rest of the way through, and you have a knot!
7. Chain Stitch
The chain stitch – unsurprisingly – creates a series of looped stitches that form a pattern like a chain. I learned to do this stitch as a girl at school – we had appalling turquoise blue toweling jumpsuits for PE and had to embroider our names in orange (!) chain stitch on the right breast. Despite that experience, it’s a stitch I still love!
Start by bringing your needle up through your fabric, then go down in the same spot, but don’t pull the thread all the way through. Leave a small loop. Then, bring your needle up within that loop and pull, securing the hoop in place to make the first ‘link’ in the chain. Repeat to create a chain-like line.
8. Lazy Daisy
The lazy daisy stitch (sometimes called the ‘detached chain stitch’) is a simple variation on the chain stitch. This embroidery stitch is lovely for creating leaves, petals, or teardrop shapes. It’s essentially a chain stitch that stands alone to make a shape like a petal and is not connected to others in a line like regular chain stitch.
To start a lazy daisy stitch, bring your needle up through your fabric and go back down leaving a loop, just as you did for regular chain stitch. Once again, as for chain stitch, bring your needle up inside the loop, but for lazy daisy make a small stitch to hold down the end of the loop. This forms your petal shape. Repeat in a circle to make a full ‘daisy’ flower.
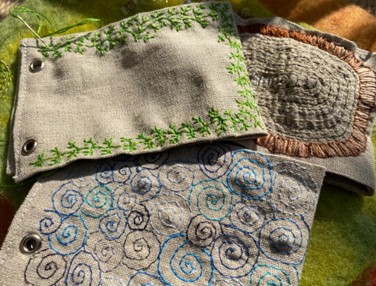
Simple embroidery stitches creating background illustrations for a children’s story book; Enter the Wildwoods
9. Cross Stitch
Cross stitch is a highly popular stitch that is simple to do. It involves creating a series of crisscrossing stitches that form an X shape. This stitch is often used to create pictures and many books and kits have been created using ‘counted cross stitch’ embroidery. Cross stitch is often also used to fill in areas of embroidery and to create intricate patterns.
To create a cross stitch, bring your needle up through your fabric at the corner of the area where you want to place your cross, then go down diagonally across from where you started. Come back up diagonally across in the opposite direction and go down to complete the cross.
10. Blanket Stitch
The blanket stitch is so named because it was traditionally used to finish the edges of blankets. It is a decorative stitch that creates a series of neat interlocking stitches along the edge of a piece of fabric. It is sometimes used as a border or to attach pieces in an applique.
Starting from the edge of the fabric, make a straight stitch from the edge of the fabric inwards. With your non-needle hand, make sure there is a loop of thread and, when your needle comes up for the next stitch, ensure it is on the inside of the loop of thread from the previous stitch. Repeat this sequence to create a line of linked stitches along the edge of the fabric.
Mastering these 10 embroidery stitches will give you a great foundation and will enable you to have fun with many embroidery projects. Be kind to yourself; the key to neat stitches in embroidery is practice. Then practice some more!
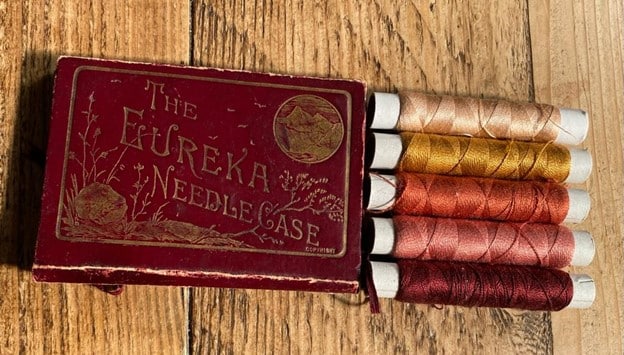
Silk threads and vintage sewing ephemera make embroidery a sensory experience; Enter the Wildwoods
If you do any embroidery, we’d love to hear about your experiences and see your photos, so please share them here in the comments.
Let’s Have a Conversation:
Have you ever tried embroidery? Have you experimented with different types of stitches, or types of thread? Have you created any special pieces of embroidery?
Tags Arts and Crafts
How fun to read this article. Coincidentally, just this week I ordered an embroidery stitches practice kit. I haven’t embroidered since my 20s and am looking forward to picking it up again. Your article inspired me and positively reinforced my desire to start again.
Happy stitching,
Patrice Dickinson