


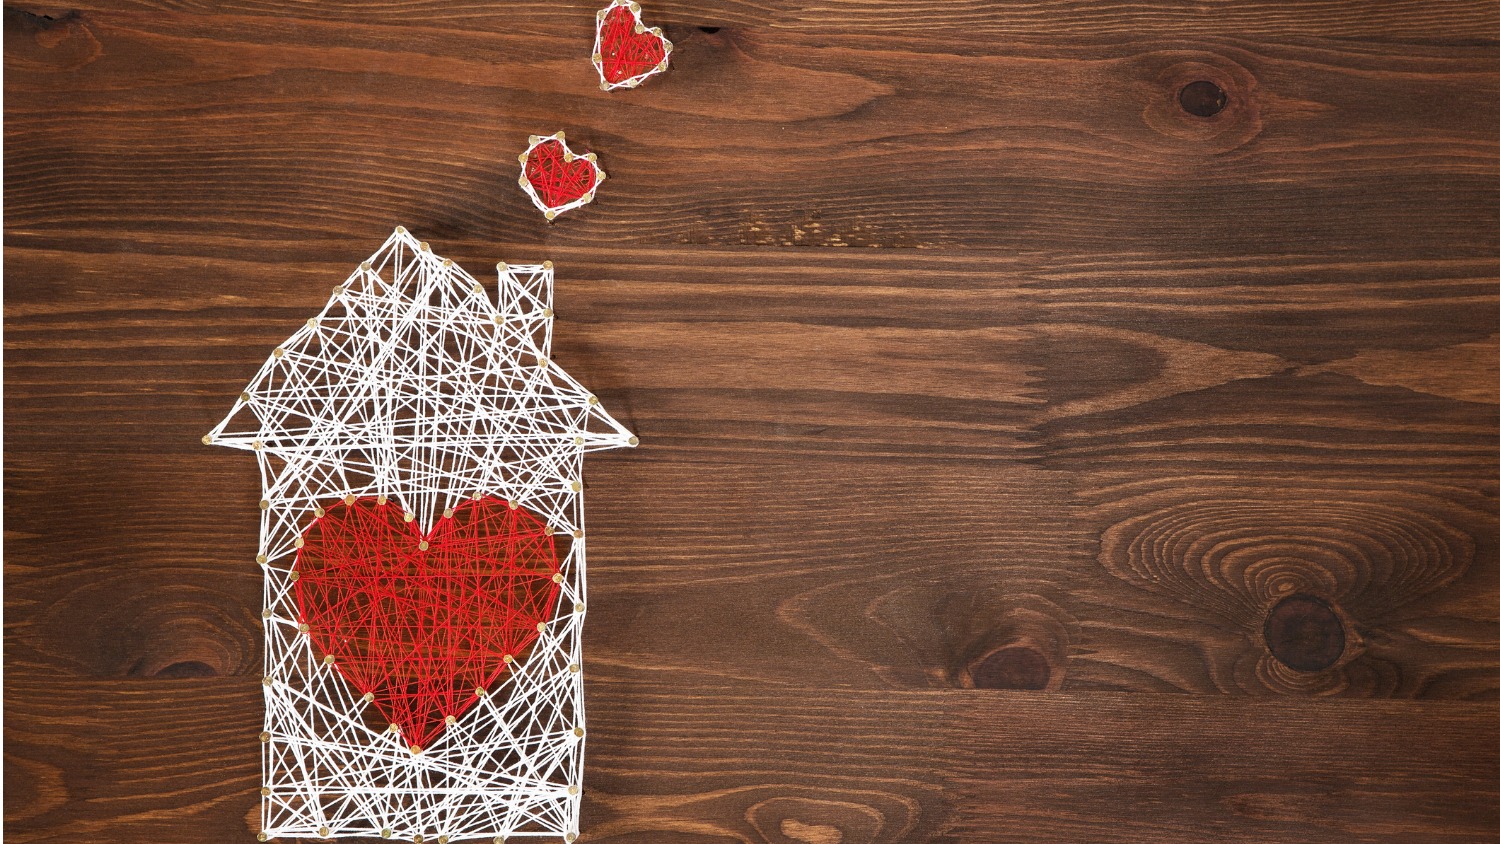
How to Make Your Own String Art
There’s a unique thrill in using ordinary, everyday materials to create an extraordinary piece of art – and string art offers just that! Using 1-inch nails, wood, and coloured thread, you can create gorgeous geometric patterns and pictures. This retro craft was popular in the 1970s and like many other things from the same era, it’s making a comeback.
Whether you’re a DIY diva or a crafting novice, this guide will help you, step-by-step, through the process of creating your own string art masterpiece.
What You Need
- Wooden board – size depending on your project. You can use scrap wood or but boards, but make sure they are thick enough to knock the nails into and hold securely without splitting.
- 1 inch finishing nails (they come in several colours)
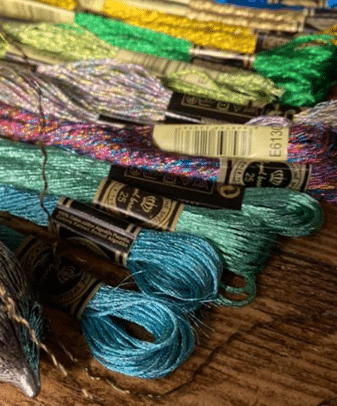
- Cotton embroidery floss/thread in your chosen colours
- Hammer
- Printed pattern/template – start with something simple
- Sticky tape
- Scissors
What to Do
- Attach your template to your wooden board with tape. Ensure it lays flat against the wood.
- Mark out where the nails will be hammered with dots – you can measure these with a ruler (or a marked piece of thread on a curve) if you would like the distances to be equal. About half an inch is a good distance.
- Hammer the nails into these points. Make sure you hammer the nails into the board to roughly the same depth, with enough nail shaft exposed to wind your thread around.
- Remove your template and discard. You will be left with an outline of your shape marked in nails.
- To start stringing, tie your thread securely to one of the nails. Add a tiny spot of superglue for security.
- Outline the shape of the design with your thread, wrapping the thread round each nail as you go.
- Then begin weaving the string from nail to nail, creating a web-like pattern. Keep the thread taught for a neat and sharp pattern. There’s no right or wrong way to do this – just experiment and keep wrapping and crossing your threads until you like the look of it.
- When you are happy with the image, tie off the string on a nail and trim any excess.

String art is a versatile craft that offers a fantastic way to add a personal touch to your home décor or to create unique gifts for friends and family. With a little patience and a lot of fun, you can create a variety of lovely – and ever more complex – designs. Snowflakes, stars, word art – your imagination is the only limit!
If you have a go at string art for the first time, we’d love to hear about your experiences and see your photos, so please share them here in the comments.
Let’s Have a Conversation:
Did you ever do string art in the 1970s – maybe at school as an art project? What did you make? What could you make to create updated, 21st Century designs for your string art?
Tags Arts and Crafts

I also like quilling as seen on papery craftery on YouTube.
Great article! I created a string art gift for my son a few years ago. Handmade gifts are valued in our family.
I remember this! It was fun. Thanks for the blast from the past!
I remember doing this in school in the early 70s.
A friend of mine had an older sister who had a nervous breakdown, when she was being treated in hospital she was taught this as therapy. She made an absolutely beautiful picture of a volcano in glittering red and gold against a black background.
She gave it to her mother and I used to live looking at it hanging on the wall.
We had some great crafts back in the 70s, I used to love making things with a flower loom.
That volcano sounds amazing! I think we need to revive more of those 70s crafts :)