


The Ultimate Guide to Wet Felting
Wet felting is a special kind of alchemy. Using nothing more complex than wool fibre and soap, with this versatile craft you can make anything from an elegant wrap or scarf to a novelty cat bed! As the fabric forms from fluff between your soapy hands, it feels like a kind of magic.
Felting is an ancient craft – one of the oldest. People made felt before they knew how to spin and weave fabric. Bronze Age excavations have found felted wool caps dating back 3500 years, and the 2300-year-old remains of a fierce female warrior discovered in Siberia wore gorgeous felted and beaded boots.
The Mongol people used felt for everything from their yurts to live in, to their clothes and furnishings. Interestingly, ancient felt remains have only been found in Asia and Europe – but in more recent times felting has become popular around the globe. Felt is hard wearing, soft and warm – and just as useful and decorative today as it was in ancient times.
What Is Wet Felting?
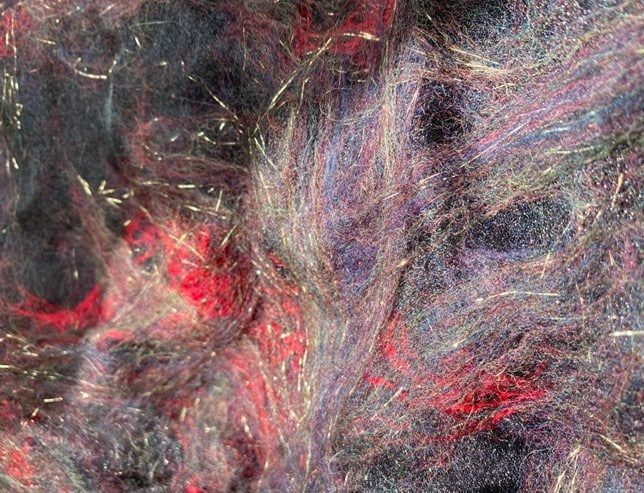
It really is a case of the clue being in the name here – wet felting uses water, soap and friction to turn fibre into fabric. Sheep wool is the main material used, but others such as alpaca are used widely, adding speciality fibres such as silk, buffalo, bison, rose and nettle for texture.
Natural fibre such as wool has scales on it like human hair. If we do not brush and condition our hair to smooth these scales down, our hair gets tangled. Backcombing hair – like we did in the 80s to get the biggest hair we could manage – uses these scales to create volume.
When we wet felt, water and soap open the scales so that friction can make them mat together. These scales stay interlocked as the felted fibres dry – and a smooth fabric is made.
What Do I Need for Wet Felting?
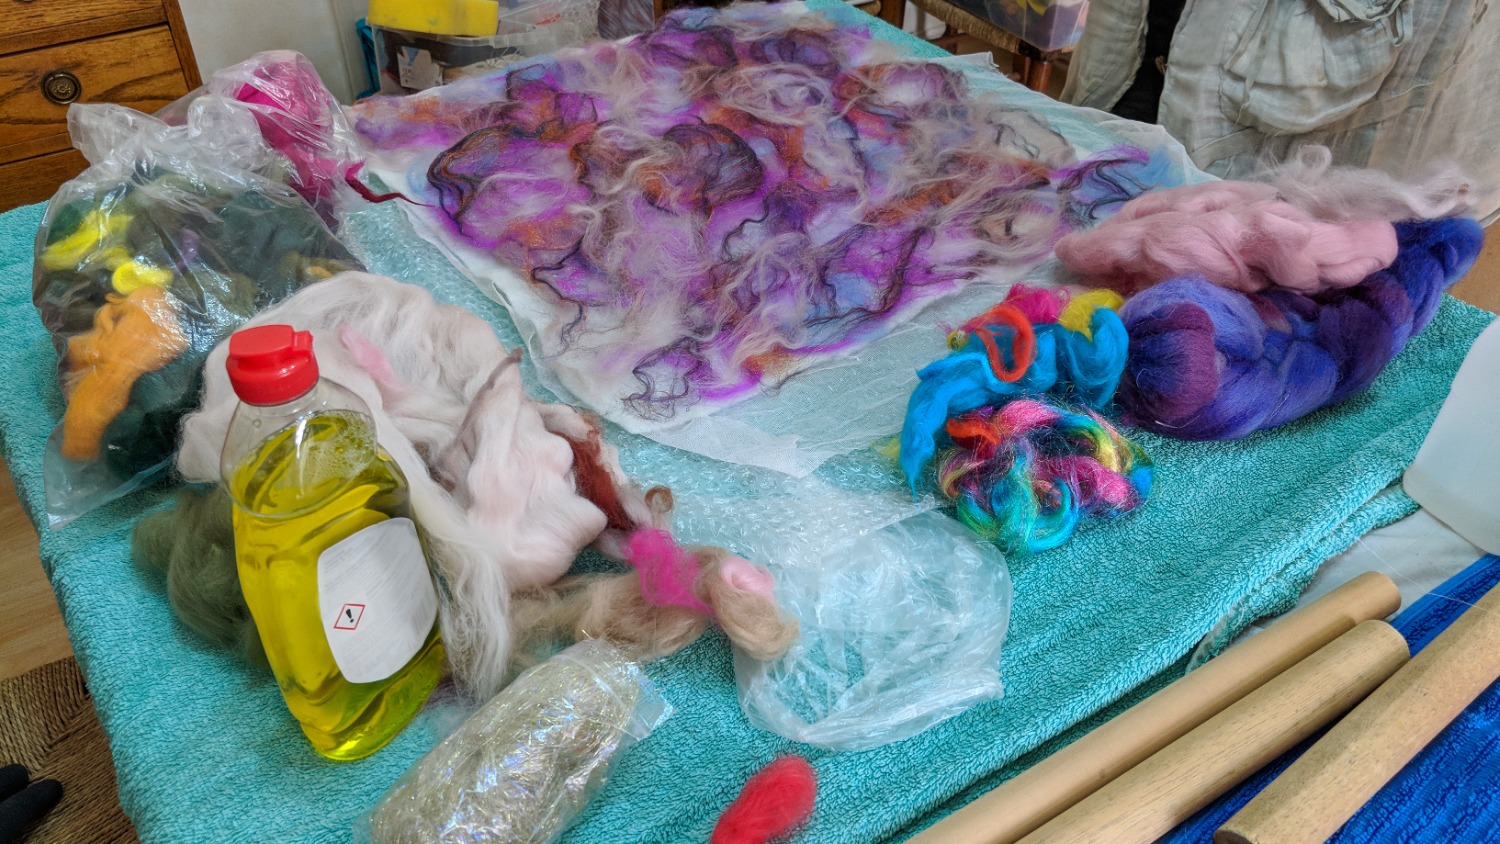
You need surprisingly inexpensive equipment to get started. You can buy a wet felting kit that has everything you need, or you can assemble your own kit. You need:
- A bamboo mat (like the type used for making sushi);
- A piece of netting – this can be nylon tulle; I use thick mosquito netting for durability as I felt; regularly
- A piece of bubble wrap;
- Ties or rubber bands.
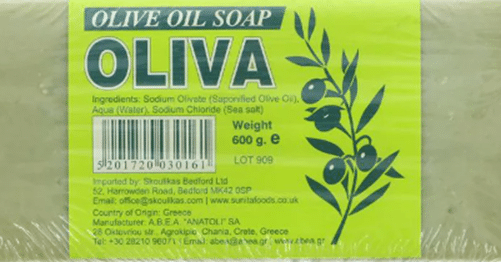
- Soap – I prefer to use olive soap as it is kinder to the hands and helps the fibres to mat quickly, but even dish soap works.
- Spray bottle (plant spray is fine)
- Water
- Old towel
- Then, all you need is fibre!
You can wet felt with a variety of different types of wool, from silky merino to domestic breeds. For beginners, a pack of mixed colours is a good way to experiment without spending too much. A blend such as ecosoft is ideal, as it felts down quickly, but you can also dive in with merino or any of the gorgeous, jewel-coloured roving or batts that take your fancy.
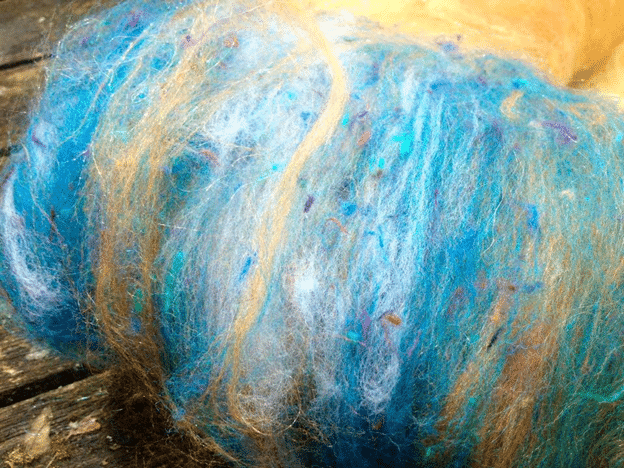
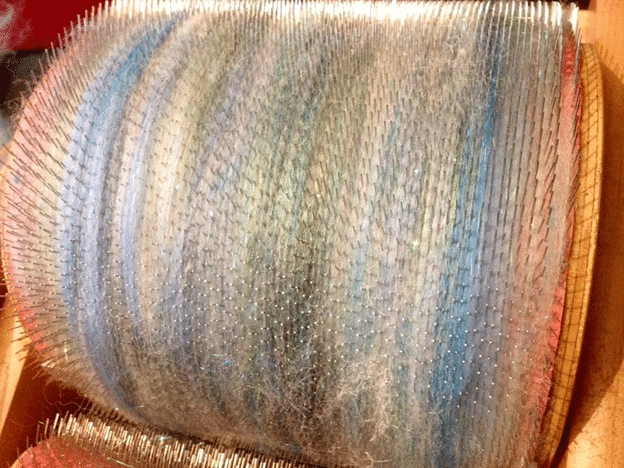
When sheep are sheared, we have piles of fluffy – and sometimes greasy and muddy – fleece. The fibres are cleaned and carded. That means the clumps of fleece are brushed out and the fibres are aligned into the same direction. The result is called roving, and you buy it rolled into balls.
Carded batts – especially bought from small artisanal sellers on platforms like Etsy – can give you some glorious colour mixes to play with. If you get hooked by felting, you can even buy carders or a drum carder to make your own blends.
For the finest felt, you might like to choose merino wool tops. This fine, smooth fibre is a delight to work with, and is ideal for making felt items such as scarves that are worn next to the skin.
How Do I Get Started with Wet Felting?
- Lay your old towel on your surface to protect it from water. Lay out your bamboo mat and place the bubble wrap on top.
- Take a length of wool roving about 45cm long. Split it in half down the middle so you have two thinner pieces – it’s easier to handle.
- Gently pull a short tuft of wool from the end of one of the lengths of fibre. There’s a trick to this – if you pull too hard, the fibre will resist you. Hold the length about 10cm from the end in one hand, and grasp the other end of the fibre between your fingers and palm, drawing it slowly towards you.
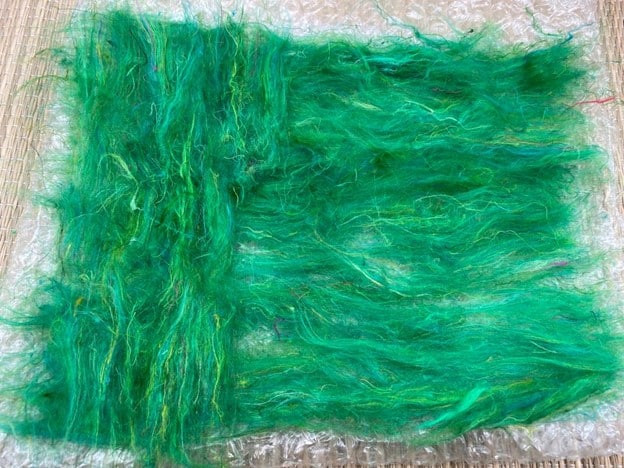
- Lay the chunks of fibre all in one direction on the bubble wrap. Then repeat this at 90 degrees to the first layer. Fibres are built up in layers at right angles to each other because it increases the strength of the finished felt.
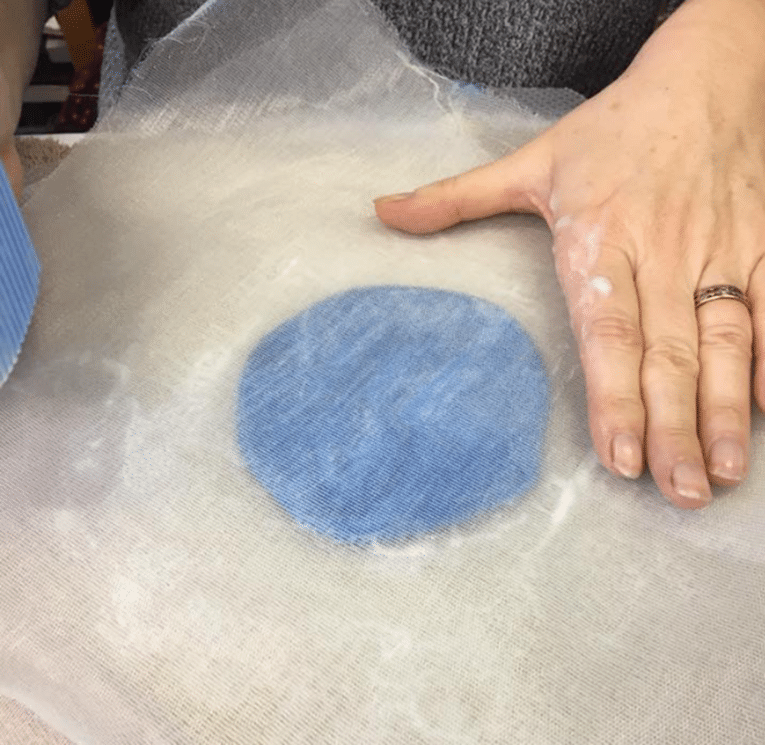
- Lay the netting on top of your wool layer and spray the netting with water, gently patting down the fibre so it saturates and sticks.
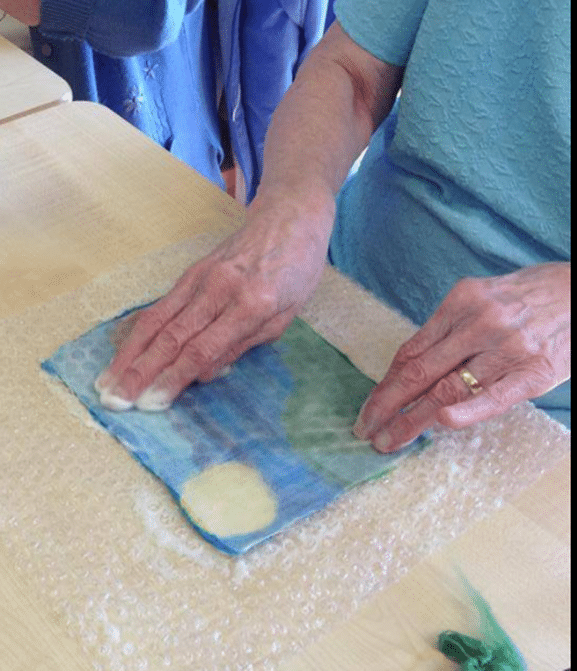
- Rub the bar of soap across the netting and use circular motions with your fingers to rub the netting to create suds. Keep rubbing until the fibre seems to stick together. This will take several minutes.
- Gently lift the netting and do a ‘pinch’ test. Grasp the felting between your finger and thumb and gently lift. The fibres should be starting to hold together, and not pull away individually.
- Gently slide the bamboo mat out from under the bubble wrap, and place it on the top of the netting. Flip the pile over and remove the bubble wrap.
- Roll the felt and mat up tightly and secure it with either fabric ties or elastic bands. You are now fulling the felt – finishing it and making it strong and smooth. Roll the bundle backwards and forwards on the table with your hands, 30 times.
- Unroll the mat, then turn the wool and net 90 degrees. Roll again 30 times. Repeat this twice more; unrolling, turning, rolling up and rolling 30 times. You will know when the felt is finished as it will be firm and will have shrunk by about 25% in size.
- Rinse the finished felt in tepid water until there is no soap. Dry your felt flat – it keeps the shape it’s in as it dries.

Going Further with Wet Felting
Once you have learned the basics, there are many exciting things you can do to experiment with this versatile craft.
Nuno Felting
Nuno felting is a wonderful wet felting technique that combines fine fabric such as an open weave silk or chiffon with a layer of merino silk fibre. The felting process makes the fibres migrate through the weave of the fabric to create a silky texture. Nuno felting makes luxurious wraps to wear for parties on warm summer evenings.
Cobweb Felting
Cobweb felting makes – as the name suggests – gossamer-light felt which is fabulous for a shawl or scarf to accessorise your outfits or give as a handmade gift.
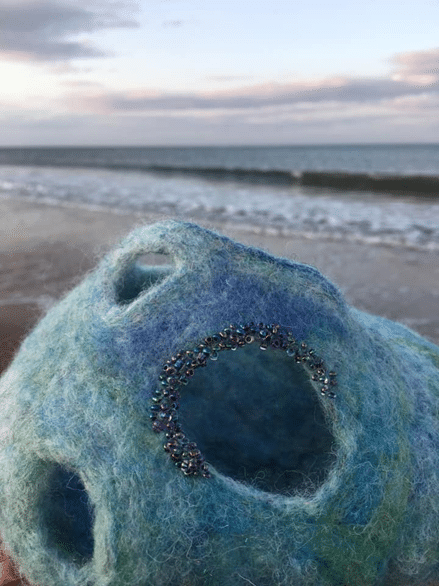
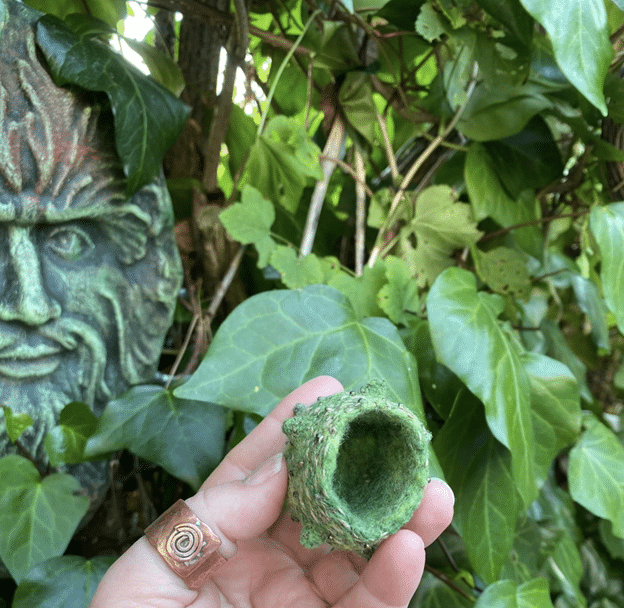
Resist
If you enjoyed wet felting, once you feel confident, try making a 3D object with a resist. Start with a small pod to see how it works. You use the same felting technique, but build up layers around a waterproof shape (for a pod, you would use a circle). The ‘resist’ is a barrier that stops fibres from bonding together. Resists can be made from old plastic bottles and packaging – it’s a great way to reuse and recycle!
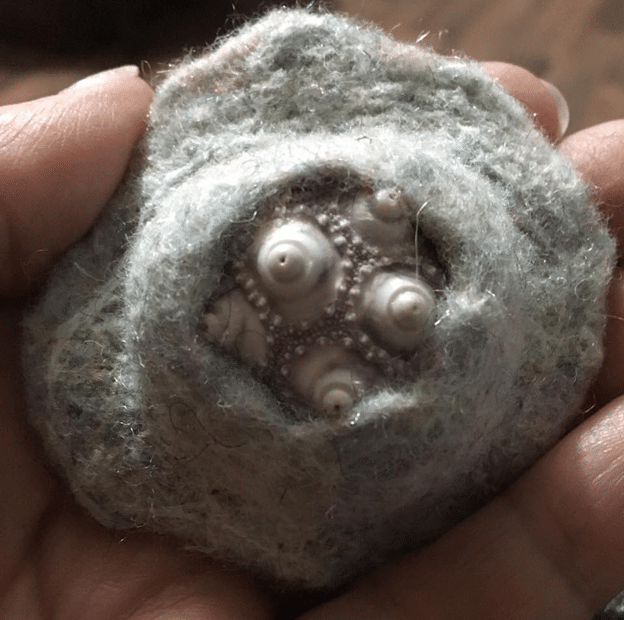
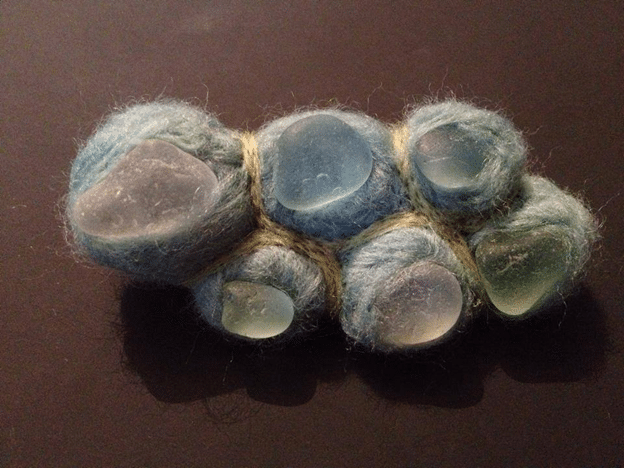
Shibori
Shibori felting uses objects such as coins and marbles, tied in to half made felt to create a wonderful bubbled or cratered effect. This type of felting is experimental and fun, and amazing effects can be created for wraps, on 3D objects – or even jewellery.
A Voyage of Discovery
Wet felting is a wonderful craft, where every piece you make is unique – it’s an exciting journey every time you work! It’s an inexpensive and simple craft to try – but be warned, it’s quite addictive once you get started, and you’ll never look at sheep in the same way again…
If you decide to experiment with wet felting, we’d love to see your work – so please share your photos and ideas here in the comments.
Let’s Have a Conversation:
Have you tried wet felting yet? How did it go? What did you make? Did you encounter any challenges? What would you like to make, and would you like to see a ‘how to’ article to help you?
Tags Arts and Crafts

This is fascinating. Thank you for the article. I would love it if you could do a second article perhaps with demonstration video clips inserted at each step? I would be interested to try yet I can tell it requires some real technique. Thanks again.
This is amazing, Lynn. I’m a writer, painter, digital artist and former jewelry designer, so this gives me some fiber inspiration! Thanks for sharing.