


Beginner’s Guide to Soapmaking
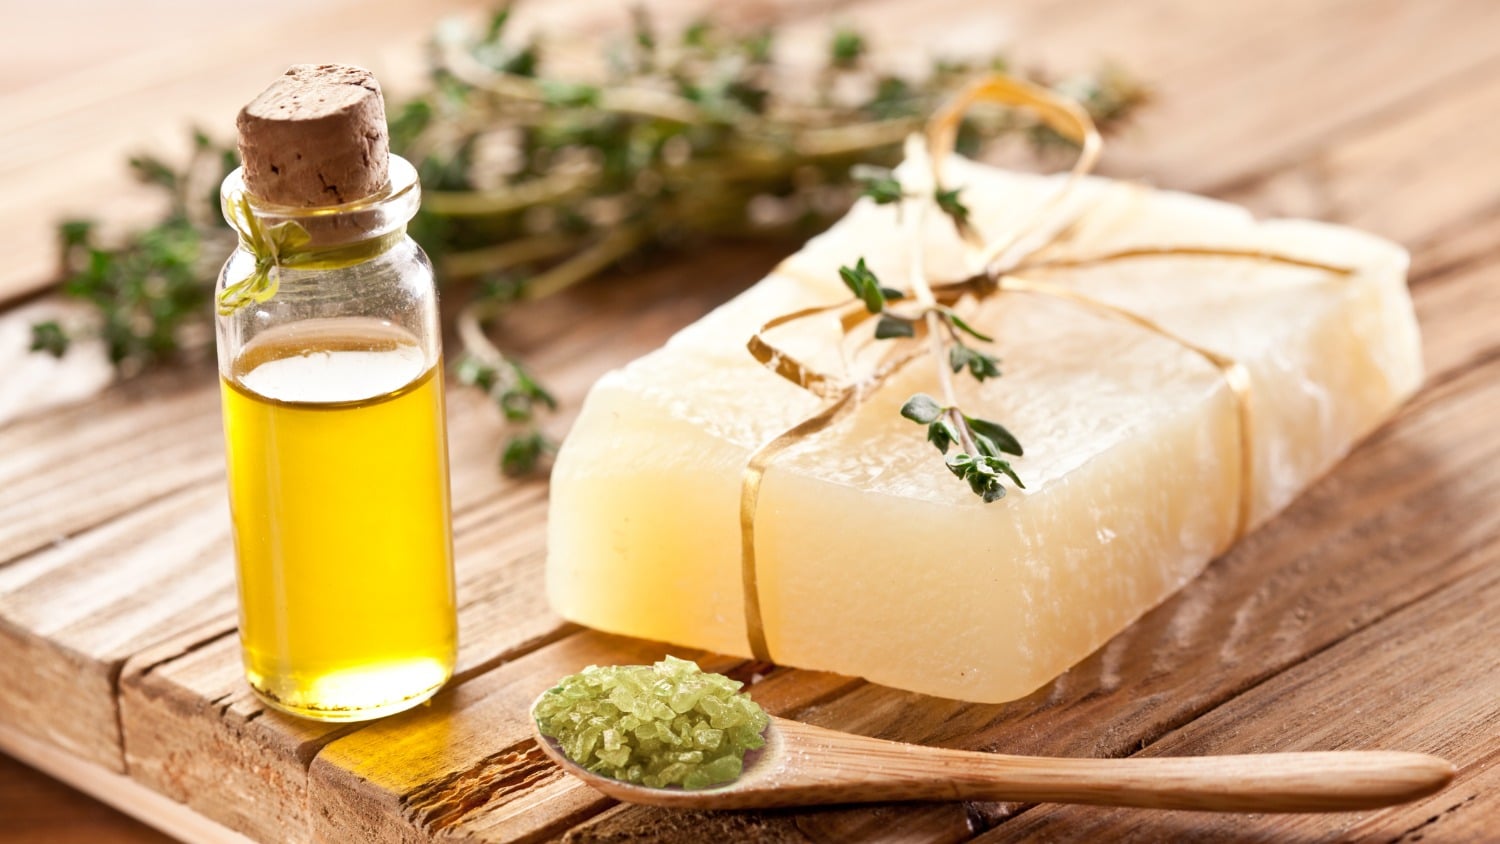
We all love the luxury of the gloriously scented artisanal soap found at craft fairs, bought from tiny, delicious boutique shops and from wholefood stores – but have you ever considered making your own? With a limited number of ingredients, you can whip up a batch of uniquely designed and scented soap at a fraction of the price.
The extra bonus is, your house will smell divine as you make it, and you will feel like a wildwood witch as you measure and mix your botanical beauties.
Uniquely ‘You’
Choosing the scent, colour and inclusions as you make your soap means that you can tailor everything to your taste and personality. Scent is such an evocative thing. Smells can transport us to other times and places in a heartbeat.
The smell of lilac transports me to 50 years ago, playing in dappled sunshine under the trees in my parents’ garden. Crushed mint, and I am a young mother playing with a toddler and a fat tabby cat in sprawling flowerbeds.
It’s good to take a moment to think about the scents that make you happy, and their associations. Surrounding yourself with those smells as you bathe, wash your hands, or open a storage jar can add moments of bliss to the everyday.
Certain scents can reflect your personality and even your mood. A sharp citrus scent for a day when you need energy and focus; a musky, heady perfume for a languid evening of romance – or maybe a sugary-sweet smell for a day of fun with the grandchildren. The choices are an endless source of fun.
Essential Oils
You may already have a selection of essential oils that you use in your own health and beauty routines; these enticing bottles are certainly a guilty pleasure of mine, and I can’t resist adding to my collection. Be aware that whilst they add scent and have therapeutic qualities, using the wrong types or concentrations can be dangerous and can cause allergic reactions. Always follow usage rate guidelines for safety.
Melt and Pour Soapmaking
This is a fun activity and can be a great thing to try as a family activity. It’s not soap making per se – more soap adapting – but it is a lovely activity. You can buy many kinds of ready-made soap bases that can be melted, then add botanicals, colours and scents before pouring the mixture into moulds and leaving it to set.
This can be an easy introduction to the idea of mixing your own scents, colours and inclusions for soapmaking to see if it is something you might enjoy. You can buy a huge range of bases to suit every taste, such as goat’s milk soap base, for dryer skins, cocoa butter base for extra moisturising, honey base or crystal clear glycerin – it’s fun to put small toys inside these for those times when grandchildren pay you a visit.
Here’s the Science
Soap is created due to a chemical reaction between lye, which is sodium hydroxide and oil. Lye is highly caustic (see the safety guide below) and historically, was made from ashes. Today, it is happily easier to come by, from craft and soap making suppliers.
Lye saponifies the oil to make soap. That means it reacts with the oil molecules to create salts of fatty acids and glycerol – it doesn’t sound glamorous, but those salts of fatty acids are what we call ‘soap’.
Safety First
When you are making soap from scratch, make sure you are free from distractions – no pets and no children allowed in the room during soapmaking. Ensure your lye is stored out of the reach of pets and children, too.
Safety precautions are necessary in soapmaking because the lye we use will burn skin and can cause blindness if it is splashed in the eyes – so always wear goggles, long sleeved tops and gloves and wear a mask to avoid inhalation.
Avoid using aluminium pans, bowls or utensils as it can react with lye and be dangerous; use stainless steel instead. When you are mixing lye with water, the temperature rises rapidly and fumes are released, so make sure you are working in a well-ventilated area.
This lye water will be fatal if drunk, so make sure pets do not have access to it – it’s much better to be safe. That might make you want to run screaming from the idea of soapmaking, but it shouldn’t. We fry things in hot fat, use sharp objects and power tools – it’s just about being aware of risks and taking appropriate safety precautions.
Cold Process Soapmaking
Gather everything you need before you start, so you can enjoy the process instead of fretting about something you need but have forgotten. It seems obvious to say, but I remind myself of this every time I make soap or do any other craft that requires a number of steps because it removes any stress, and the activity can just be enjoyed.
Keep your soapmaking equipment separate from those used in food preparation. You will require a jug for measuring, a bowl for mixing, a stick blender and electronic scales. I also use a range of measuring spoons and large spoons and spatulas. Do not use aluminum bowls, pans or utensils for safety reasons. I also like to keep a roll of paper towels and an old hand towel handy for spills.
You need:
Oils
Lye
Water
Mould
Candy thermometer kept for soapmaking
A word about moulds – you can buy made-for-purpose silicone or plastic moulds which work well as they are easy release, easy clean and come in a gorgeous variety of shapes. Don’t feel you have to when you are first starting out; a clean milk carton or waxed takeout box works just as well at minimum cost.
Step 1:
Make your lye water. Quantities will vary according to your recipe – for best results, just like baking, measure and weigh things accurately. Although it may go against the grain because of what we are used to in terms of baking, in soapmaking you add dry ingredients to wet.
Always add lye to the water in the jug for mixing, not the other way round, as that can be dangerous. Mix the lye into the water thoroughly until it dissolves. Be careful; the chemical reaction will make this hot. Set it to one side to cool in a well-ventilated place that is not accessible to animals or children, and will not be easily spilled. This may take up to 30 minutes.
If you would prefer, you can buy ready mixed lye water from soapmaking suppliers.
Step 2:
Measure out your oils according to your recipe. If some of the oils are solids, melt them on a low heat in your dedicated soapmaking pan (stainless steel is best) and add the liquid oils to combine. Set aside to cool. Wait until the oils are 180°F (82°C) or less – use your thermometer to check – before moving on to the next stage for safety.
Step 3:
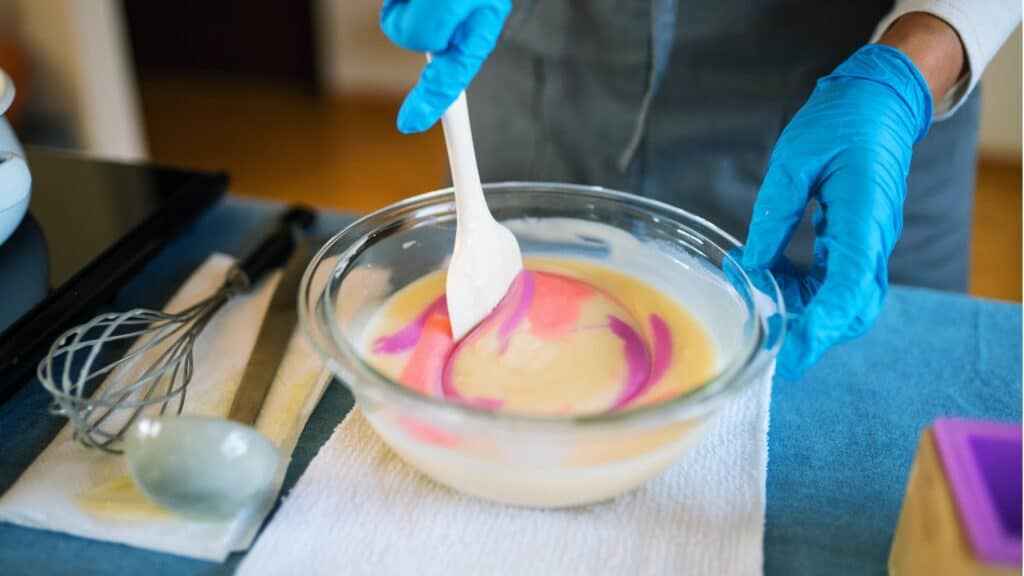
Ensure you are wearing your goggles and gloves – there’s a risk of splashes at this stage. Once your oils are cooler than 180°F (82°C), pour the lye water slowly into the oils and use your stick blender on a low speed to mix, keeping the blender head immersed in the mixture to avoid splashing and bubbles.
NEVER use a food processor or blender for this stage – remember how caustic the lye water is? You do not want that splashing everywhere. At first, everything is thin with globules of oil whirring round in the lye water. Then, after about a minute, just like magic, the chemical reaction occurs and the oil and lye water combine.
Continue blending to thicken the mix – you want a loose pancake batter consistency. When you can lift the blender and the soap batter that drips off leaves a trail on the top of the mixture, your soap batter is ready – exciting!
Step 4:
Add your colour, fragrance and any inclusions, and stir with a mixing spoon kept for soapmaking. Work swiftly, as your soap batter will start to harden at this stage.
Step 5:
Pour the soap into your moulds and smoothe the top with a spatula. Add any botanicals required to the surface of the soap. The soap will take several days to harden. When you unmould and cut your soap, it is worth wearing gloves to make sure your skin does not become irritated by any remaining lye. You can cut larger blocks of soap made in a milk or takeout carton into bars once it has hardened.

Step 6:
All that is left to do is to set your soap aside to cure. ‘Curing’ just means allowing water to evaporate so the soap hardens off. Soap needs an airy place out of direct sunlight in order to cure. Place bars of soap on greaseproof paper as they cure to avoid any staining of surfaces.
As the soap cures, the saponification process we described earlier completes and all of the lye and oils are combined. The longer the soap cures, the more water evaporates and hardens. This step can take several weeks (4-6) and varies from recipe to recipe. A soap gets milder as it cures, and makes better lather.
Once your soap is cured, store your bars in open boxes or baskets (pretty and practical for air flow) or wrap the bars in greaseproof paper.
Soapmaking is so satisfying and enjoyable; it’s a great way to make holiday gifts too. If you make soap, we’d love to hear about your experiences and see your photos, so please share them here in the comments and on our Facebook page.
Let’s Have a Conversation:
Have you tried soapmaking? What scents and botanicals did you choose? Would you like to see more ideas for homecrafted bath goodies like bath bombs?
Tags Arts and Crafts
I have never tried making soap but have bought some lovely hand made ones on my travels. I use them to scent things like my underwear drawer. A favourite are some boxed rose scented soaps I bought in Lisbon.
Lemon Verbena is another favourite. When I smell it I think of my mother. I bought some beautiful lemon shaped ones at Ascona in the Italian part of Switzerland.