


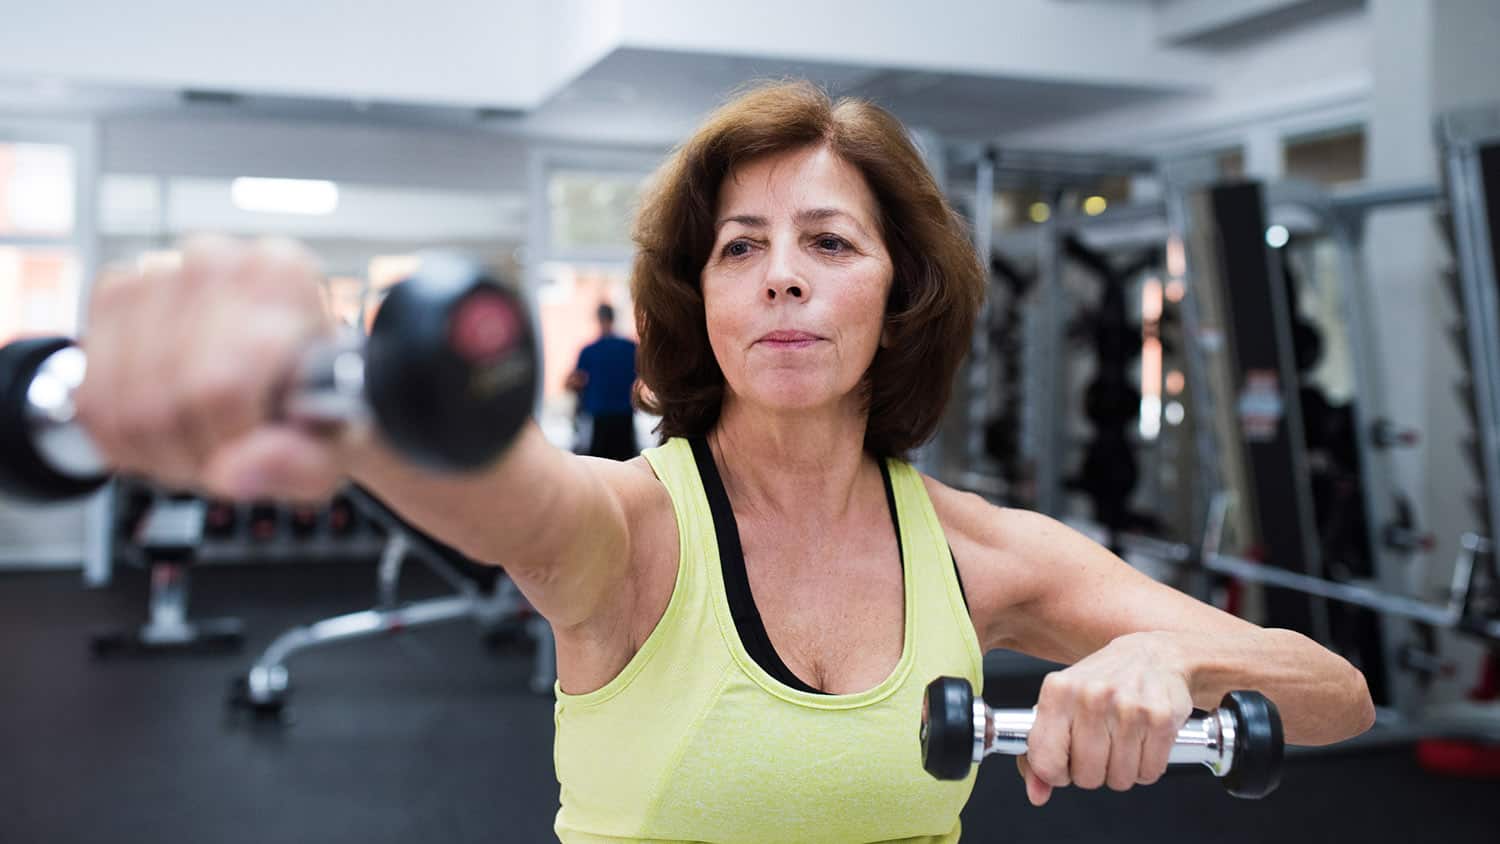
4 Painless Steps to Starting Weight Lifting for Seniors
Let’s do a quick word association game: What comes to mind when you think of weight lifting? If you’re like most people, one or more of the following popped into your head:
- Big beefy muscles;
- Lots of grunting, sweating and strutting around taking selfies in tiny tank tops;
- Pain.
In short, weight lifting is definitely NOT for people over 60, right?
Weight Lifting for Seniors: For or Against?
Truth is, lifting weights could not be more important after 60 for a boatload of reasons, but mainly because:
- Strength training reduces the risk of falls;
- Weight lifting reverses the natural age-related loss of muscle;
- You look better, since muscle gives shape to your body while fat just gets blobby;
- It also improves power.
Briefly, we begin losing muscle mass in our 30s. Since muscle burns more calories at rest than fat, this loss results in a drop in your metabolism and, often, weight gain.
Plus, being strong reduces your risk of falls and hip fractures and enables you to perform daily activities with ease.
The solution to this cornucopia of bad news? Weight lifting. That’s right, lifting weights reverses the natural process of age-related muscle loss (called sarcopenia) and all the resulting health issues that go along with it.
More good news: You’re never too old to start weight lifting. People over 90 can improve their strength with regular workouts.
It’s All About the Right Approach
I understand that if you’ve never hoisted a dumbbell before, the idea of pumping iron can be intimidating – but not if you take the right approach.
This means your workout should be structured to A. avoid injury, B. get results and C. be a plan you can enjoy on a regular basis – or at the very least not dread it.
Here’s how to get started – just remember to check with your doctor first to get cleared for takeoff!
The Basics
Become Familiar with the Lingo
Learning the terminology in advance will really help.
“Reps” = repetitions, the number of times you raise or lift the weight or resistance tool.
“Sets” = a ‘group’ of repetitions.
For example, “two sets of 15 reps” simply means performing 15 repetitions in two separate exercise blocks.
Plan Your Workout Time
It’s best to work out two to three non-sequential days of the week with a day or two (listen to your body) of rest in between each workout to allow muscles to recover.
Repetitions Matter
In general, aim for 12 to 15 reps per set, a range shown to improve strength and muscle tone without bringing exhaustion.
Don’t Rush It
Allow yourself at least a week or two of regular weight lifting before you start pushing yourself to increase the intensity or resistance. Going slow will allow your nervous system to get a handle on this new plan.
Gradually Increase Intensity/Resistance
After you’ve been working out for a couple of weeks, and it’s become easier, increase intensity/resistance by NO more than 10% a week. If you’re also doing a cardio workout, do not increase both types of exercises at the same time.
Weight Is Important
Use enough weight where 12 to 15 reps are an achievable challenge. If you’re not using enough resistance, you won’t trigger your muscles to strengthen. So, how to know? If the last few reps are easy enough and you can hop right back into another set, bump up the weight.
Never Skip a Warm-Up
Make sure you warm up thoroughly. This can include any type of light cardio, including walking around your house, pedaling on a stationary bike or walking on a treadmill. A warm-up prepares your muscles and nervous system for work. Five to ten minutes should do it, or until you just start to break a sweat.
Set Enough Recovery Time
Allow for 30 to 60 seconds between sets for recovery.
Muscle Soreness
Minor muscle soreness is common but should not last longer than a day or two. Once you become accustomed to weight lifting, you typically won’t be sore, unless you increase the weights or try a new exercise.
Taking the First Steps
Step 1
Gather or purchase resistance exercise equipment. Your own body weight is fine, but some body weight exercises are harder than using outside resistance – think of push-ups versus chest presses.
For dumbbells, a set of 3, 5, 8 and 10 lbs should cover all bases, or a set of light, medium and heavy resistance tubing with handles and a door anchor if you go the tubing route.
Step 2
Include exercises for every major muscle group – legs and glutes, chest, back, arms, shoulders, core/abs – preferably in a combination that translates to everyday activities.
Known as “compound exercises,” these include moves such as squatting and performing a biceps curl or overhead press, which mimics getting up out of an airplane seat and stuffing something into the overhead compartment.
Step 3
Stretch after each workout, but only after muscles are warm, not before your workout, as cold muscles are not as elastic and can be strained more easily.
Step 4
Consider hiring a personal trainer for at least a couple of sessions to ensure you’re performing the exercises correctly. This will help you avoid injury and get the most out of your workouts.
Be consistent with your efforts and you will see results!
Let’s Have a Conversation:
Have you considered doing resistance training after 50? Do you currently work out with resistance? If so, what’s your favorite type of weight lifting equipment? Do you go to a gym or prefer to work out at home? Let’s get the conversation going!
Tags Fitness Over 60


Nice article – I work out at home with free weights and misc resistance bands. I enjoy the challenge and how I feel after working out with weights and my home equipment. I walk on a regular basis during my lunch hour walking up and down various hills and terrain. There is so much variety with videos for every level and activity making it very hard to get bored. This variety also provides areas to experiment and challenge your levels. When gyms closed during the pandemic I set up my own routine at home and its been very successful for me.
I am in a mode of self work. I’m doing a spring cleaning of my belief systems.
During my glory years I was a disciplined athlete, not so much these days. Because zi am cleaning and polishing my self talk, I am going to ensure I DO get into my home gym on a daily basis. For me, this means that I will commit to MYSELF to work on my core, major muscle groups, and or cardio (dog walking) daily.
I am doing well remodeling my thought process. I think it is now time to support my body so I can act on my improved and more active thoughts!
I try and get this in at least three times per week with dumbbells and a program I found on YouTube that works for me. I want to get it in 5 times per week and am working towards that. I’m pretty faithful to my treadmill so I know I’m getting my aerobic and leg exercise. I add flexibility to that but right now am only doing that 2-3 times per week and I’d like to have that at 5 times per week also. I motivate myself by thinking of how much stronger I look and feel when I do these things and my quality of life is better.