


Let’s Learn How to Finger Crochet
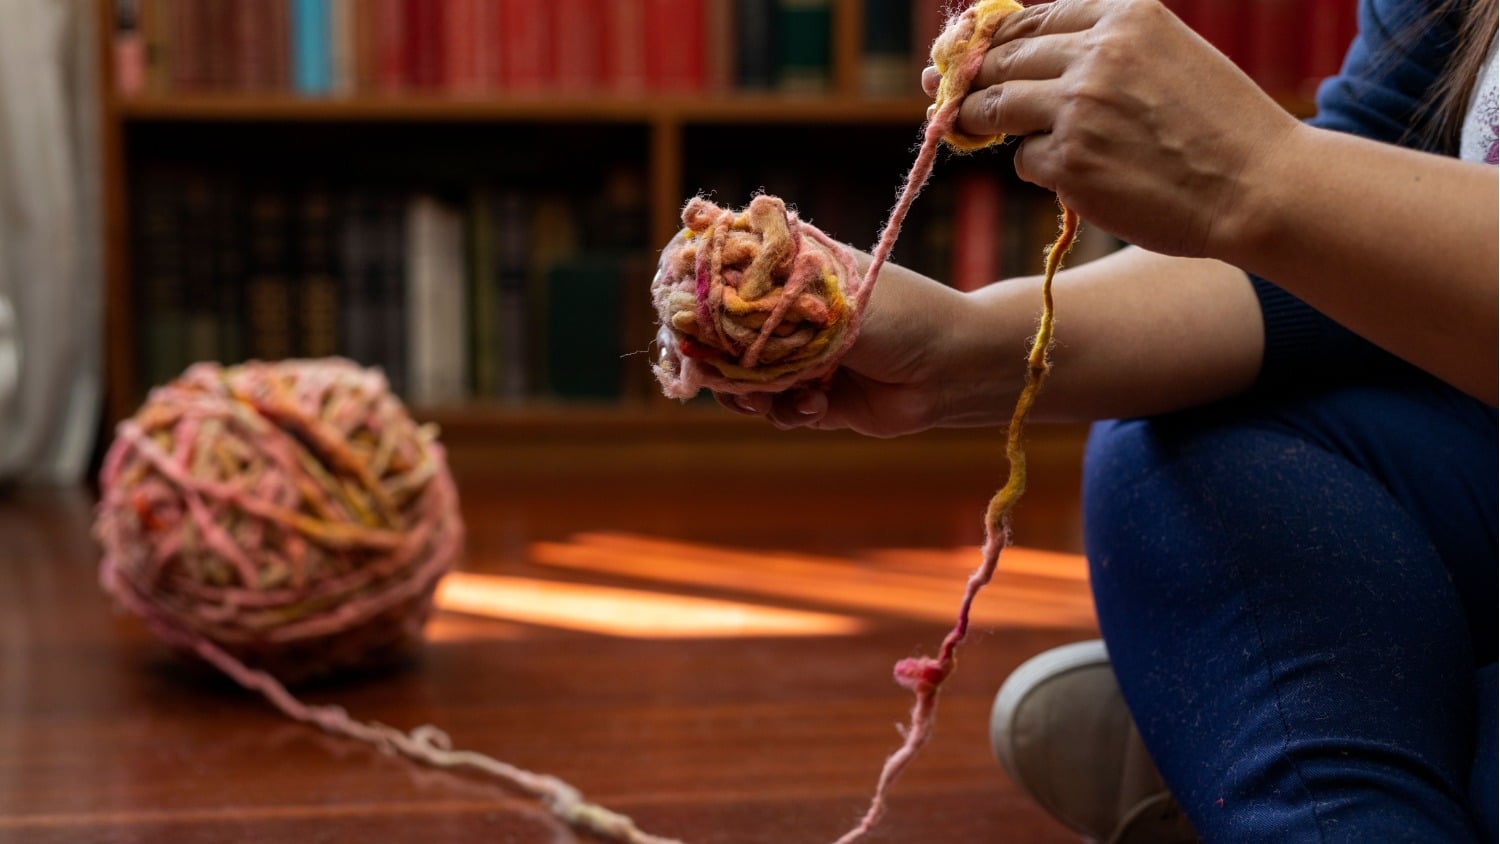
Are you ready to embark on a crafting adventure that combines the cozy charm of crochet with the convenience of your own two hands? Get ready to explore the world of finger crochet! With no need for hooks or needles, finger crochet allows you to create beautiful, textured projects using just your fingers and yarn.
Whether you’re a seasoned crochet enthusiast wanting to try a new technique or a beginner eager to explore the realm of fiber arts, finger crochet is an accessible technique that will have you hooked (pun intended!). So, roll up your sleeves, gather your favorite skeins of yarn, and prepare to learn how to finger crochet.
What Is Finger Crochet?
Finger crochet is a technique that uses your fingers instead of hooks. It’s a fun, easy way to practice crochet, and it works up quickly. When you finger crochet, you use the same basic stitches as regular crochet, including chain stitch (ch), single crochet (sc) and double crochet (dc). But instead of a hook, you use the tips of your fingers to create each stitch.
This technique is great for beginners because it’s easy to spot mistakes. It’s also an excellent alternative to traditional crochet for people with arthritis and conditions that make using a hook difficult. Plus, you can do finger crochet anywhere, making it perfect for travel.
Materials
One of the most appealing aspects of finger crochet is its simplicity, which is reflected in the minimal materials required to get started. Before you dive into this delightful craft, make sure you have the following essentials at hand:
Yarn
First, you’ll need yarn in the weight and color of your choice. Whether you prefer a chunky, cozy texture or a fine, delicate thread, the yarn is the star of your finger crochet creations. Thicker yarn works best for beginners because it’s the easiest to work with.
Scissors
You’ll also need a good pair of scissors for neatly cutting the yarn as you work on your project. Make sure they are sharp enough to make clean cuts without fraying the yarn.
Tapestry Needle (Optional)
While finger crochet doesn’t require any additional tools, having a tapestry needle on hand is helpful for weaving in loose ends or joining pieces together.
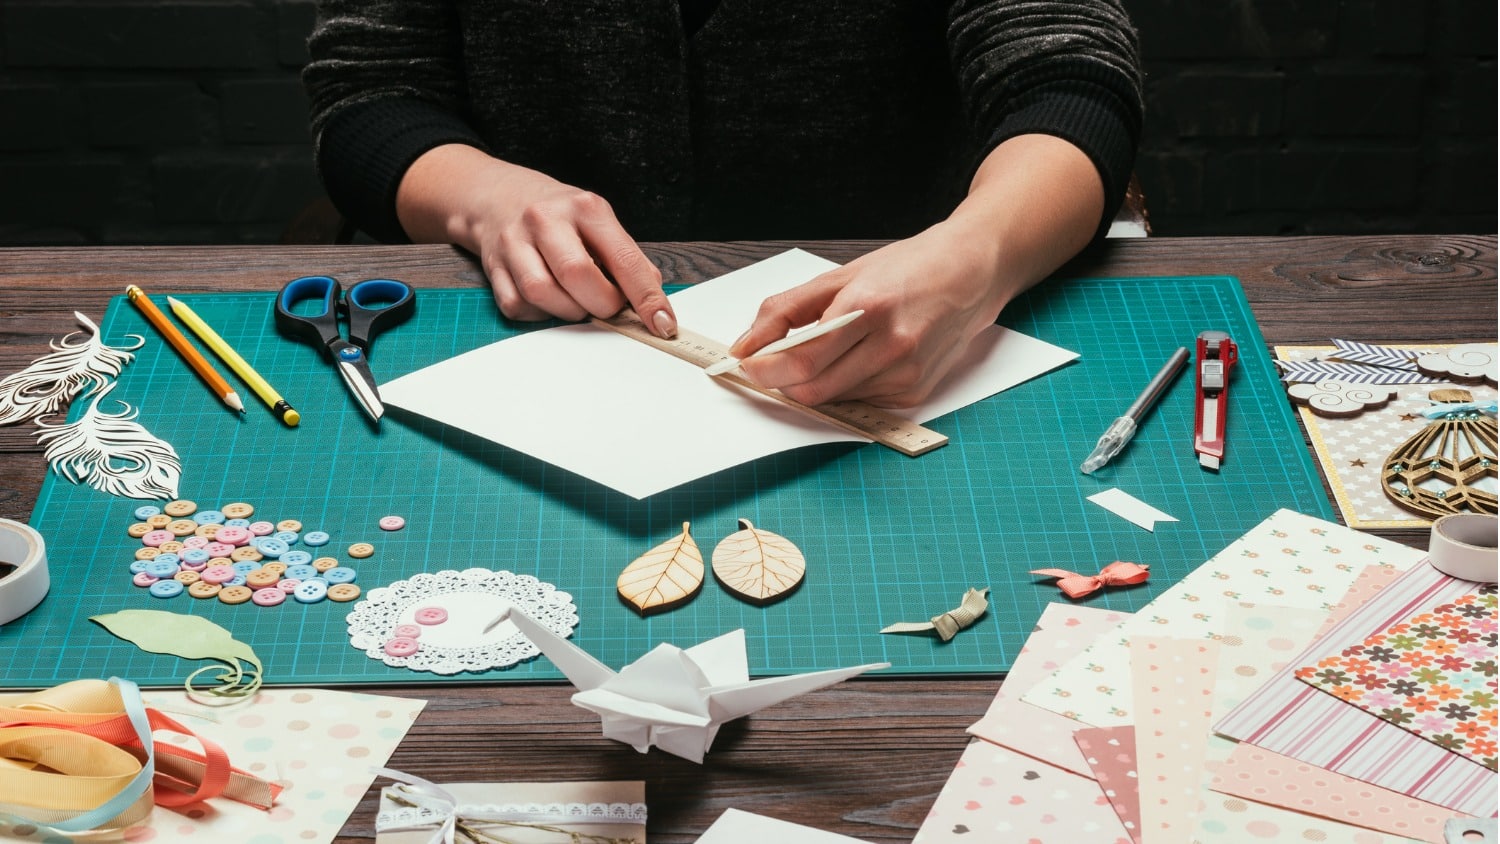
Optional Embellishments
Depending on your project, consider additional embellishments like buttons, beads, or appliques to add flair to your finger crochet creations. These are optional but are a fun way to customize your work.
That’s it! With a few simple materials, you can start making crochet magic with your fingers.
Getting Started
First, you’ll need to master the art of creating a slipknot. The slipknot is the foundation of any crochet project and acts as the loop to start working your stitches. Fortunately, making one is easy. Follow these simple steps to make a slipknot:
- Hold the end of your yarn between your thumb and index finger, leaving a tail of about 6 inches (15 cm) or so.
- Take the yarn attached to the skein and cross it over the tail, creating an “X” shape.
- Next, put your finger through the loop of yarn formed by the tail.
- Pull the yarn end through the loop, creating a loose knot.
- Gently tighten the knot by pulling both ends of the yarn in opposite directions. Ensure that it is snug enough to hold but not tight enough to hinder your work or cut off circulation in your finger.
How to Finger Crochet the Foundation Chain
Once you have your slipknot securely in place on your finger, it’s time to learn how to crochet a foundation chain in finger crochet. The foundation chain acts as the base for your crochet project, providing a starting row to build upon. Follow these step-by-step instructions to create your foundation chain:
- Slide the slipknot over the thumb and forefinger of your dominant hand, ensuring it’s snug but not too tight.
- Hold the working yarn in your opposite hand to maintain tension.
- Grab the yarn with your dominant hand and pull it through the loop. This creates your first chain stitch.
- Insert your thumb and forefinger in the new loop and pull the yarn through again to make another chain stitch.
- Continue making chain stitches until you have the desired number of chains. Remember to count your chains as you go to ensure you have the correct number for your project. Maintain even tension while you work to ensure consistent chains.
This chain is the starting point for the rest of your stitches, allowing you to build upon it and create beautiful finger crochet projects. Now, you’re ready to explore some other common crochet stitches.
How to Single Crochet with Your Fingers
Now that the foundation chain is ready, let’s learn to single crochet using your fingers. Single crochet is a basic stitch and forms a dense, sturdy fabric. Here’s how to crochet single stitches in finger crochet:
- Slide the loop on your finger off, and insert your finger into the first chain stitch of the foundation chain.
- Place the working yarn over your finger, securing it with your thumb.
- With the working yarn in place, use your finger to reach through the first chain stitch from front to back.
- Pull the working yarn through the chain stitch, creating a loop on your finger.
- You should have two loops on your finger now. Take the working yarn again and pull it through both loops, just like closing a regular crochet stitch.
- Move to the next chain stitch in the foundation chain and repeat steps 3 to 5 to make another single crochet stitch.
Continue working single crochet stitches into each chain stitch of the foundation chain until you reach the end. Remember to maintain an even tension and keep your stitches snug but overly tight.
When you get to the end of the row, turn your work to start the next row. If you’re working in a spiral or round, continue to crochet single crochet stitches in the desired pattern.
Practice this technique, and with time and experience, you can crochet single stitches effortlessly using just your fingers. Whether making a simple project or a complex design, the single crochet stitch is a versatile building block that will help in your crochet journey.
How to Double Crochet
The double crochet stitch is taller, creating a looser, open fabric than single crochet. Follow these steps to crochet double stitches in finger crochet:
- Start by placing the loop of your working yarn onto your finger, as you did when practicing single crochet stitches.
- Insert your finger into the next chain stitch of the foundation chain, and reach through the chain stitch from front to back with your finger, grabbing the working yarn and pulling it through the chain stitch. You should now have two loops on your finger.
- With your thumb and forefinger, reach through the chain stitch again from front to back, this time pulling the working yarn through the chain stitch. Now, you will have three loops on your finger.
- Reach through the first two loops on your finger, grabbing the working yarn and pulling it through those loops, leaving two loops on your finger.
- Repeat steps 3 to 5 for each subsequent double crochet stitch. Reach through the next chain stitch with your thumb and forefinger, pull the working yarn through, reach through again, pull the working yarn through, and finally, pull the working yarn through the first two loops.
- Continue working double crochet stitches into each chain stitch of the foundation chain until you reach the end. Remember to keep your stitches consistent.
- Once you finish the row, you can turn your work for the next row or continue working in a spiral or round.
How to Half-Double Crochet
Now, let’s take your finger crochet skills to the next level with the versatile half-double crochet stitch. The half-double crochet adds an element of height and texture to your finger crochet projects. Here’s how to do it:
- Place the loop of your working yarn onto your finger, just as you did before.
- Insert your finger into the next chain stitch of the foundation chain.
- Reach through the chain stitch from front to back with your finger and thumb, grabbing the working yarn and pulling it through the chain stitch. You should have two loops on your finger.
- Reach through the chain stitch again from front to back, this time grabbing the working yarn and pulling it through the chain stitch. You should have three loops on your finger.
- Finally, reach through all three loops on your finger at once, grabbing the working yarn and pulling it through all of them. You will then have one loop on your finger.
- Repeat steps 2 to 5 for each subsequent half-double crochet stitch. Reach through the next chain stitch, pull the working yarn through, reach through again, pull the working yarn through, and then pull the working yarn through all loops on your finger.
- Continue working half-double crochet stitches into each chain stitch until you reach the end.
- Once you finish the row, you can turn your work to start the next row or continue working in a round or spiral, depending on what you’re making.
This stitch may take some practice to master, but with patience, you’ll be creating beautiful finger crochet projects using half-double crochet stitches in no time.
Finger crochet is a fun way to get started with crochet. From mastering the slipknot to creating beautiful stitches like single crochet, double crochet, and even the versatile half-double crochet, you have unlocked a world of possibilities using just your hands and yarn. As you practice and refine your finger crochet skills, you’ll witness your projects evolve into unique, handmade treasures infused with your personal touch.
Here is a great demo video: https://www.youtube.com/watch?v=F4rmILtGKvI
Let’s Have a Conversation:
Have you tried finger crocheting? What have you made using this technique? If you haven’t tried it yet, what do you want to make when you learn how to finger crochet? Please share your thoughts below.
Tags Arts and Crafts

I learned to crochet as a child from my mother. What a great idea using your hands. Going to look into this. Thanks for the demo video!
This sounds fun and great to keep up fine motor skills in the fingers and hands!
Sounds fun — any chance of adding photos to help beginners?
I’m watching the video (linked at the end of the article) as I go through the instructions and that is helping a lot.