


How to Get Started with Tie-Dye
Tie-dyeing has been around for decades and is a creative way to add a pop of color to your clothes, accessories or home décor. Whether you want to revamp an old t-shirt or create a colorful piece of art, tie-dye is a versatile and easy-to-learn technique.
But where do you begin? In this article, we’ll walk you through the basics of tie-dyeing, from choosing the right materials to mastering different folding techniques. So, grab some gloves and let’s get started!
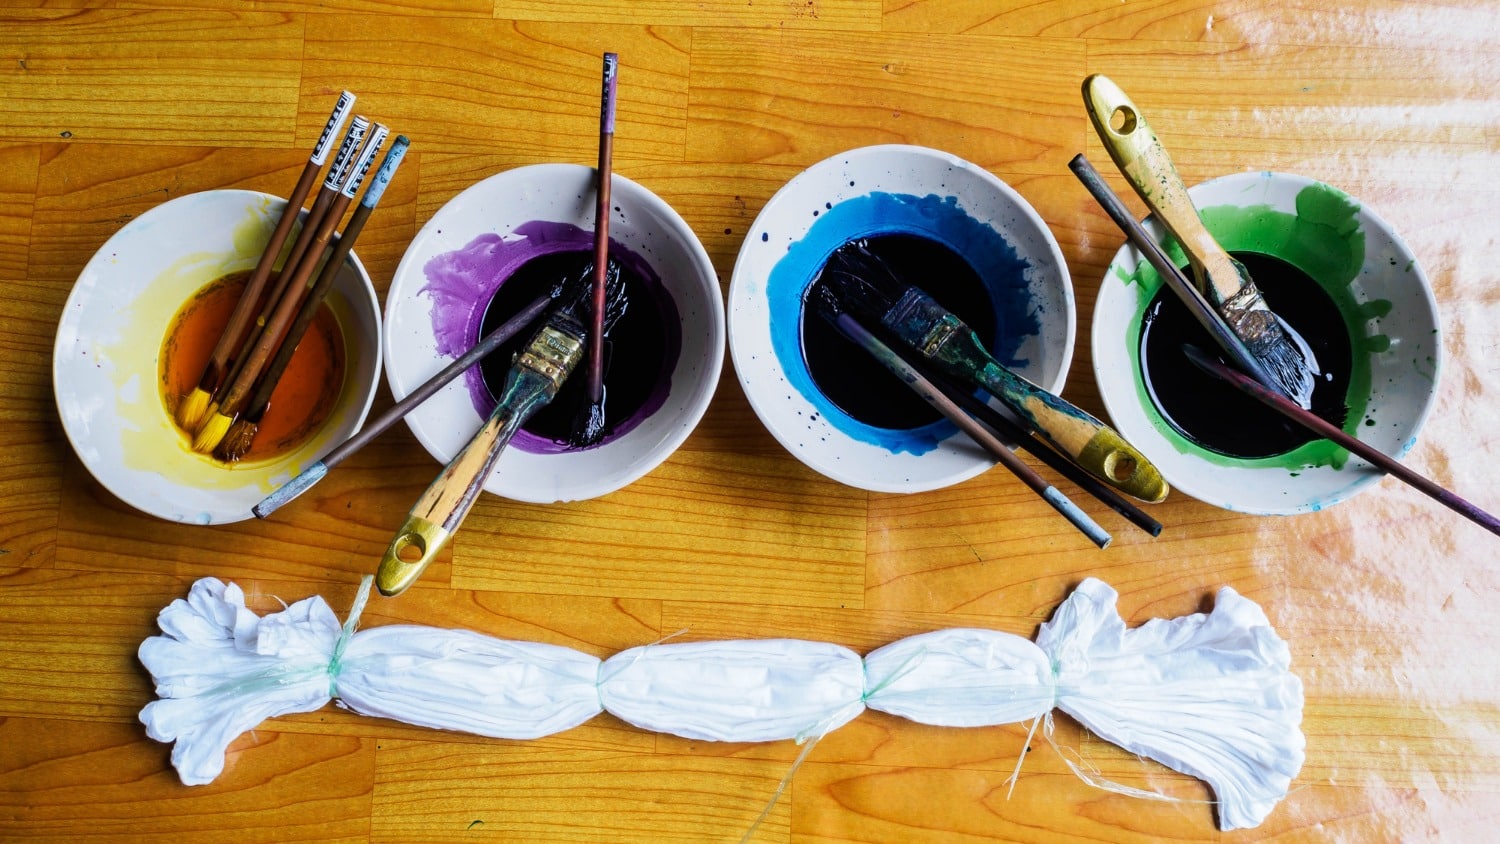
What You Need
The first thing you need is a tie-dye kit. You can buy one at your local craft store or online. They’re also available at most big-box stores. Look for one with everything you need except water (and maybe some extra rubber bands).
Tie-dye kits typically include the following:
- Dye powder in a squeeze bottle
- Rubber bands in various sizes and colors
- Disposable gloves
- Detailed instructions
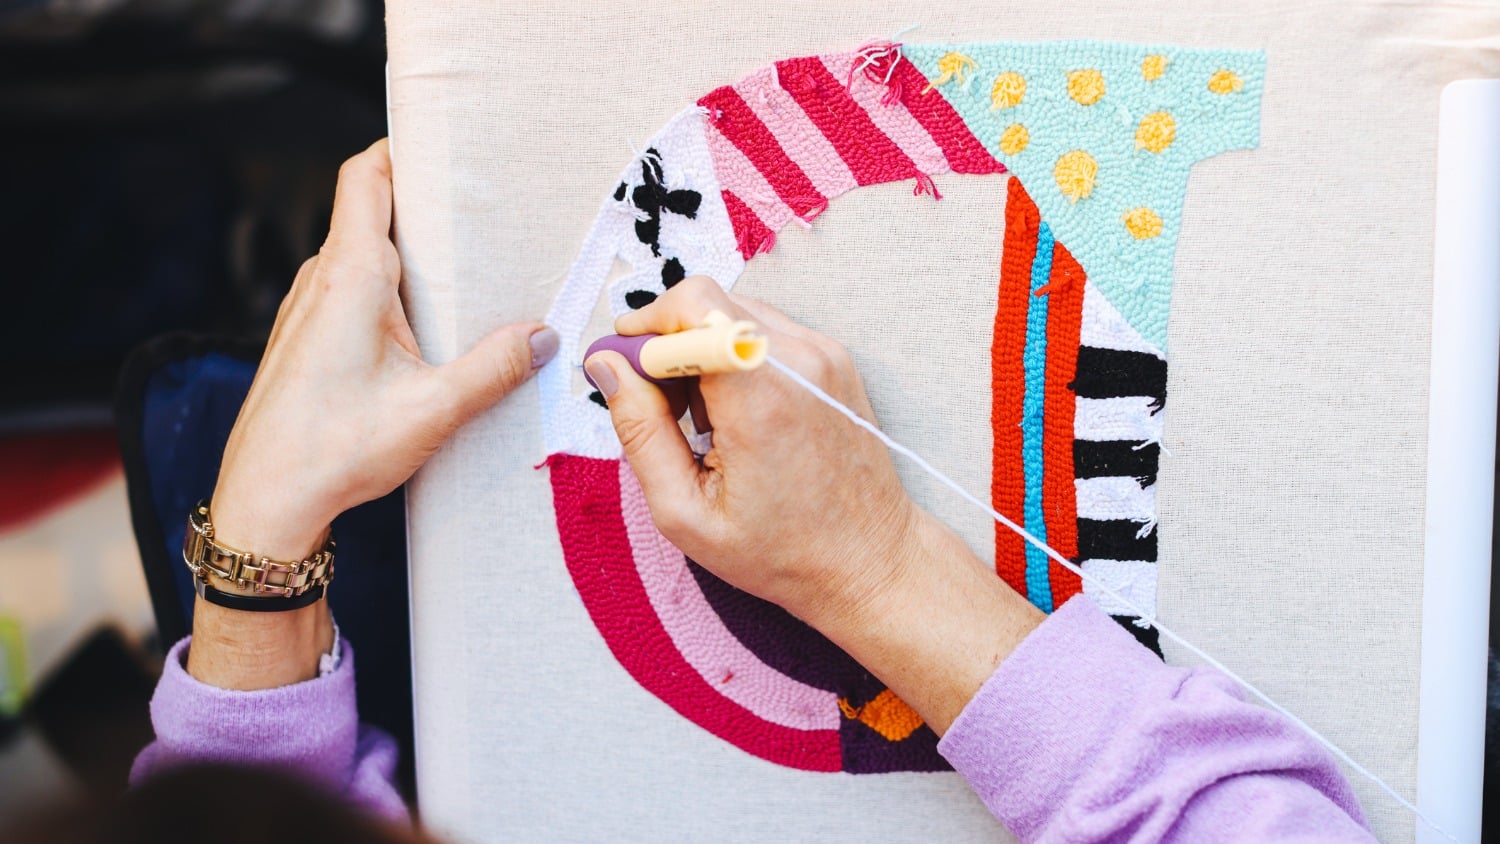
You’ll also need something to dye. Cotton t-shirts are the most popular option, but you can also tie dye headbands, hats, tote bags, tapestries, duvet covers and more.
Tips for Getting Started
Tie-dye is easy and doesn’t require any special skills, but there are a couple of tips to help ensure your success.
Choose the Right Material to Work with
Start with a white or pastel-colored item. Natural fabrics work best for tie-dyeing. Synthetic materials and blends don’t work as well because they don’t readily absorb dye. The results will be less vibrant if you dye something made of polyester or a cotton/polyester blend. Prewash the item to prevent shrinkage.
Protect Your Area
Tie-dye is messy, so be sure to protect your work area. Plastic trash bags, paper towels and plastic tablecloths all work well.
Don’t Skimp on Dye!
The more dye you add, the more vibrant the tie-dye will be. Make sure you use enough to saturate the fabric and flip the object over to dye the back side if necessary.
Thoroughly Rinse All Materials
Rinse and wash tie-dyed items carefully. Use cold water and mild detergent, and don’t wash with any other laundry. The dye will likely bleed for at least the first few washes.
Prepare the Item You Want to Tie-Dye
Wash the item with gentle detergent. Do not use fabric softener. Leave it damp if you plan to dye it right away, or hang it to dry if you’ll be completing the project on another day.
When you’re ready to begin, make sure the item is damp but not dripping. Spray with water if necessary.
To get even coverage, lay the fabric flat on a protected surface. This ensures all sections of the object will have equal amounts of dye. When laying out your fabric, try not to overlap any edges, as this will cause unevenness when applying dyes.
Secure the Fabric with Rubber Bands
Rubber bands are the key to creating any tie-dye pattern. They help keep your fabric in place, allowing you to get creative with designs and colors without worrying about them moving around or coming apart.
Your design can be as simple or detailed as you like. Check out these tie-dye patterns for inspiration and folding instructions. If you’re going for a random look, feel free to add rubber bands as you please.
Be sure to use enough rubber bands. For example, if you’re doing a spiral pattern on a shirt and only one or two bands are holding down each part of the spiral (instead of four), those pieces will move around too much, resulting in a lower-quality result.
Apply the Dye
Now that everything is ready, it’s time to add some color!
Put on some plastic gloves, and read the instructions included in your tie-dye kit to determine how much water to add to each bottle. Once filled, shake well to mix.
Apply each color by squirting it onto the areas you want to dye. Be mindful of what colors you place next to each other. While primary colors like blue and red mix to form purple, colors like green and orange make brown when combined.
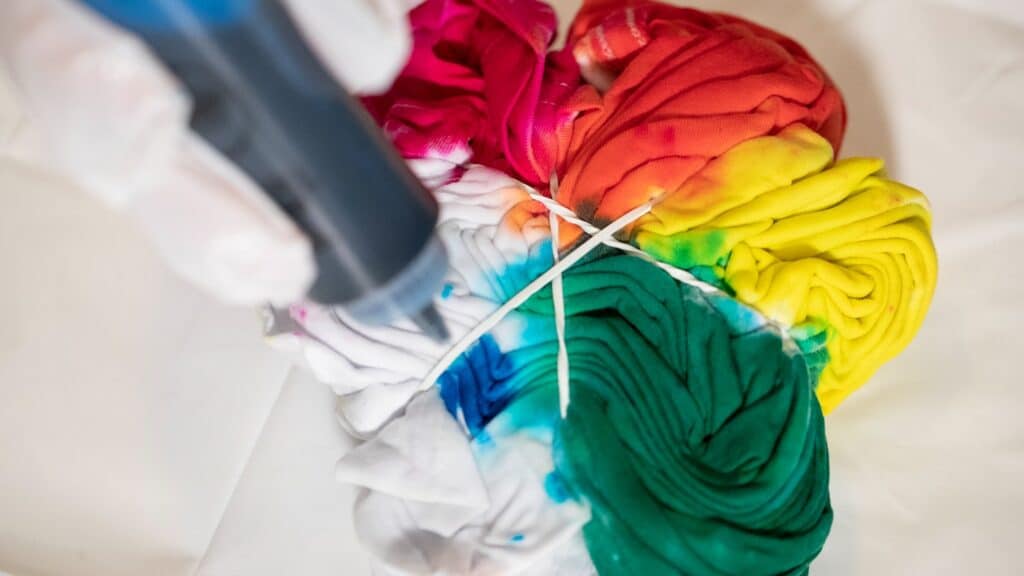
Depending on the item’s size, you may need to flip it over to apply dye to the other side. Saturate the fabric completely to ensure vibrant results. Insert the bottles’ tips between the fold of fabric if necessary to prevent white spots.
Once you are finished, wrap the item in plastic wrap or place it in a plastic grocery bag to keep it damp.
Let Sit
Once you’re done dyeing, let the fabric sit overnight (or for a minimum of six to eight hours) in a warm area in the plastic bag or wrap. The longer you wait, the deeper and more permanent your tie-dye will be. Letting the dye set means more of it will stay in the fabric rather than rinsing down the drain in the next step (and subsequent launderings).
Rinse, Wash and Enjoy!
After you’ve finished dyeing, it’s time to rinse your fabric in cold water. You can either do this outside with a hose or in the sink. Remove the rubber bands and rinse until the water runs clear. Do not wring out the fabric, as this could make the colors bleed.
Put the item in the washing machine by itself or with other things dyed using the same colors. Wash in cold water using mild detergent. Dry in a dryer using a high heat setting. The high temperature helps further set the dye and prevent fading.
When your tie-dyed fabrics are completely dry, wear, use or display them proudly! For subsequent washing, launder in cold water and hang to dry to prevent fading. Wash your tie-dyed items with like colors for the first several washes to avoid color bleeding.
Let’s Have a Conversation:
Is this your first time tie-dyeing? What pattern is your favorite? What items have you tie-dyed? Please let us know in the comments below.
Tags Arts and Crafts

Great read! I’ve seen some folks do amazing work with tie-dye! I can never quite figure out how they do it with the amazing designs