Help for Hooded Eyes and a Great Tip to Lift Lips
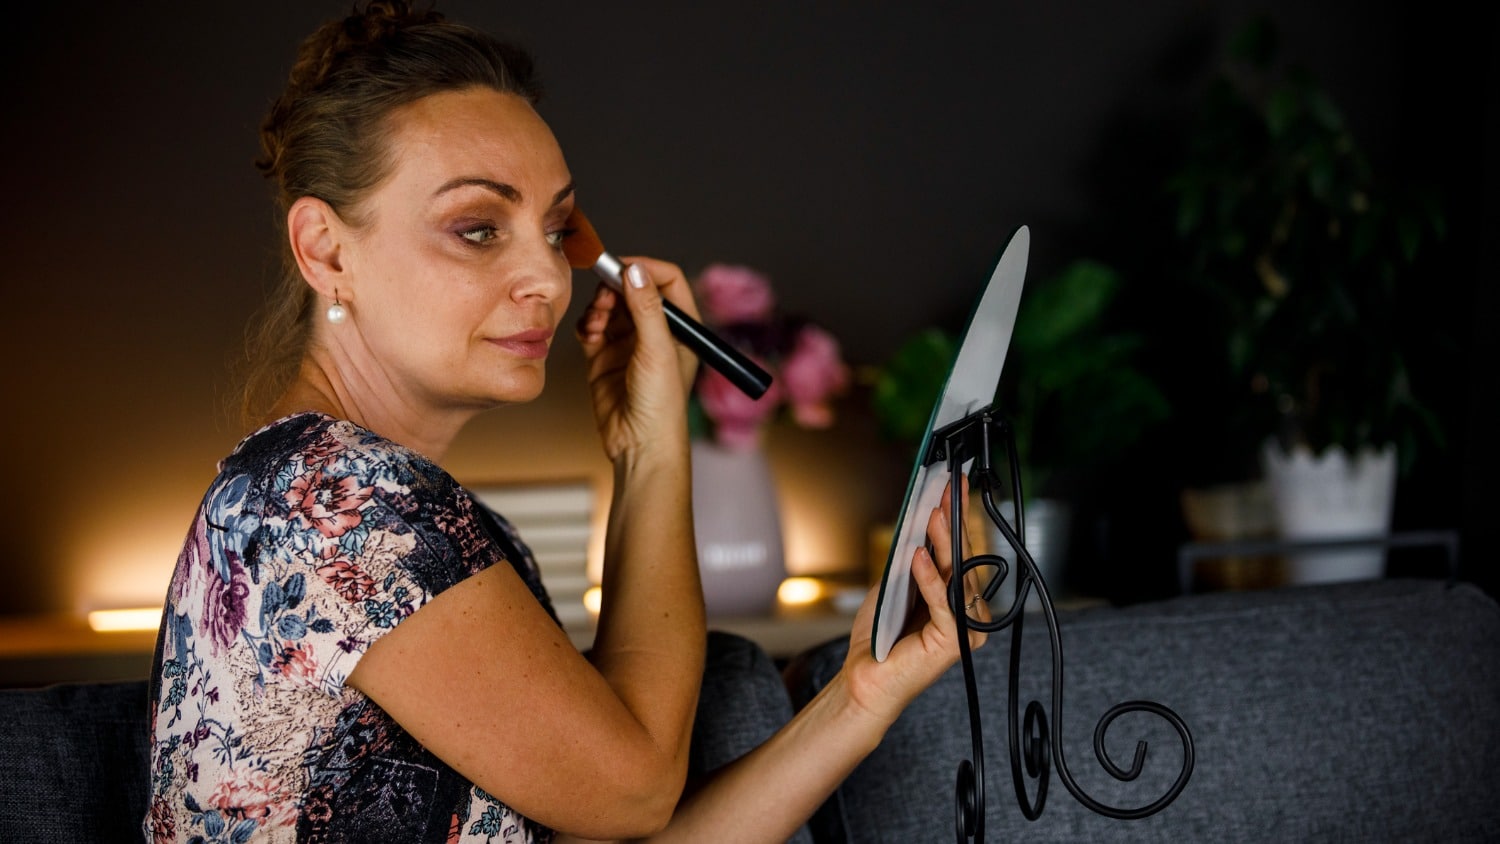
A few days ago, when I was preparing for a Zoom makeup consultation with a client, I applied makeup on one side of my face only. This type of makeup application allows me to show the results on one side of my face and then demonstrate on the other side the application techniques to get that look (as in the video above).
As I was looking in the mirror after I finished putting the makeup on one side of my face, I was really struck by how using a few specific makeup techniques can almost totally disguise the look of hooded eyes. I’ll share these techniques with you today as well as an intriguing new product for hooded eyes. And at the end, I’ll also share a great tip I just learned to help lift the lip area.
I actually wrote an article and created a video on hooded eyes a little over a year ago, but at that time my eyes were only slightly hooded. Now, a year later, there is no mistaking it. Because I often lift my brows as I talk, it can look like I don’t have hooded eyes.
I can also look a little less like I have hooded eyes because my eyes are quite deep set. But as you’ll see in the closeup on the video, when my eyes are resting and I’m looking straight ahead, you can definitely see how hooded my eyes are.
I’m going to be sharing seven tips with you, but you certainly don’t have to use all of these tips. I just want to give you as many options as possible from which you can choose.
Give Some Love to Your Eyebrows
Anything we can do to lift our eyes will help negate the hooded look. So an area of our face where we first need to give some love is our eyebrows. In the video I’ve already filled in my eyebrows, but if you’d like some help, check out these two videos: “Tips for Sparse Eyebrows with Demos Using Different Products” and “Eyebrow How-To for Older Women: 1 of the 4 Things We Can Do To Look Our Best.”
Eye Primer Is Our Friend
The next step is to apply a very light coat of eyeshadow primer – one that matches our lid color or is slightly lighter. We want to apply going from the base of our lashes to the eyebrow.
The eyeshadow primer is important because it does three things:
- It brightens our eye area,
- It keeps the oil on our eyelids from breaking through the eyeshadow which causes smudging or creasing of our eyeshadow,
- It covers up any discoloration on our eyelid area.
And because it brightens our eye area, I also like to bring the primer into the inner corner of my eye area to neutralize the shade we usually see there. In the video I’m using Urban Decay’s Primer Potion in the color “Eden.”
Technique, Color and Placement Are Important
The next five tips focus on the importance of the technique we use, the choice of color and the placement of color.
Using Lighter Color Eyeshadow
To make our eyes look bigger, we want to apply on the entire eyelid area an eyeshadow that is lighter colored than our skin tone.
Why? Because light colors make things come forward and therefore look bigger, and dark matte colors make things look smaller and recede. I’m going to be using a vanilla color from Laura Geller called “French Vanilla,” but you could use a very light version of any color.
Be sure to check out Elise’s YouTube channel which specifically focuses on makeup tips, techniques, and product reviews for those of us 50+. Don’t forget to subscribe!
Technique and Placement
Since many of us with hooded eyes either lose our crease area, because of the skin coming down lower on our eyelid, or the crease area becomes smaller, we’re going to create a brand new crease. To do this, we will use a medium toned color to make the crease area recede. This will create more depth and dimension in our eye area.
To get started, we need to use this mid-tone crease color right under our orbital bone, above the middle of our eye. In the video I demonstrate this technique using my Juvia’s Place Warrior Two palette.
The Most Important Part
Now here’s the most important part: we want to look straight ahead into a mirror without lifting our eyebrows. It’s likely that we won’t be able to see that crease color that we just applied. But, since it’s important that we can see that crease color because we’re creating a brand new crease, we need to bring that color up higher until we can see it.
Then, since we’ve used most of the color that was on our brush, we can bring the brush up higher toward our eyebrow to get a gradual fading of the color as it goes toward our eyebrows.
Color Placement That Lifts Our Eyes
Next, we want to bring that color all the way across our eye area. But instead of following our eye area down as we move toward the temple, we want to go straight across, which will help lift our eye area, and then bring it down to meet the edge of the eye. We’re creating a “backward 7” pattern.
The next step is to use a slightly darker color on the outer area of the crease we’ve created and along the outer lash line and then join those two areas together by patting on or stamping on this darker color.
Then we need to do a good job of blending in those colors. I like to use a different clean brush to blend. And many of us – because we may have texture or crepiness in this area – may need to lift our brows and very gently stretch that outer area so we can make sure to get the color on all the skin throughout this whole area.
Several Options for Application of Eyeliner
The next step is the application of eyeliner. I like to apply eyeliner along the lower lash line first. Using a lighter color than you plan to use along the top lash line, apply it only along the outer one third of the bottom lash line. I like to use eyeshadow and a small, firm, angled eyebrow brush to create a softer look.
The reason I like to apply the bottom eyeliner first is so I can create an upward pattern at the end of my eye that can be connected to the eyeliner above my lashes. By following this natural curve at the bottom of the eye up beyond the eye, we’ll be lifting the eye area. But we want to do this very lightly and tap out the upward end of the line with a finger so it looks very natural.
We also want to make sure that there’s not a harsh, obvious start line along the lower lash line where we began to apply the eyeshadow as eyeliner, so it’s important to feather that line out and soften it with a brush or a Q-tip.
Now let’s talk about the eyeliner above the lash line. Most of us with hooded eyes don’t have much space where we can apply eyeliner above the lash line since the hooded area comes down over our eyelid. Our options are as follows:
Option #1
The first option is to tightline. That means applying a waterproof eyeliner along the waterline under the top eyelid. I’m sure some of you are easily able to do this, but for some of us, it’s just not feasible or comfortable to do.
Option #2
A second option is to place eyeliner color right in-between our lashes by coming up toward the eye from below the lashes.
Option #3
A third option is to use eyeliner going in from above the lashes as close as possible to the lash line using an eyeliner pencil or using eyeshadow as eyeliner. For many of us, it’s easier – and far more forgiving – to apply eyeshadow as eyeliner using a small, firm, angled eyebrow brush or a flat top brush.
Using a brush creates a softer look, and we don’t have to do it perfectly since we can use the brush to blend everything together so it looks perfect. With this option, we don’t want to bring the liner all the way to the end of our lashes. We want to stop before the end of the lashes and bring the eyeliner up to create a more lifted look. Then we want to fill in the area between the line we created coming up from the bottom eyeliner and the top eyeliner.
Then we can use a vanilla colored eyeliner pencil along the bottom water line. This helps the whole eye area look larger. I like to use the matte end of Anastasia of Beverly Hills’ Highlighting Duo Pencil in the shade Matte Camille. The other end is a highlighter and I like to use that end around the inner corner of my eyes.
Lastly, curling our lashes and applying mascara definitely makes our eyes look bigger!
A New Product for Hooded Eyes
There’s also an interesting product for hooded eyes that’s been recently developed. I have not personally tried it yet, but I’ve seen some amazing demonstrations and wanted to let you know about it. The product is called Lids by Design and it consists of eyelid correcting strips made from medical grade materials that are hypoallergenic and latex free.
It’s necessary to clean and dry the eyelids first and then carefully place the strip across the area where the eyelid folds. Then you press and hold the strip down for several seconds to insure a complete bond to the skin.
It’s available in six different sizes and is a one-time use product. Each box contains 80 eyelid tapes. Makeup can be worn over the strips if the company’s Colorset All in One Pencil is applied over the strip and eyelid before applying makeup.
A Tip for Lifting Lips
Now for our last tip, which is a great tip for lifting our lips. Due to gravity and loss of skin elasticity, many of us notice that our lip area can become more downturned over time which unfortunately makes it look like we’re frowning much of the time.
I really enjoy researching and learning tips from other makeup artists that I can share with all of you and this is something I saw from a fabulous UK makeup artist by the name of Lisa Eldridge. Here’s the secret.
Use a little concealer to cover up the top outer edges of your bottom lip. Next, apply lip liner but bring it up before reaching the concealer. This creates an upward rather than an outward line to our bottom lips. It also helps to use lip liner along the outer edge of the lip line and use a lipstick with some shine along with a lip gloss.
Were you born with hooded eyes or have your eyes become more hooded as you’ve gotten older? Do you currently use any makeup products or techniques for hooded eyes? If so, please share the products or techniques that you find particularly helpful.