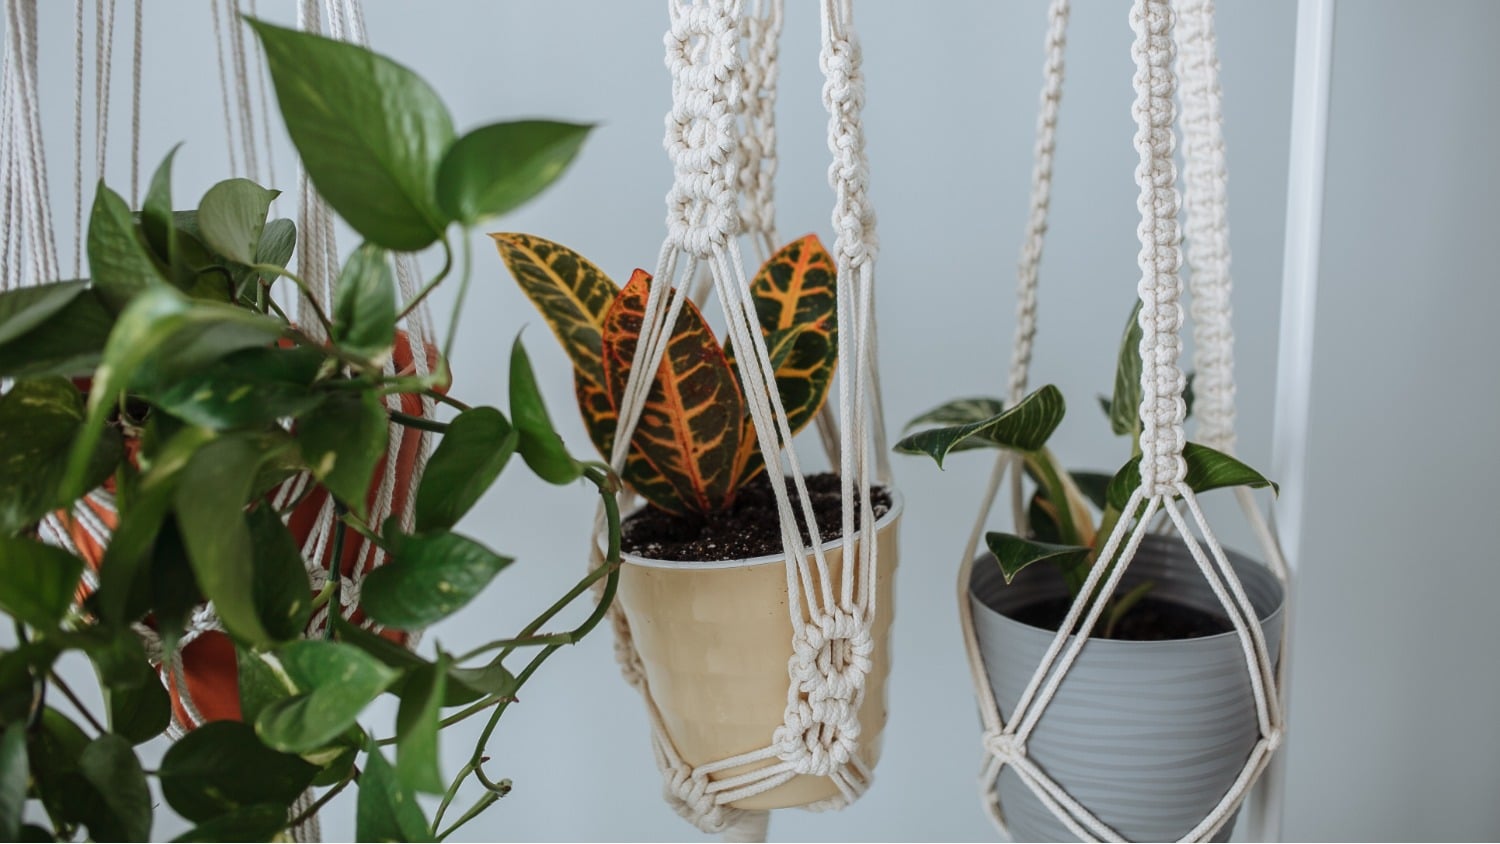
How to Make a Macrame Plant Hanger
Macrame, an ancient craft of knotting, has made an amazing comeback in the last few years, enchanting DIY enthusiasts with its bohemian flair and endless possibilities. In this comprehensive step-by-step guide, I will unveil the magic of macrame and show you how to make a stunning plant hanger that effortlessly blends nature with art.
So, grab your crafting tools, unleash your creativity, and let’s dive into the world of macrame to create a unique and eye-catching plant hanger!
Necessary Materials
Before we start knotting, make sure you have the following materials:
- High-Quality Macrame Cord: Opt for a soft, durable cord like cotton or jute with a thickness of approximately 4 mm. Ensure it can hold the weight of your chosen plant pot and provide long-lasting support.
- Sturdy Wooden Ring or Metal Hoop: Select a 2.5 to 3-inch diameter ring to anchor your macrame plant hanger. This ring will hold your creation securely and add an aesthetic touch.
- Trusty Scissors: A sharp pair of scissors makes cutting the cord a breeze and ensures precision.
- Measuring Tape: The key to achieving a balanced and symmetrical design lies in precise measurements. Your measuring tape will be your trusty companion throughout your macrame journey.
- Potted Plant: Choose a potted plant that complements your aesthetic and will fit in the hanger once complete.
- S-Hook or Ceiling Hook: To ensure a secure display, use an S-hook or ceiling hook to hang your macrame plant hanger.
Once you’ve gathered your supplies, you are ready to start working on your first macrame plant hanger. Let’s go!
Step-by-Step Process
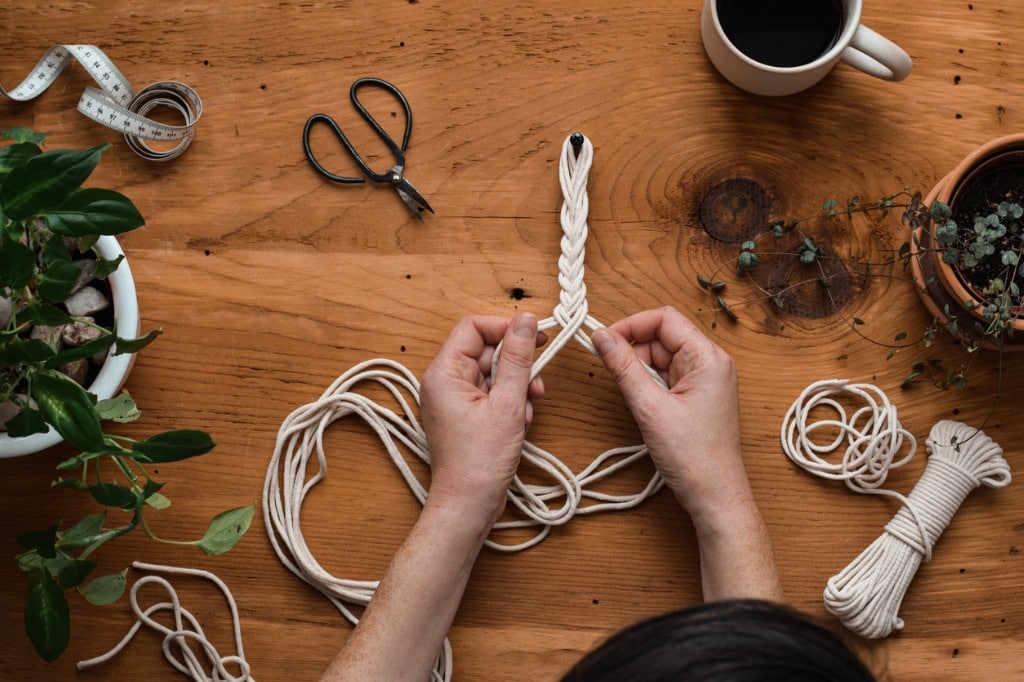
Step 1: Measure and Cut the Macrame Cord
To begin, cut 8 pieces of cord measuring about 4 yards in length. Feel free to adjust this length based on your desired hanger length. If you have high ceilings, you may need longer cords to ensure your plant hangs in the right place. Fold each rope in half, ensuring they are equal in length.
Step 2: Create the Top Loop
Hold your wooden ring or metal hoop in one hand, and gather all 8 cords together in your other hand. Now, create a loop by passing the folded end of the cords through the ring and pulling the ends through the loop, securely fastening the ropes. This loop will be the foundation for hanging your macrame plant hanger, so make sure none of the cords are loose.
Step 3: Begin Making Square Knots
Divide the cords into four groups of two, and you’re ready to begin creating square knots with each pair. Here’s how to make a square knot:
- Cross the left cord over the right cord.
- Pass the right cord behind the left cord and through the loop you created on the left side.
- Gently pull both cords to tighten the knot.
- Now, cross the right cord over the left cord.
- Pass the left cord behind the right cord and through the loop on the right side.
- Once again, pull both cords to tighten the knot.
- Repeat with each group of two cords until you’ve made a square knot for each group.
Step 4: Make a Gathering Knot
With the square knots in place, create a gathering knot by tying a simple knot using all the cords. This gathering knot will provide a beautiful transition from the loop to the main body of the macrame hanger.
Step 5: Start Shaping the Hanger’s Body
It’s time for the fun part!
Shaping the body of your macrame plant hanger defines your creation’s overall look and style. This stage of the process allows you to unleash your creativity and experiment with various knot combinations to craft a unique design.
Determine Length
Before proceeding, decide how long you want to make your macrame plant hanger. Opt for a shorter hanger for a simpler look, or go bold with a longer one for more visual impact. Use your measuring tape to ensure the cords are the right length, and feel free to trim them if necessary.
Start Knotting Rows
To shape the hanger’s body, continue knotting rows of square knots (or experiment with other decorative knots) below the gathering knot. Playing with alternating square knots, half-square knots, or diagonal knots adds texture and complexity to your design.
Of course, you are free to use square knots exclusively to keep things simple. It’s a great way to practice the basics if you are new to macrame.
Once you’ve reached the point where you want the pot to sit, it’s time for the next step.
Step 6: Create the Pot-Holding Knot
When your hanger’s body reaches the desired length, it’s time to create a pot-holding knot. To do this, simply tie all the cords together securely. There’s no specific type of knot required!
The pot-holding knot will keep your plant pot snuggled in place, ready to bask in the sunlight. Ensure the pot-holding knot is strong and secure, as it will bear the weight of your cherished plant.
Step 7: Adding the Finishing Touches
With the main structure complete, it’s time to add creative flair to your macrame plant hanger. Trim the ends of the cords to your preferred length. For an artsy touch, consider creating a beautiful fringe by cutting the cords at different lengths. Alternatively, you can add wooden beads, seashells, or colorful feathers for an earthy, bohemian vibe. Embrace your unique style and preferences as you infuse your macrame creation with personality.
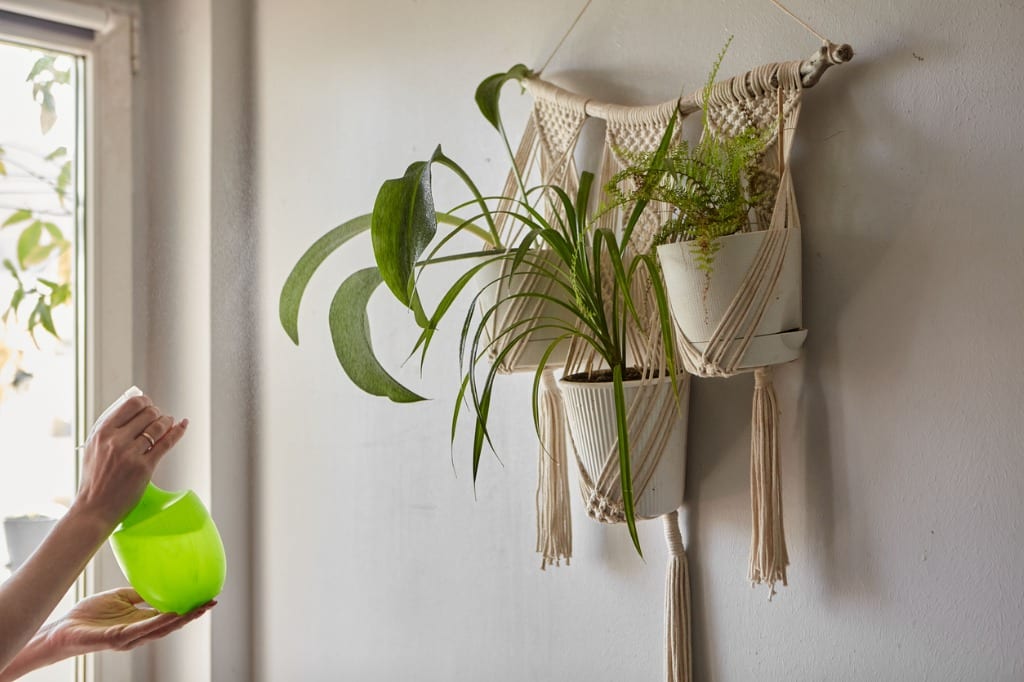
Step 8: Display Your Green Companion with Pride
Securely nestle your plant pot in its new macrame home, and hang your masterpiece in a special spot in your home. Use an S-hook or ceiling hook to suspend your macrame plant hanger from the ceiling. You could also use a wall hook or a sturdy curtain rod.
Congratulations on crafting your very own macrame plant hanger! You’ve unlocked the beauty of macrame and transformed simple cords into an artistic and functional creation. Embrace the spirit of creativity as you explore new knotting patterns, cord colors, and plant pot sizes to create a diverse range of macrame plant hangers to infuse your living space with warmth and character.
So, let your imagination run wild, and immerse yourself in the gratifying art of macrame. Happy knotting!
Let’s Have a Conversation:
Will this be your first macrame piece? If you’ve done macrame before, what’s your favorite knot? What other projects have you created or would like to try out? Any tips for newbies?
Tags Arts and Crafts