


Creating Tangible Memories: Make a Photo Album in 5 Simple Steps
In this digital day and age, we seem to be printing fewer and fewer photos because they are ‘safely’ tucked away on our computers. I think that’s a pity because there’s nothing like the tactile experience of holding a photo in our hands.
This feeling is multiplied when you collect a lot of photos and have them printed in a photo album.
Spending time on making a photo album is valuable in several ways and the lovely tactile experience is only one of them.
Having your photos printed is also a good way to protect them from crashing hard drives or stolen phones.
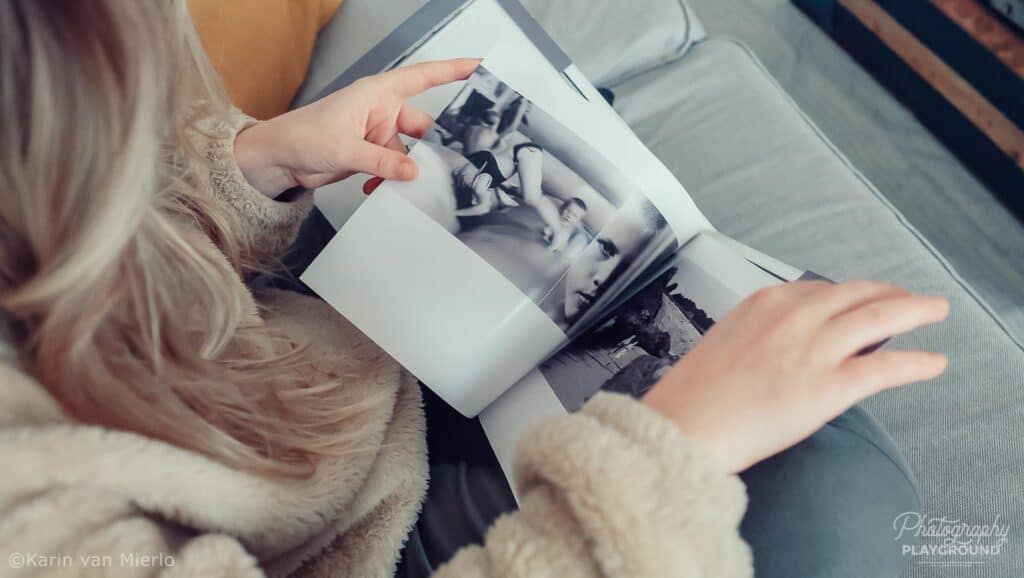
But maybe the best reason is sitting on the couch with the people you love, flipping through a photo album, and being transported back in time together.
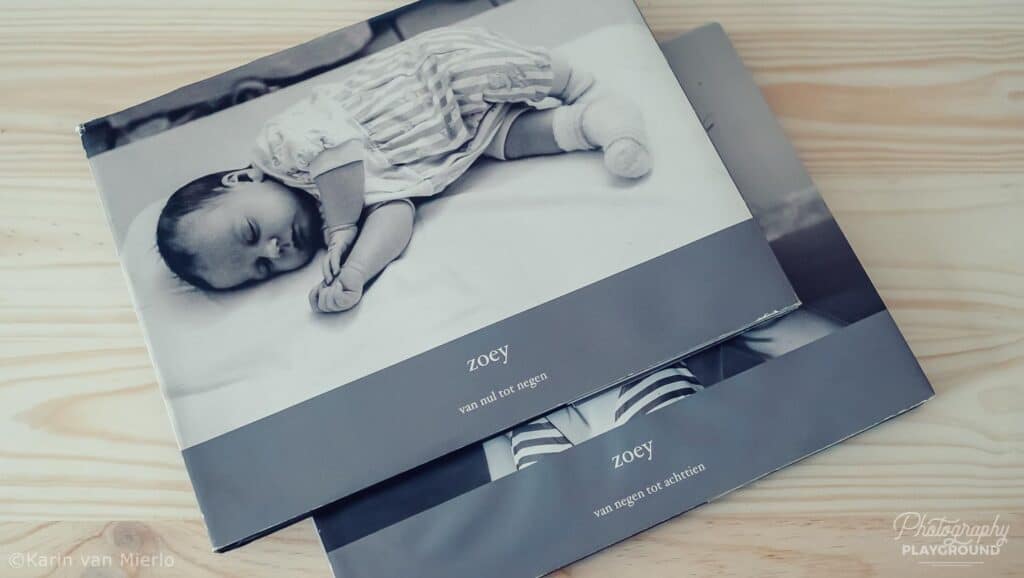
When my daughter turned 18, I made two photo albums for her that told the little and the big stories of the first 18 years of her life. From time to time, she takes out the album to share her childhood with her friends or to have a look for herself and enjoy those days of her life again.
Making a photo album on the computer can feel a little overwhelming but this article will walk you through it in 5 easy steps.
So let’s get you started!
Get Organized
This is probably the most tedious and time-consuming element of making a photo album. But when you prepare well and have organized all the photos you want to include in your album the rest will be a breeze.
Of course, it depends on the subject of your album how tedious and time-consuming it will be. For instance, if you want to make an album from a trip you took, it will be easier because you just need to go through the photos of that trip.
But if it’s an album about a period of your life or let’s say the first year of your very first grandkid, it will take more time. Because you might need to collect photos from different people, cameras, and devices.
Make sure the file sizes of your photos are large enough to print.
Once you have collected all the photos, it’s best to put them in a folder so you have quick and easy access to them. If you want to get really granular you can create subfolders on month, week, or location.
Especially if you’re making an album with a lot of photos stretching over a longer period this will be very helpful in finding specific photos once you’re putting the album together.
Now that you have done this you can move on to the next step.
Choose Your Album
There are a lot of providers offering photo albums. It’s easy to get flustered when you try to compare them and make the best decision.
It has been my experience that spending a little more money pays off in better quality.
These are precious memories, otherwise you wouldn’t go through the trouble of making an album. Usually, the slightly more expensive vendors offer better quality in terms of the prints themselves but also in the quality of the album and the bookbinding techniques they use.
Most vendors offer more or less the same variety of albums.
You can choose between a square, landscape, or portrait format. I prefer a landscape album because there seem to be more interesting options in the layout of the pages.
The second thing you need to decide is how the album is made. Do you want a softcover or a hardcover album? I would recommend a hardcover because it’s more durable and sustainable than a softcover.
And you can also decide to go for a layflat album. It’s more expensive but the upside is that when you flip through the album the pages are flat. There’s no fold in the middle like in a regular album. The other difference is that the pages are thicker than regular pages.
The benefit of a layflat album is that you can print a photo over the two pages and it will still look really nice. In a regular album, you can do that as well but the fold in the middle will divide the photo.
Fill Your Pages
So, now you have your files organized, and you have the album all picked out. It’s time to upload your pictures.
This procedure depends on the vendor, of course, and the software they use. Quite often there will be an option to take a tour first. I’d suggest you take the tour so you know your way around.
You can upload all your photos at once but when you’ve made different subfolders it’s more structured to start with your first subfolder and work your way through all the other subfolders.
There will be an option to let the album software fill your pages but where’s the fun in that. Also, the software has no idea which photos look nice together or belong together.
So you’re gonna do that yourself.
I always like to let my photos play the leading role and keep my design simple.
If you like the minimalist approach as well, select a few different page layouts and stick to those. Pick a background colour for the entire album, preferably a neutral colour like white.
Don’t overcrowd your pages, 1 to 4 photos per page work best.
You’ll need:
- a layout for a full-spread (1 picture on the entire page)
- a layout for 1 picture with white space around it
- a double-spread (1 picture on 2 pages, works best in a layflat album)
- a layout for 2-4 horizontal pictures
- a layout for 2-4 vertical pictures
- a combination layout for horizontal and vertical pictures.
Create a variety between pictures that have white space around them and pictures that go beyond the edge of the page or the adjacent picture. You can also leave an entire page blank to create some space in the album.
Mix It Up
Who said you need to keep the timeline intact? Yep, no one did!
Making pages with a cluster of photos that belong together because they have something in common is a great idea to mix up your timeline.
For instance, you can make a page that consists only of details, colours, portraits, doors, flowers, food…. I can go on and on with this, but you get the point.
Mixing it up in terms of layout is also nice to keep your album varied. If every page looks more or less the same, it can become a little boring to look at.
Look for some little treasures to highlight in a full page or even a double spread, and mix it up with pages consisting of several photos.
Check, Check, Double-Check
The last thing to do before you hit the order button is to check everything. I like to do that in two phases.
The first phase is to check for the storyline to see if everything fits together. It’s best to do this in the Preview Mode. Look at things like the transition from page to page, gaps in the story, the collection of photos on a single page, and the general flow of the album.

In the second phase, you go through the design with a fine comb. Check if all the photos are neatly aligned.
Check the text for spelling mistakes, font and size discrepancies, and if the text is nicely aligned with the pictures.
It’s best to leave a little time between making the album and checking it. Because when you’ve been busy making it for a few hours you don’t see the mistakes as clearly.
If you let it rest for a few hours or even a day you can look at it with a fresh pair of eyes and the inconsistencies will jump off the screen.
Don’t forget to save your album though when you let it rest for a bit.
When you’re totally happy with your photo album, hit the order button and within a few days, you will have an album full of precious and tangible memories to flip through with your loved ones!
I created a Making a Photo Album PDF Guide especially for Sixty and Me readers. It includes the 5-step plan, how to make sure your files are large enough for crisp prints and several inspiring page design templates. You can download it absolutely free.
Let’s Have a Conversation:
Do you have experience creating photo albums? Which online service do you use? What are your layout preferences? Where did you learn how to compose your photos into a picturebook of memories? Please share in the comment section below.
Tags Photography

Thank you Karin! This will be my first project for 2023🎈