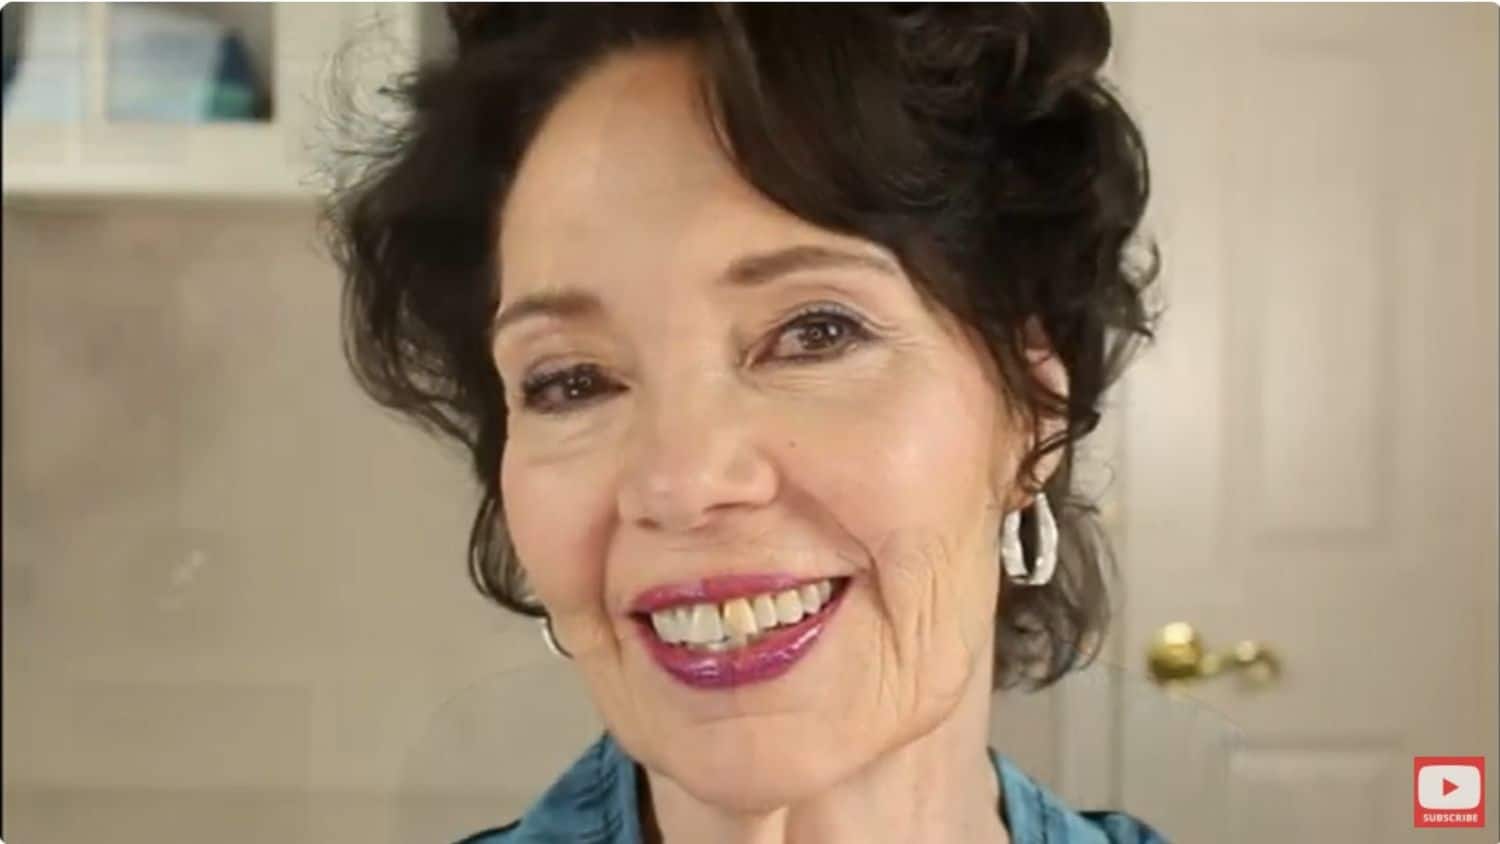
Uh-Oh! 10 Makeup Mistakes That Happen to Most of Us – and How to Fix Them
If you look at one side of my face in the accompanying video, and your reaction is “Wow, what a train wreck!” – I’d certainly agree with you! This is what our makeup can look like when we have quite a few “uh, oh” moments when applying our makeup.
I would imagine that we’ve all had to deal with most of these makeup hiccups at one time or another, but hopefully we’ve never had to deal with all of them at one time!
Fortunately, there’s no need to take off our makeup and reapply it because there are some quick fixes which can save the day. All we need is a little patience, a few products we most likely already have and the right tools.
The Eyebrow Fix
I rather feel like a Disney villain in this video since one eyebrow is way too dark and overpowering. But there are some easy “fixes” for this. The first step is to take a clean eyebrow spoolie and run it through the brow to remove excess product.
Then, we need to take some powder and apply it to our brows with a fluffy brush. Next, it’s helpful to take an angled brush and apply the powder specifically to the areas of the eyebrows which are darkest.
Now if they’re still too dark, here’s another technique that can help – and you can use it on its own as well.
Coat a small angled eyebrow brush with concealer, wipe it off lightly with a tissue and then apply the concealer as if you’re drawing in individual eyebrow hairs – which you are – except they’re lighter eyebrow hairs. I think you’ll see in the video what a difference the spoolie, powder and concealer have made in lightening up this brow.
The Eyeshadow Fix
Next, let’s tackle the two issues caused by my eyeshadow: the first problem is eyeshadow that’s too far outside the area where I wanted it applied and the second problem is eyeshadow fallout under my eyes. Normally these are not such big problems because I always apply my eyeshadow before applying my face makeup which I really recommend.
But since I applied my face makeup first today, it’s a little trickier to remove the eyeshadow in both areas without disturbing the makeup underneath. To minimize how much I will disturb the makeup, I’m going to lightly sweep a clean brush over the fallout first.
If this doesn’t get rid of it, I’ll roll a damp Q-tip over the fallout to pick it up. I haven’t disturbed too much of the makeup underneath with this last method, but I will put a little moisturizer and concealer on a Q-tip and gently dab it over the area where I removed the fallout. Then I’ll just pat in the moisturizer and concealer with my finger.
For the eyeshadow which is extended too far toward my temple, I’m going to use a makeup wipe wrapped around my finger and gently blot it upward toward my temple. Then, in order to give my eyes a very subtle lift, I’m going to take the slightly lighter concealer color I use under my eyes – which is Elf’s Hydrating Camo Concealer in “Fair Beige” – put a couple dots of it on and gently pat it in an upward direction. This lighter concealer will give a slight illusion of “lift” to that area.
Mascara Slips
Now let’s deal with the mascara slips. The most important thing to remember is to wait until the mascara has completely dried before trying to remove it. I will fluff up the end of a Q-tip so it can “grab” the mascara a little better and then gently flick off the product.
If it’s a larger spot of mascara, a clean brow spoolie can once again come to the rescue. Gently rub the spoolie over the spot and then flick it away with the Q-tip.
Concealer Crease Fix
Under the eye, I applied concealer, but I didn’t do one more step that would have kept the concealer from creasing. So I’m going to take a soft brush and pick up just a little bit of translucent powder.
Then, I’m going to look up – which is very important – and pat out the concealer with either a damp sponge or my finger to remove the creases. Next, I’ll press the powder gently over the concealer. Applying powder over the concealer in this way will make for a happy concealer that doesn’t crease.
Be sure to check out Elise’s YouTube channel which specifically focuses on makeup tips, techniques, and product reviews for those of us 50+. Don’t forget to subscribe!
The Face Issues
My next trouble spots are on the face – my foundation is a little too dark, and I’ve applied too much blush, highlighter and contour. In addition to applying too much of these products, I’ve also left obvious lines of demarcation so you can see where the blush, highlight and contour stop and start which is definitely not a good look! And there’s also a major problem with my lips.
Foundation Fixes
For the foundation issue, I need to use a lightweight concealer that’s a little lighter than my skin tone and blend just a small amount of it onto both sides of my face.
The Blush Fix
To tone down the look of the blush, I’m going to use a stippling brush to lightly tap over the top and edges of the blush. It’s important to use a stippling brush because it prevents us from removing the makeup underneath the brush, but gently blends the product out.
When you use a stippling brush to blend in a product like blush, for instance, the top layer of a stippling brush picks up the blush you’re going to apply, and the bottom layer is denser, helping to push the product onto your skin rather than having the bristles absorb the formula.
When you stipple your makeup, you’re essentially applying products in tiny dots that are so close together they blend for a flawless finish. With a stippling brush, the top layer of bristles creates those dots for you. The result is an airbrushed appearance with full coverage.
Highlighter and Contour Fixes
To tone down the highlighter, I could either use a stippling brush or a sponge. I’m next going to tone down the contour in the same way, but I’ll use a different section of the sponge. And if you need to tone down the blush, highlight or contour even more, you can always go in with the foundation brush you used and just tap over the area with the foundation brush.
There will probably be enough foundation left over on the foundation brush to make the contour look softer. To blend out any lines of demarcation around the blush, highlighter or contour, you can once again use the sponge or the foundation brush.
Lipstick Fixes
Who among us has not gone outside our lip line when applying lipstick? There are several ways to correct this. You can wrap a tissue around a finger and with your nail, gently rub over the lipstick that needs to be removed. And always go in the direction back toward the lips rather than away from them which can smear the color further outward.
If you can still see the color, there are two more things you can do. First, you can pick up a tiny bit of concealer with a small lipstick brush and cover up the color that remains. Or – and this is a makeup artist trick that is helpful in many ways – you can apply a tiny bit of clear eye primer with one end of a Q-tip and wipe it away with the other end of the Q-tip.
Clear eye primer can be used to pick up any kind of color so it’s something that’s always useful to carry in your makeup kit.
This Product Can Help
And there’s one other product that can come in handy. It’s Urban Decay’s Quick Fix Hydracharged Complexion Prep Priming Spray. If you want to touch up or reapply any makeup, this is a great product to first apply with a sponge over your makeup.
And something I always recommend – especially if you’re going to be attending a special event – is to have a small zip lock bag you can tuck into your purse where you carry Q-tips, concealer, a small clean lipstick brush and dampened sponge. With these products in tow, you can solve just about any makeup mishap that pops up during the course of the day or evening.
What is your most common makeup mistake? What’s the best way you’ve found to fix it? What other makeup mistakes do you recall?


