


5 Best Quilt Patterns for Beginners
Have you always wanted to make a quilt but needed help determining where to start? We have you covered! Quilting is a fun, creative hobby anyone can enjoy, regardless of age or experience. When starting out, choosing a beginner-friendly pattern is key. But with seemingly countless options, finding the right one is tricky.
To help you, we’ve compiled a list of five of the best and easiest quilt patterns for beginners. From the simple jelly roll jam pattern to the classic hourglass pattern, you will surely find something here to suit your skill level and style.
Jelly Roll Jam Quilt Pattern
The jelly roll jam pattern is super easy and perfect for beginners. Since the material comes from a jelly roll – a bundle of pre-cut fabric strips in coordinating colors and designs – you don’t need to do much cutting.
Here’s how to make one:
- Separate 18 strips from the Jelly Roll and arrange them into three sets of six patterns/colors.
- Stitch six strips together along their long sides, then repeat with two additional sets of six strips. When finished, you will have three units measuring 12 ½” x 42”.
- Cut each strip into six 6 ½” x 12 ½” rectangles.
- Stitch two rectangles together to create nine 12 ½” x 12 ½” blocks. Assemble the blocks in a three-by-three grid, alternating between vertical and horizontal strips.
- Quilt and bind as desired, and you’ll be ready to enjoy your very first quilt.
Rail Fence Quilt Pattern
The rail fence quilt pattern is a classic, easy-to-learn design that’s been popular for generations. It’s made up of strips of fabric sewn together in alternating colors and widths, creating a rectangular or square pattern. This type of pattern is perfect for those just starting in the art of quilting, as it requires only basic sewing skills.
To make a rail fence quilt:
- Cut your chosen fabric into 1” to 2” strips.
- Lay the strips out, alternating colors and widths in the desired order, then sew them together along one side using a ¼” seam allowance.
- Once you’ve joined the strips, press the seams open and lay out your top to check that everything looks correct before continuing to the finishing steps, including adding batting, backing fabric, and binding.
Make your quilt any size you wish by adding or removing rows or columns. Additionally, because no intricate designs are involved in making this type of quilt, it’s faster than more complex patterns – making it great for quick gifts or last-minute projects.
Crumb Quilt Pattern
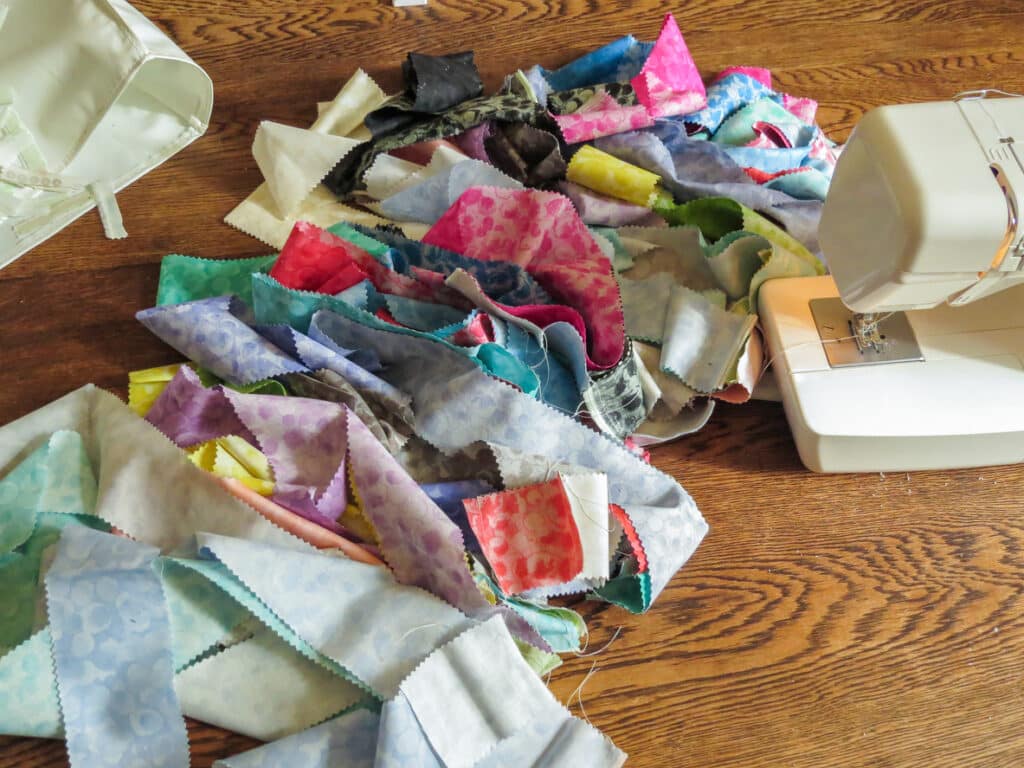
The crumb quilt pattern is ideal for quilting beginners due to its easy construction process and limitless design possibilities. This pattern uses small pieces of fabric, usually scraps from other projects, sewn together in a patchwork style. Each scrap should be somewhat square or rectangular, but they don’t need to be as precise as the squares in most other patterns.
This simple but effective design is perfect for beginners who want to create a unique, eye-catching piece without worrying about precision.
Start by stitching two of your smallest crumbs together, then attach a third piece roughly the same length or width as the two scraps. Continue adding crumbs in this manner, trimming when necessary to maintain a roughly rectangular shape. Make your blocks as large – or small – as you’d like, then stitch them together to form the quilt.
The size of your quilt is entirely up to you. Quilters typically start in the middle and work outward, stopping when they reach the desired size for each block. Crumb quilting lends itself well to experimentation with different patterns and colors, as the individual pieces of fabric can easily be rearranged and replaced with others if desired. This pattern also allows beginner quilters to practice their sewing skills while creating something beautiful and unique.
Log Cabin Quilt Pattern
One of the most popular and recognizable patterns, the log cabin quilt pattern is also an excellent option for beginners. It consists of fabric strips sewn together in alternating colors and widths to create the quilt blocks. This pattern requires minimal sewing skills, making it ideal for those starting in the quilting world.
Adjust this pattern to any size by adding or removing rows or columns. Traditionally, each block has dark colors on one side and light colors on the other, all surrounding a center square, but feel free to experiment!
The log cabin pattern has several variations, making it easy to create one that suits your taste. If you would like to begin your quilting journey with a recognizable design that offers a lot of versatility, the classic log cabin pattern is a great choice.
Classic Hourglass Quilt Pattern
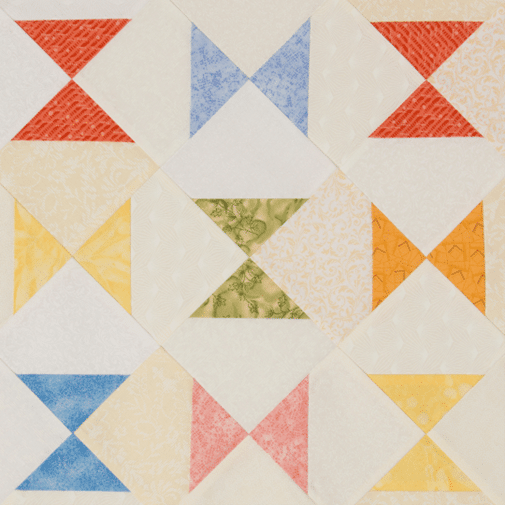
A classic quilt featuring hourglass blocks is as beautiful as it is easy to make. While this one is a bit more labor-intensive than the others on this list, it’s still a great choice for beginners who are up for a challenge.
To create this pattern, you’ll need an equal number of patterned and solid-colored squares, all measuring 6” x 6”. Pairing white fabric with patterned blocks is traditional, but there’s no rule stating that you must use white as your solid color.
- Draw a diagonal pencil line on the wrong side of each solid block from corner to corner.
- Sew a patterned square and a solid square with right sides together and the pencil line facing upward. Then, sew ¼” from the pencil line on each side, and repeat until you’ve sewn all the squares.
- Carefully cut along the pencil line, then cut another diagonal line between the other two corners.
- Press the seams of each triangle piece toward the print fabric.
- You should be able to create two hourglass blocks from a single square. Pin the center seams, and sew to make blocks. Square each block up to 5” x 5”.
- Repeat until you have enough blocks to form the quilt.
- Arrange the blocks, rotating every other one so the hourglasses alternate horizontally and vertically.
- Pin and sew the blocks into rows, then stitch the rows together to finish the top.
With these five beginner-friendly patterns – and practice – you will be on your way to creating eye-catching quilts you’ll be proud to use, gift, or display. Give it a try today, and you might discover a new favorite hobby!
Let’s Have a Conversation:
Have you made a quilt? Or have you always wanted to try making one? Do you have any tips to share? What’s your favorite quilt pattern?
Tags Arts and Crafts

I would recommend using square pieces of pre-washed cotton fabric: 4-6″ squares. Sew a group together into strips. Press seams; sew strips to each other and the quilt top is done. Way easier and more contemporary than the traditional old-timey patterns.
Log Cabin isn’t easy…I’ve done a couple…definitely NOT for beginners…
Log Cabin, as taught by Eleanor Burns in her book, was my very first quilt. I suspect the teaching method used could affect whether it seems like a beginner pattern.
Don’t forget about the simple square patchwork quilt. Easiest imo.
Thanks for the list