


This Fast, Easy Makeup Application Technique Is a Game-Changer and Great for Mature Skin
Wouldn’t it be wonderful if we could wave a magic wand and instantly create a beautiful, natural makeup look that looks fabulous on mature skin?
Well, the good news is that we don’t need a magic wand because there is a makeup technique that we can use to create a lovely natural makeup look. And what’s more, it’s fast, easy, just about foolproof… and fun.
Why It Works So Well
Now, I know you may be just a tad skeptical and shaking your head, but hear me out. Normally, when we apply our face makeup, we’re applying it in layers.
First, our base products like tinted moisturizer, BB cream, CC cream or foundation. Then perhaps we use concealer and a touch of blush. And some of us may also apply contour and/or highlight. Applying makeup in these layers can sometimes mean that our makeup looks heavy or cakey.
And often we may have to go back in and add more makeup to make sure everything blends together seamlessly. For instance, if our blush looks too strong, we may have to dab on a little more foundation to tone it down or add powder.
How It Works
But in this article (and in the accompanying video), I’ll share a face makeup application method that avoids this layering approach. So, just how is this possible?
Well, believe it or not, we’re going to apply all of our cream and liquid products right after one another before blending any of them. This easy, fast method of makeup application creates a flawless, harmonious look.
And cream and liquid products like we use in this application technique work especially well for those of us with dry or combination skin. (If you have oily skin and don’t normally use cream or liquid products, you may be able to use this method if you first apply a mattifying face primer and add a bit of powder afterwards.)
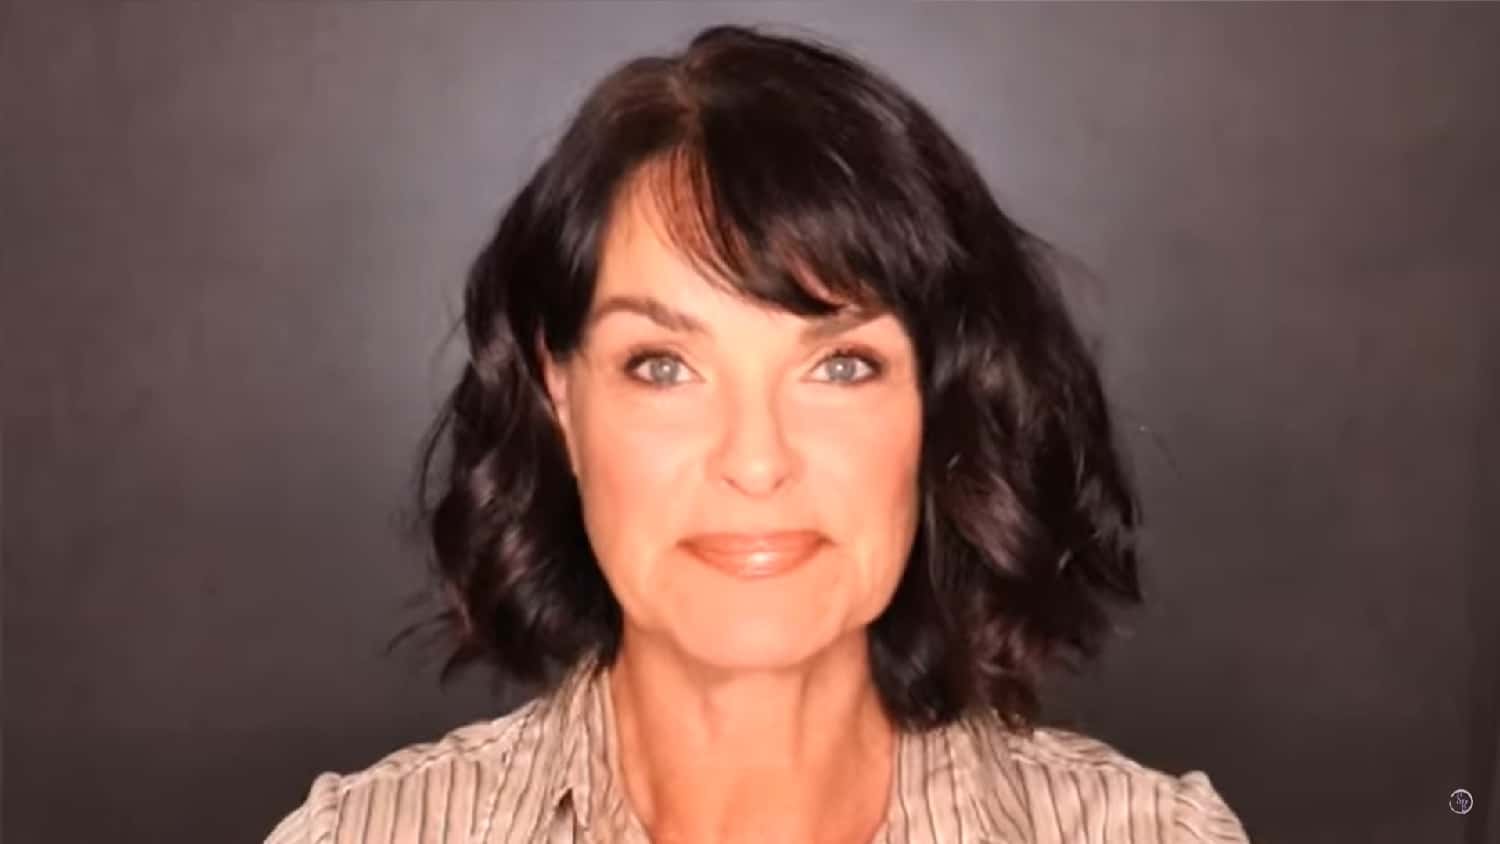
Before filming the video, I completed my skin prep, filled in my brows and applied my eye makeup. For the face makeup application process I’m demonstrating today, I’ll use high end products on one side of my face and drugstore products on the other side of my face.
Getting Started with Application
I’ll start with the high end products, and I’ll first apply my foundation which is a new favorite: Doll 10’s Anti-Stress Skin Perfector – which is a clean beauty product.
And since I’ll be using a drugstore foundation on the other side of my face that has some luminosity, I’m going to also add just a drop of a highlighter product to this foundation so the two sides of my face will come closer to matching in terms of the amount of glow my skin has. I’ll add the Glowy Super Gel in “Starglow” from the clean beauty brand Saie to the foundation.
Step #1: Foundation
I’ll apply foundation all over my face – except in the area where I’ll be applying my contour, blush and highlight – but I won’t yet blend in any of the foundation.
Step #2: Cream Contour
I’m going to use one of my favorite cream contours which is in a stick form that glides on extremely easily. It’s Em Costmetics’ So Soft Multi Face Play Bronze and Sculpt in the shade “Terra.” And this face application technique works best if we apply a little more of each of the cream products than we would normally use.
Step #3: Blush
Blush comes next, and I’ll combine two shades of Makeup by Mario’s Soft Pop Blush Sticks. I’ll apply both “Pale Petal” and “Raspberry.” And next I’ll apply my Rare Beauty Positive Light Liquid Luminizer Highlight in the shade “Enchant” along the top of my cheek bones.
Be sure to check out Elise’s YouTube channel which specifically focuses on makeup tips, techniques, and product reviews for those of us 50+. Don’t forget to subscribe!
Step #4: Setting Mist
The final application step is very important. It’s to apply a hydrating setting mist over the top of all the cream and liquid products. I’ll apply 4 pumps of my Elf Dewy Coconut Setting Mist.
Now Let’s Blend It All in
And the last step is to blend all the cream and liquid products together using a dampened makeup sponge. And It’s important to use just a slightly dampened sponge.
The Drugstore Products I’ll Use on the Other Side of My Face
On the other side of my face, I’ll use the same technique but substitute with drugstore products. I’ll combine two of my favorite foundations – my Catrice True Skin Hydrating Foundation in the shade “Cool Rose” and my L’Oreal Age Perfect Serum Foundation in “Rose Ivory.” These two foundations blended together will create a soft glow.
My contour will be Wet and Wild’s Contour Stick in “Where’s Walnut.” The blush is from Flower Beauty and will be a combination of two of my favorite Flower Beauty Blush Bomb gel shades “Bubbly” and “Cheeky.”
And Wet and Wild’s Megaglow Liquid Highlighter in the shade “Halo, Goodbye” is my drugstore highlighter of choice.
I’ll use the same Elf setting spray on this side of my face and then blend in all the products with my dampened makeup sponge.
Final Thoughts
I have to say that when I first saw a demonstration of this makeup application technique a few years back I was really amazed by how it turned out because I thought it would result in a real mess.
But not only was I wrong, it actually produces a seamless, flawless look which is quicker and easier than our normal makeup application routine once we get used to doing it. And because all the products blend together so flawlessly, there’s no need to go back and touch up any sections of our makeup like our blush or contour.
Although this makeup application technique is certainly different than what we’re used to do, it can be fast, fun and create a fabulous look.
Let’s Have a Conversation:
Have you ever tried this makeup application technique? If so, how did it work for you? What did you like best about it? If you haven’t tried it, would you be open to experimenting and giving it a try?
I thought the application looked almost identical on both sides. But as an Aesthetician, I’m ashamed to say I don’t use nearly that much makeup for daily use. Maybe a special night out though, thank you!
Hi, Clare–Thanks so much for your input regarding how the makeup looked on each side. I couldn’t tell much of a difference either. I think most of us (including me) wouldn’t wear this much makeup on a regular basis, but I thought it would just be fun to try a full “night out” look using this technique.
The products are of no use to anyone who does not live in the USA so no point reading the article.
Hi, Toni–I’m sorry these products aren’t available to you. But this article and video are about a makeup application technique which will really work with any makeup products as long as a hydrating setting spray is used over the makeup before blending it in.
I’m surprised to say I think I prefer the drugstore product side since it seems to have more of a natural glow. The high end products look more matted and dull to me. Great presentation!
Hi, Carole–Thanks so much for your feedback on which side you felt looked the best. We are so lucky that there are so many great drugstore products out there that can rival high end products. And I appreciate your letting me know you enjoyed the presentation. Thank you!
Thanks for this. I have seen this trend on Facebook but you explained it much better. What do you use for the under eye area?
Hi, Adele–You’re welcome–and thanks for your kind words. I normally use Elf Concealer in Light Peach as a corrector for under eye darkness. Then I pat on a very small amount of an Elf Concealer that’s one shade lighter than my foundation. Any peach or salmon colored product works great as an under eye corrector since it cancels out the dark tones.
Loved the his tutorial. Your ski looks beautiful. I cannot tell the difference between high end and drug store. Do you have a suggestion as to how we can choose the colors of the various products for our own skin? That is where my biggest problem lies
Hi, Jab–Thanks so very much for your kind words. This technique was alot of fun to try. You ask a great question about how to choose the best colors. What helps the most in determining the best colors for our skin is to know the undertone of our skin: is it warm, cool or neutral? Those with a warm undertone look great in lip and cheek colors that are warmer such as peach, apricot, coral, or orange-red. Those with a cool undertone look best in pink, plum, violets, raspberry, blue-red. And those lucky enough to have a neutral undertone can wear both warm and cool colors, but usually not the deepest or brightest shades. In case you don’t know the undertone of your skin, I’ve done a YouTube video on how to find the undertone of our skin that you might find helpful. You can find it here: https://youtu.be/jbuufD1c2kI